Sony Playstation

PS4 HEN Test

I got to do some game testing on my firmware 4.55 PS4 last night. I acquired a couple PKG files to test with and used my ESP8266 to enabled HEN. I copied over the PKG files to a ExFAT formatted USB drive and plugged it into the PS4. I then went to Settings>Debug Settings>Game>Package Installer and installed all packages.

Excuse the crappy photo of the TV

I am now FINALLY able to play PT. All the packages I installed worked without issues except Burnout Paradise Remastered since its needs firmware 5.05 to run.

Side note: I own all the retail games I installed/tested from PKG’s, just thought I should add that. PT is only a demo obviously.

ESP8266 & The PS4

There has been a bunch of development with the PS4 homebrew scene the last 2 weeks. The PS4’s Homebrew Enabler (HEN) is removed every time the PS4 is restarted and needs to be reapplied. There is was to do it from internet, local PC, smartphones and from a ESP8266 device. I found the ESP8266 to be the most consistent way of applying the HEN to the PS4.

I picked up the ESP8266 from Amazon for just under $9.

What you will need:
PS4 on firmware 5.05 or lower. (I am curently on 4.55 myself. I am waiting for 5.05 HEN/MIRA to be more stable before it update)
ESP8266 with 4mb flash, linked above
MicroUSB cable
ESP-Host found at Github
ESPTool

Here was my install process on a Windows 10 machine:

  • Install Python 2.7 Get it here
  • Put Python and scripts in your PATH (c:\Python27;c:\Python27\Scripts) Google it if you are unsure how to do this
  • Download get-pip.py and run “python get-pip.py” from a CMD promt
  • Once Python and PIP are installed, open a CMD window and run “pip install esptool”
  • Download ESP-host BIN file that matches your PS4 firmware (esphostmulti455.bin in my case)
  • Plug in your ESP8266 to your computer VIA the MicroUSB cable
  • Open a CMD windows and run “python esptool.py –port COM3 write_flash 0x00000 esphostmulti455.bin” Use your full path to your esphostmulti455.bin file

Once flash is done, plug the ESP8266 into a USB port on your PS4 and go to Settings>Network>Setup Internet Connection>Use Wifi>Easy
Connect to the SSID PS4-WIFI (If you do not see the PS4-WIFI network then your ESP8266 is not working properly.
To run the exploit go to Settings>User’s Guide
Select HEN or HEN+VR and you will be notified when the script is complete.

Update: nodemcu-pyflasher – This tool might be better for flashing since python & PIP are not needed.

PSIO install

The PSIO is another seemingly “hard to get” mod device for the original Playstation. I actually waited and missed out on this device twice before finding a eBay auction for one and got it for the same price a new one goes for. It was actually new in box.

So what is this madness?

The PSIO is a development device that plugs into the early model Playstation parallel I/O port. The PSIO supports BIN, ISO and IMG files. It has a slick menu system with cover artwork and multiple CD game support.

In order for the PSIO to work properly, you need to install a switch board. This board is needed to switch the signal from the CD-ROM to the development device. 9 wires later… put it back together and see if we still get video.

I put the Cybdyn sticker on the bottom of the PS so I remember that this is the unit that has the PSIO Switch BOard installed.


PlayStation 4 Pro & PSVR

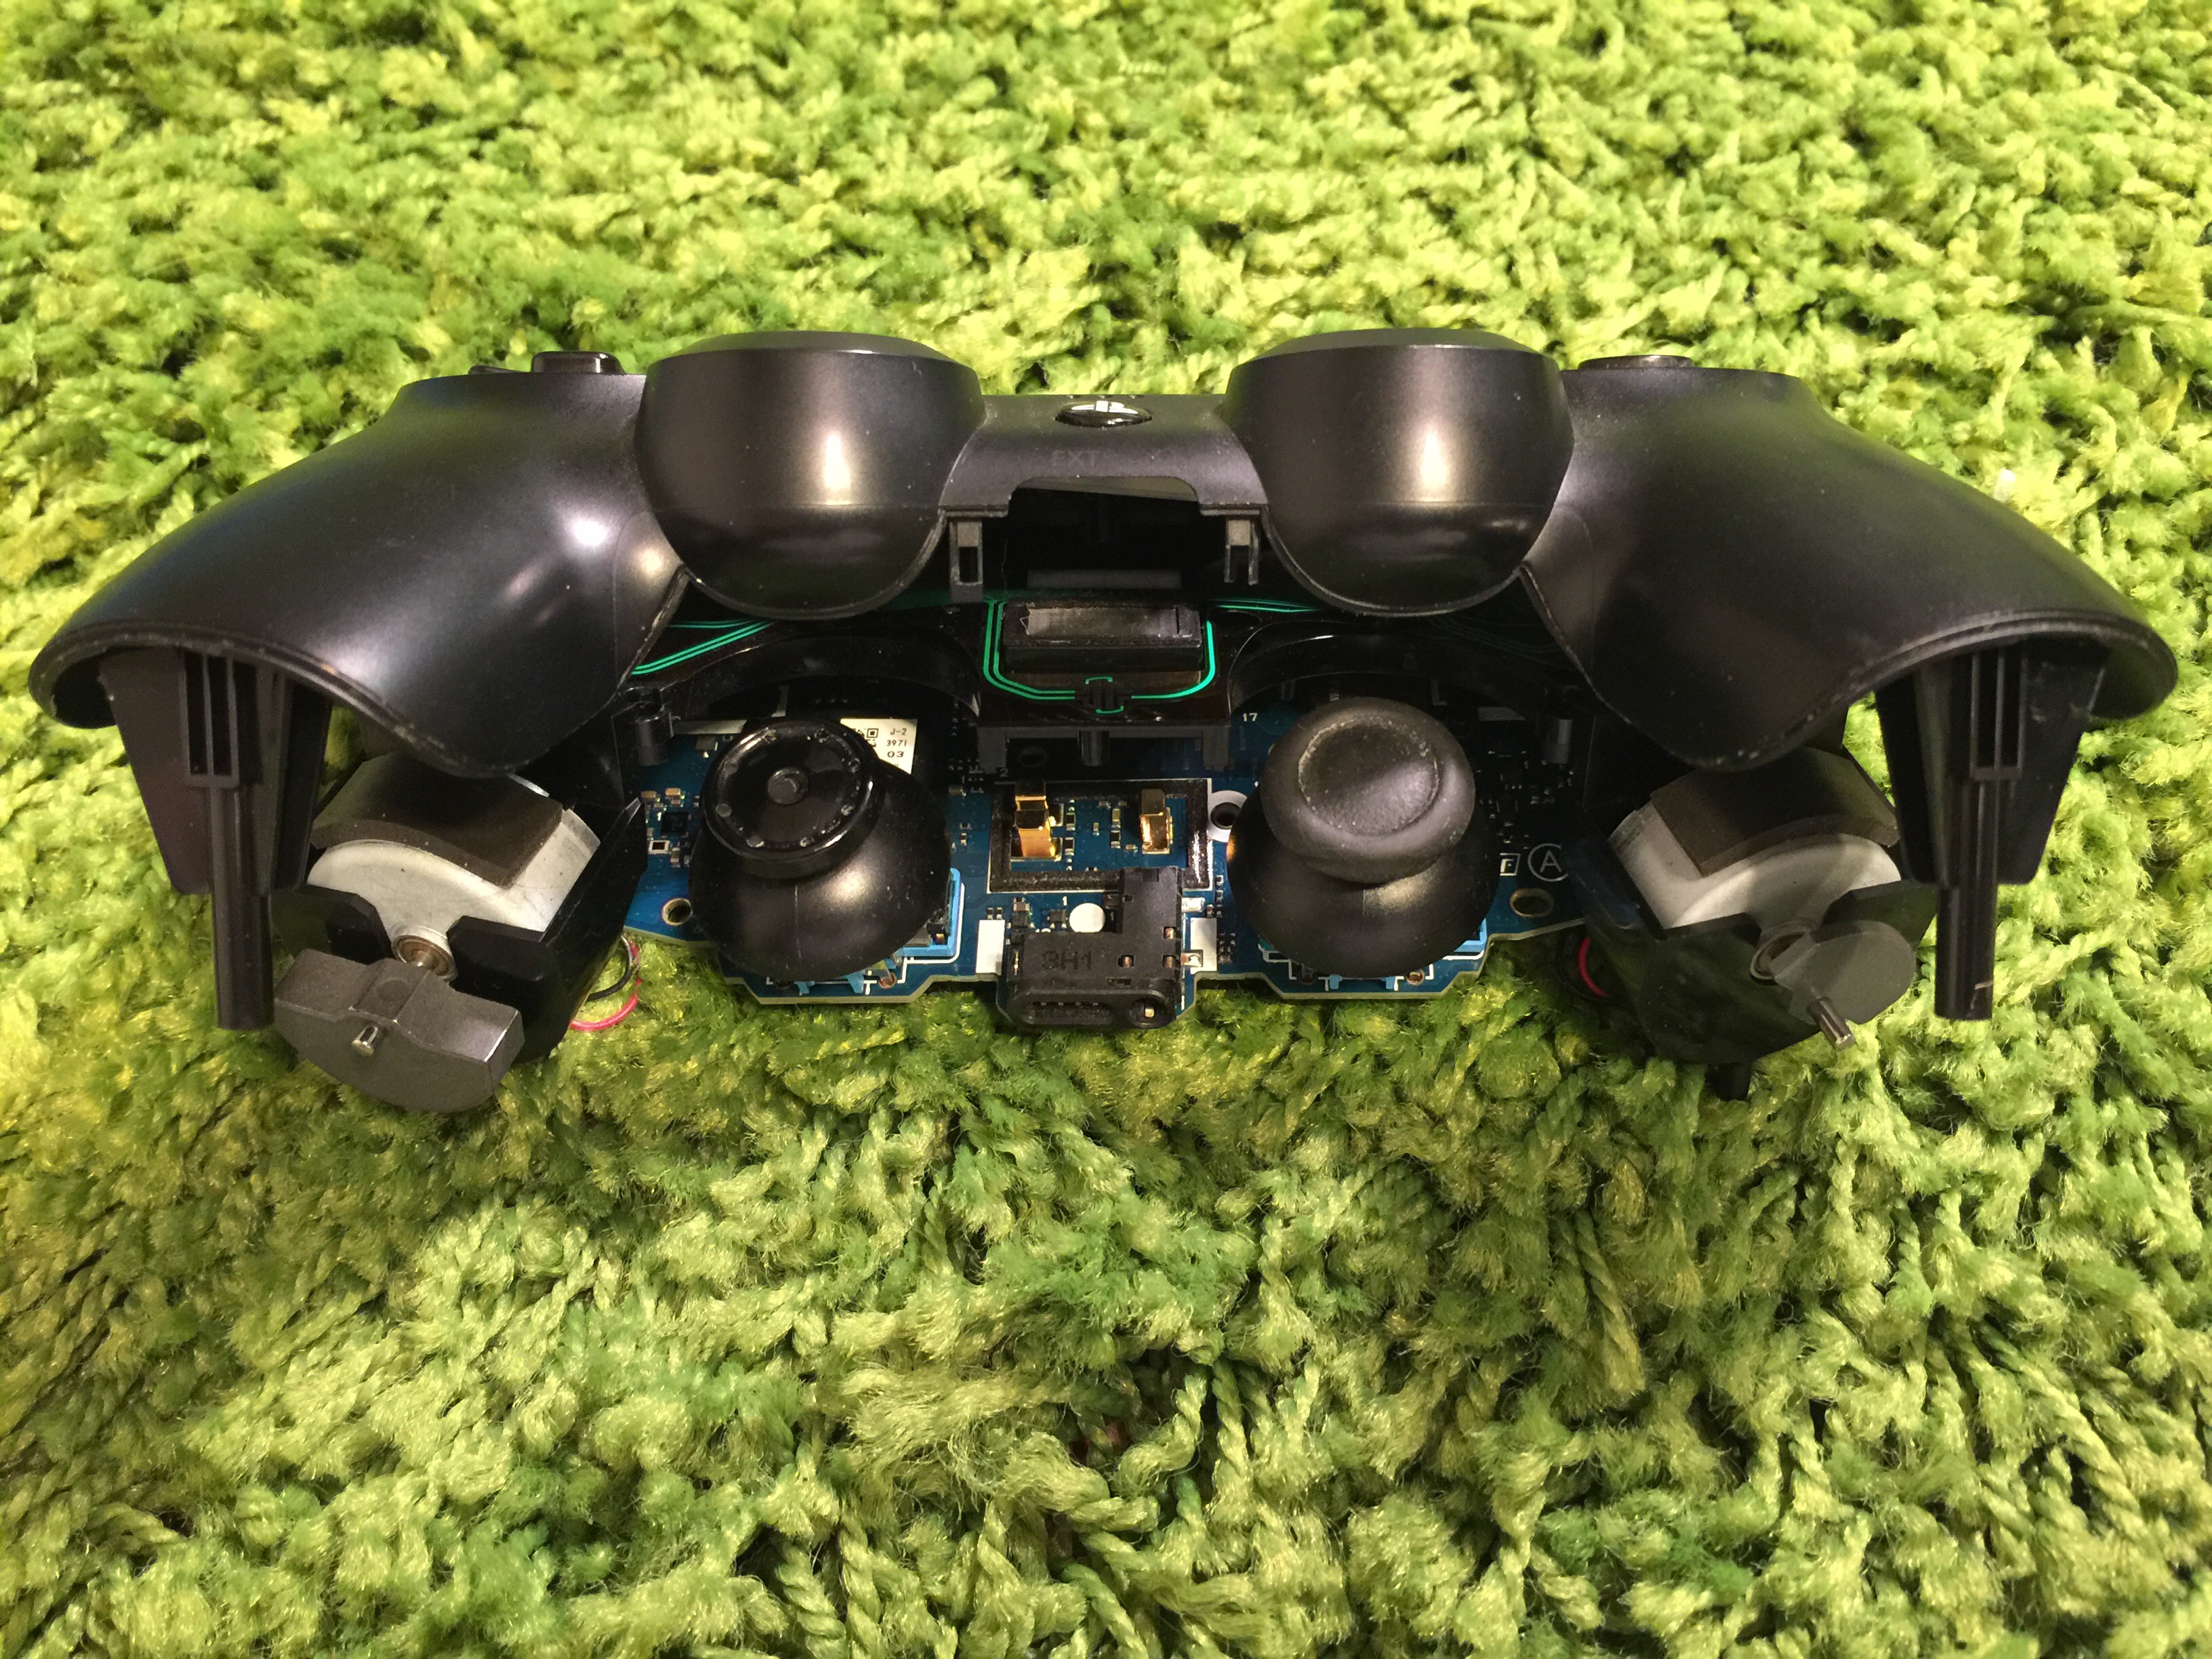
I had the opportunity to pick up the PS4 Pro and the PSVR this week. Here are my thoughts.

PlayStation 4 Pro:

I had a PS4 and I do not have a 4K TV, so why the hell did I do this? I am seeing more and more releases that will support the Pro performance boost especially with the PSVR games. I did not want to get in a position where I get subpar results with newer games & SPVR games and decided to take the plunge. I was not 100% sure on how big a difference I would see on my 1080p gaming TV with the PS4 Pro, but it ended up being a lot more that I thought. 4K upscaling/output is just one piece of the puzzle, the extra processing for texture enhancements and better/stable frame rates on supported games is a great enhancement and noticeable. This by no means feels like a “new” console release. Its more like a how Apple iPhones feel between releases. Its not a new platform but more of a updated, faster and new feature set platform.

I booted up my original launch PS4 and deleted all the disc based games I had and did the backup process using a ethernet cable between the old PS4 (I hate calling it that) and the PS4 Pro. With in 40 minutes I was up and running with my profile and digital games all running fine.

PlayStation VR:

Right off the bat, this thing was package like an Apple product. It seems like it was packed with such care and felt like a “premium” product. The instructions were very well written and easy to follow. I was up and running with in 20 minutes or so. The was an update for the PS4 and also for the PSVR (The hardware does get updates that are different from the OS updates) that needed to download and install. 2 reboots later I had the VR demo disc downloading.

I am not going to go in to it to much in this post but, I was really taken back by the immersion and quality of the VR experience. There are so many mixed reviews of it on the net and I think I figured out why so many don’t give it the praise it deserves. Many of the people online that have been very vocal about the quality of the PSVR have also played with the Vive & Rift on really powerful PCs. I do not feel like the PSVR is a direct competitor of these other VR devices since a PS4/PS4 Pro do not have the same hours power and GPUs that a nice gaming PC rig would have. Since the PSVR is the only VR device I have ever tried, its the only thing I know, from what I have seen/felt with the PSVR is not short from amazing. It really is amazing we are now able to have a consumer friendly VR device that can be used in the comfort of our home.

Rambling.. If you have not tired it yet, DO IT! Its a blast. I will be adding some posts on various VR games I like playing.

Playstation / PSOne Mods

I had a few Playstation/PSOne systems laying around that would benefit to having a good old stealth chip. I started looking into the current status of mod chips for the Playstation and it all seems pretty much open sourced not. All the HEX dumps of the major chips are available online and they can be used with a simple $2 PIC. This is just some information I found and will be using this as a spot for notes as I mod a couple Playstation systems.

Available code:

MultiMode (MM)
Mayumi
ONEChip
Stealth
ModAVR
Anti-Piracy Mod
Old Crow
Many others/variations of the above.

What code for what system?

Fat SCPH-100x = Stealth 2.8a
Fat SCPH-500x-900x = MM3
Slim PSOne 10x = MM3 (PAL model SCPH-102 which should use ONEChip) , Mayumi v5.1

What PIC should I use?

There are actually a few that are proven to work well. I went with SMD ICs since they have a smaller footprint and I always bend or trim the legs on the through hole ones anyways.

12C508
12C508A
12C509
12C509A
12F508

I will most likely go with the 12F508 due to cost. I will use the PicKit2 to program the 12F508.