Sega Dreamcast
Dreamcast GDROM Notes
Random Notes: I was looking for some info on Title Name and Disc Artwork and this is what I can find:
Default game titles from the IP.bin header
The disc icons also come from the GDI’s. If there is a file called 0gdtex.pvr in the GDI then it will display an icon. Not all GDI’s have this so sometimes there is no image, and also sometimes the image is upside down (in the dreamcast music player the icon would spin so orientation did not matter).
More to come…
Dreamcast HDD mod
When I first heard I could add a IDE hard drive to the Sega Dreamcast, I thought it would be amazing to have access to all the games with out needing to change a disc. The mod is pretty straight forward but can be intimidating if your not comfortable soldering small pads.
What can you do with this mod?
You can use a boot CD with DreamShell loaded on it that will spin up and detect your ATA HDD. Keep in mind that not all games work with DreamShell. Its not a 100% solution to playing all Dreamcast games, but for what it does do, it does it well.
Images supported (ISO / CSO / CDI / GDI)
Dreamshell works best with optimized GDI images. Google around for some tutorials for this as it is a little more in depth than I want to go in this post.
On to the mod:
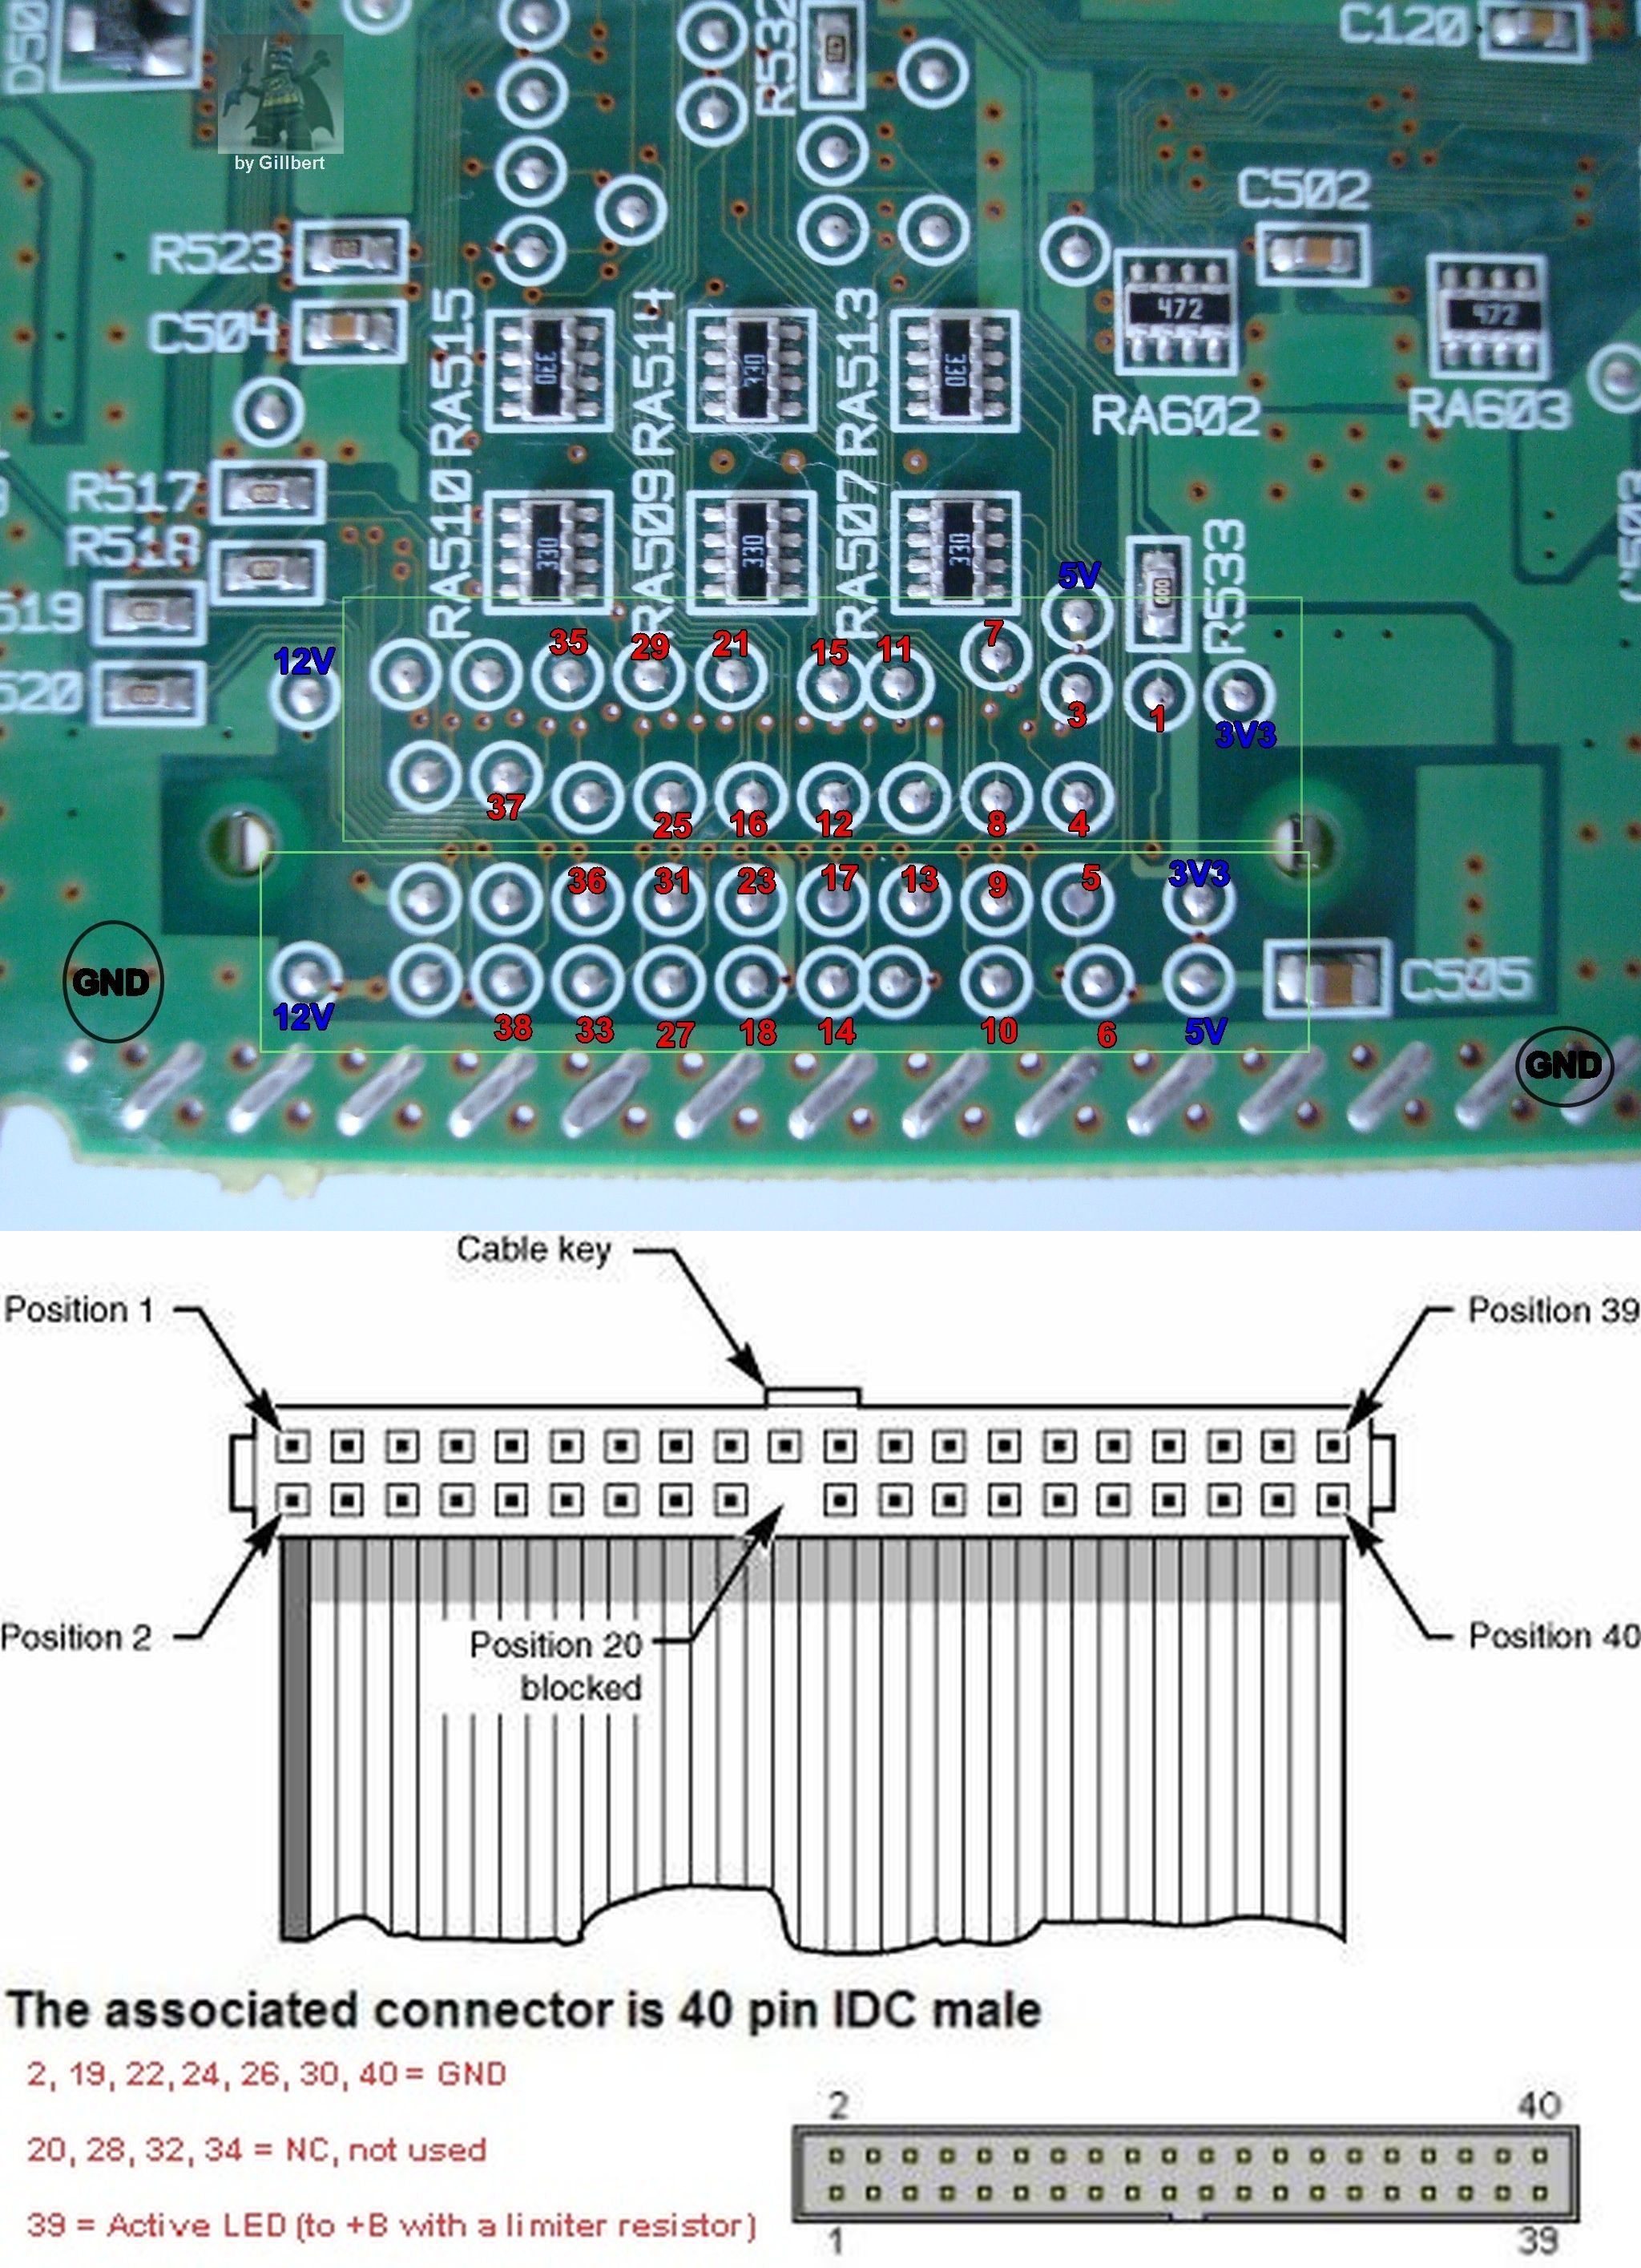
I went with the 40 Pin ATA cable since it is what I had on hand. This is a non ultra ATA cable and is easy to strip and soldier. You can also use the 44 Pin ATA cable for use with 2.5″ IDE hdds. You can actually supply the power for the HDD with that. If I was to do this all over again, I would go with the 44 pin cable and a 2.5″ HDD or a SD adapter.
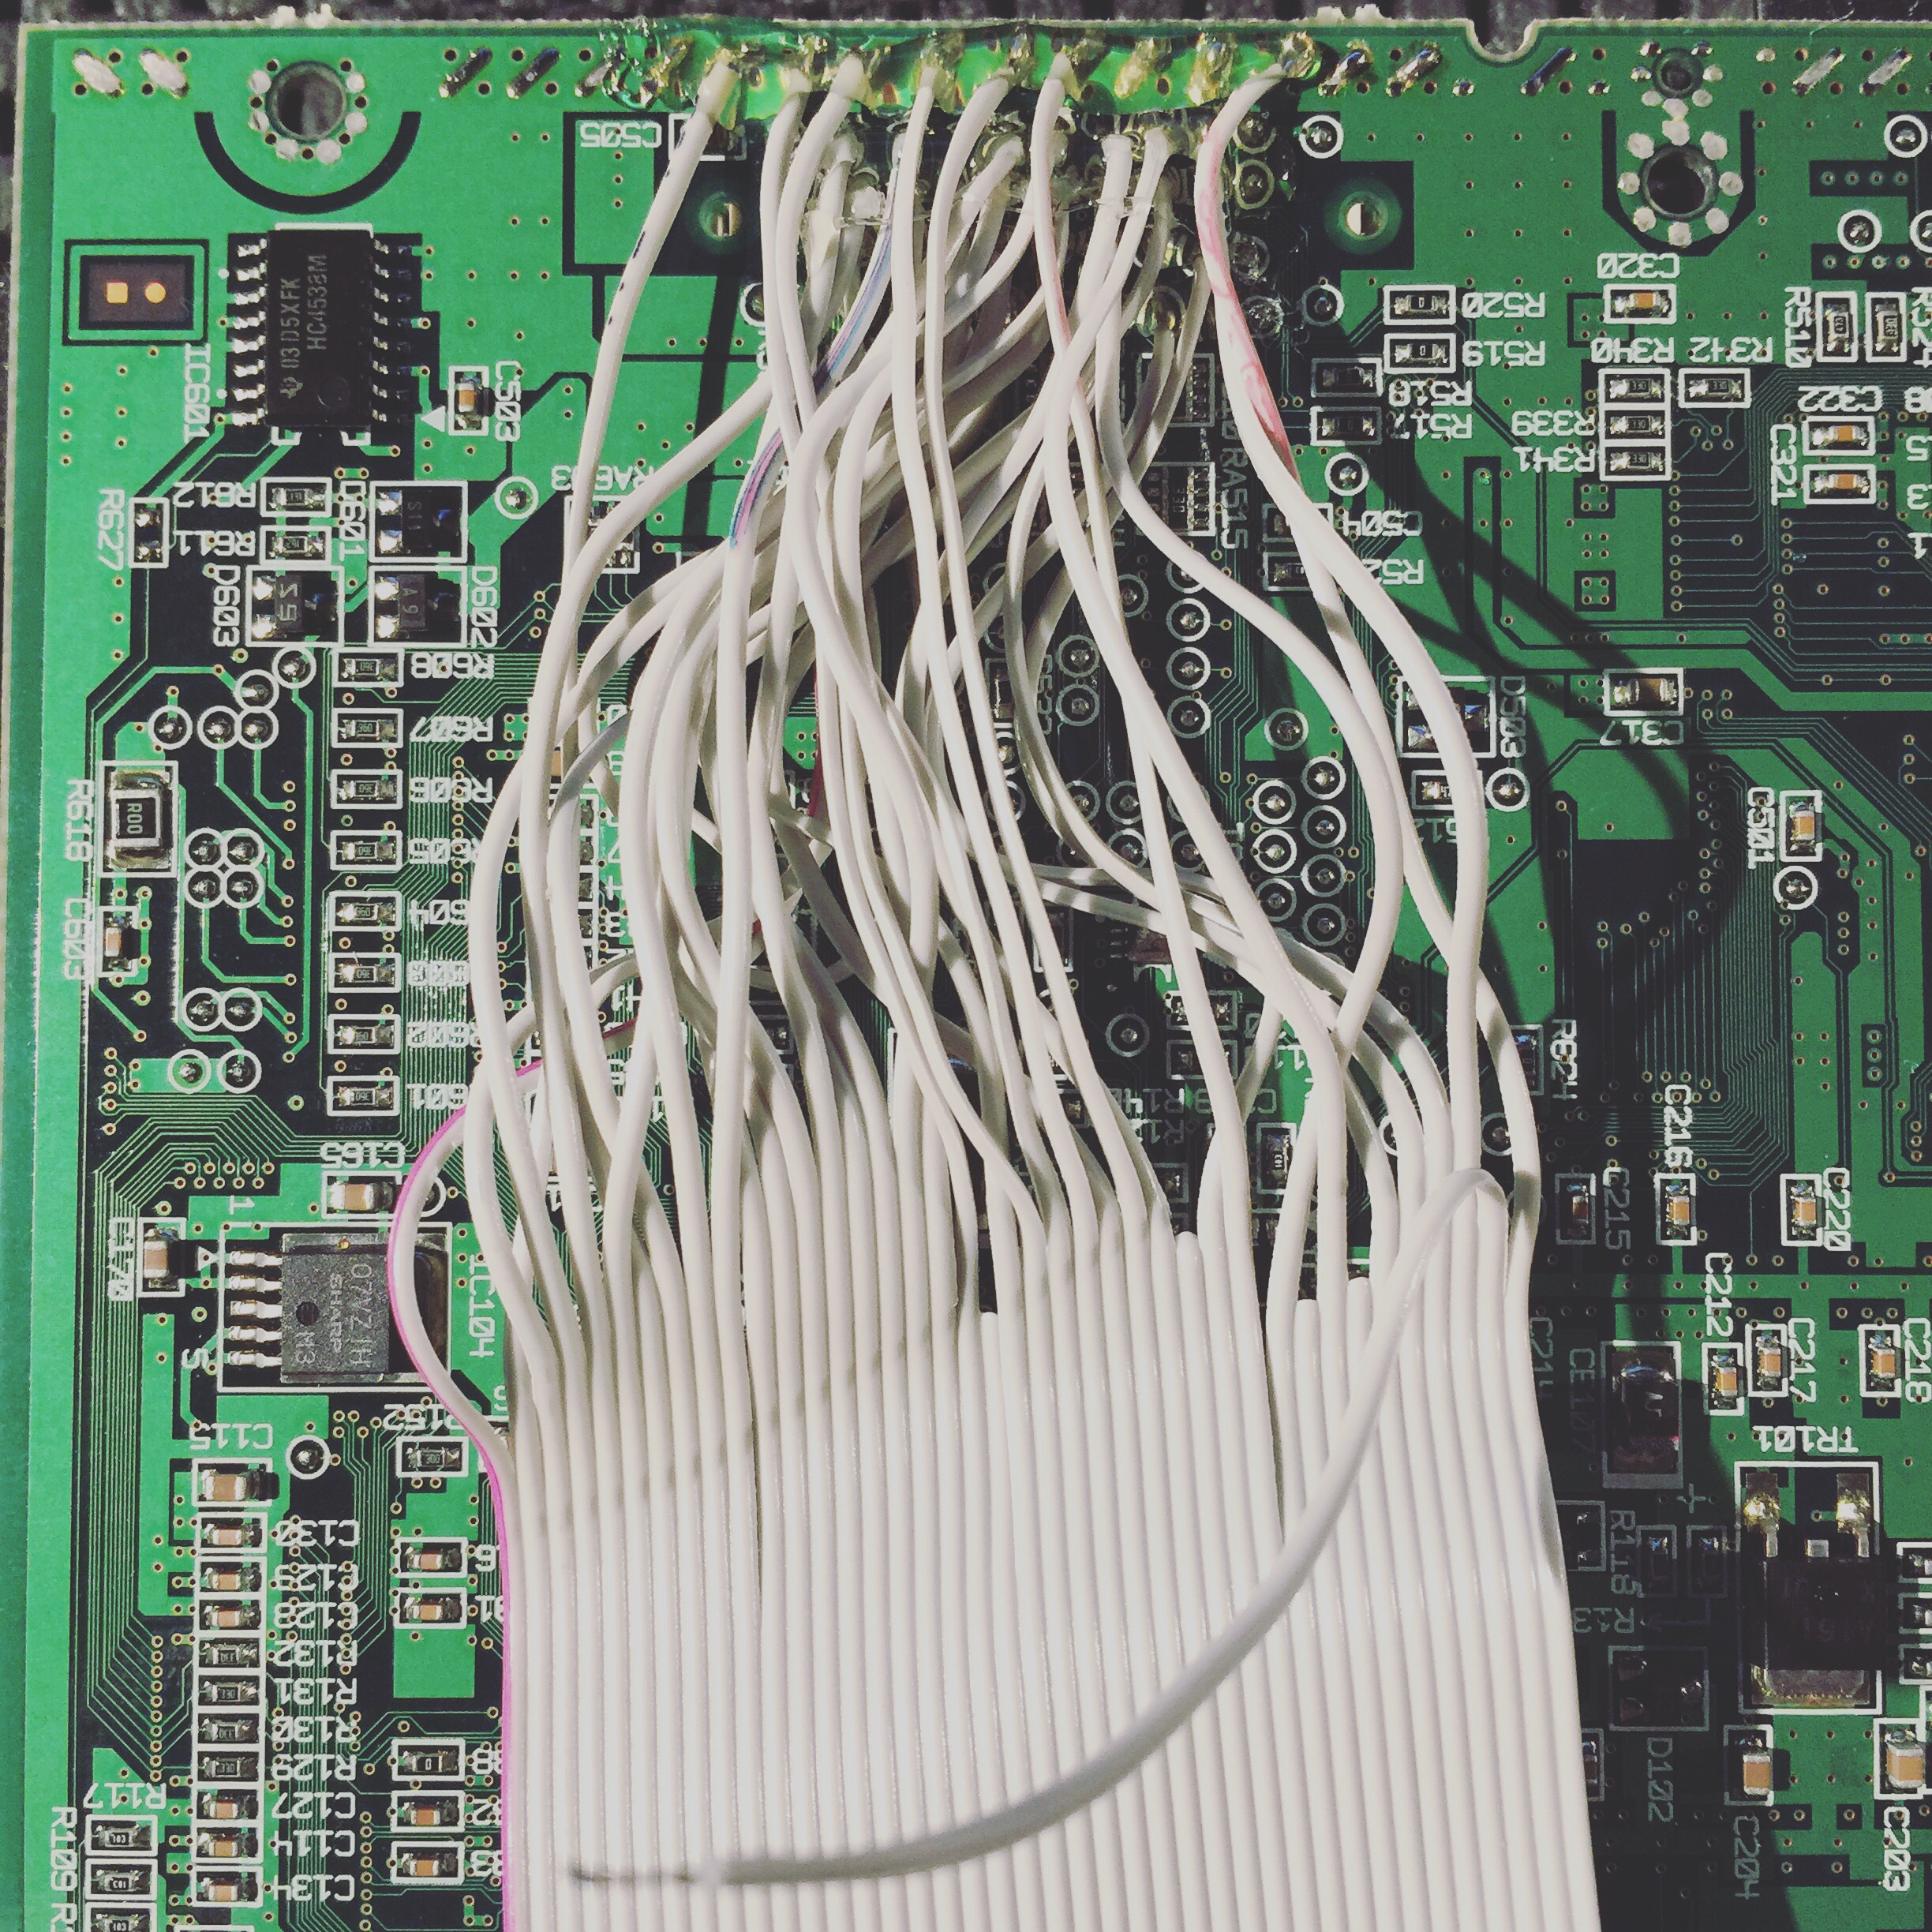
I took apart the Dreamcast and removed the motherboard. I then printed out the wire pinout guide for reference. Someone online said to use a sharpie and mark every 10th wire to help keep your count correct. It is easy to be overwhelmed with 40 small wires. I then stripped the 40 pin IDE cable to individual wires about 4 inches back and stripped and tinned each wire. I also hit all the pads on the Dreamcast with a bit of new soldier.
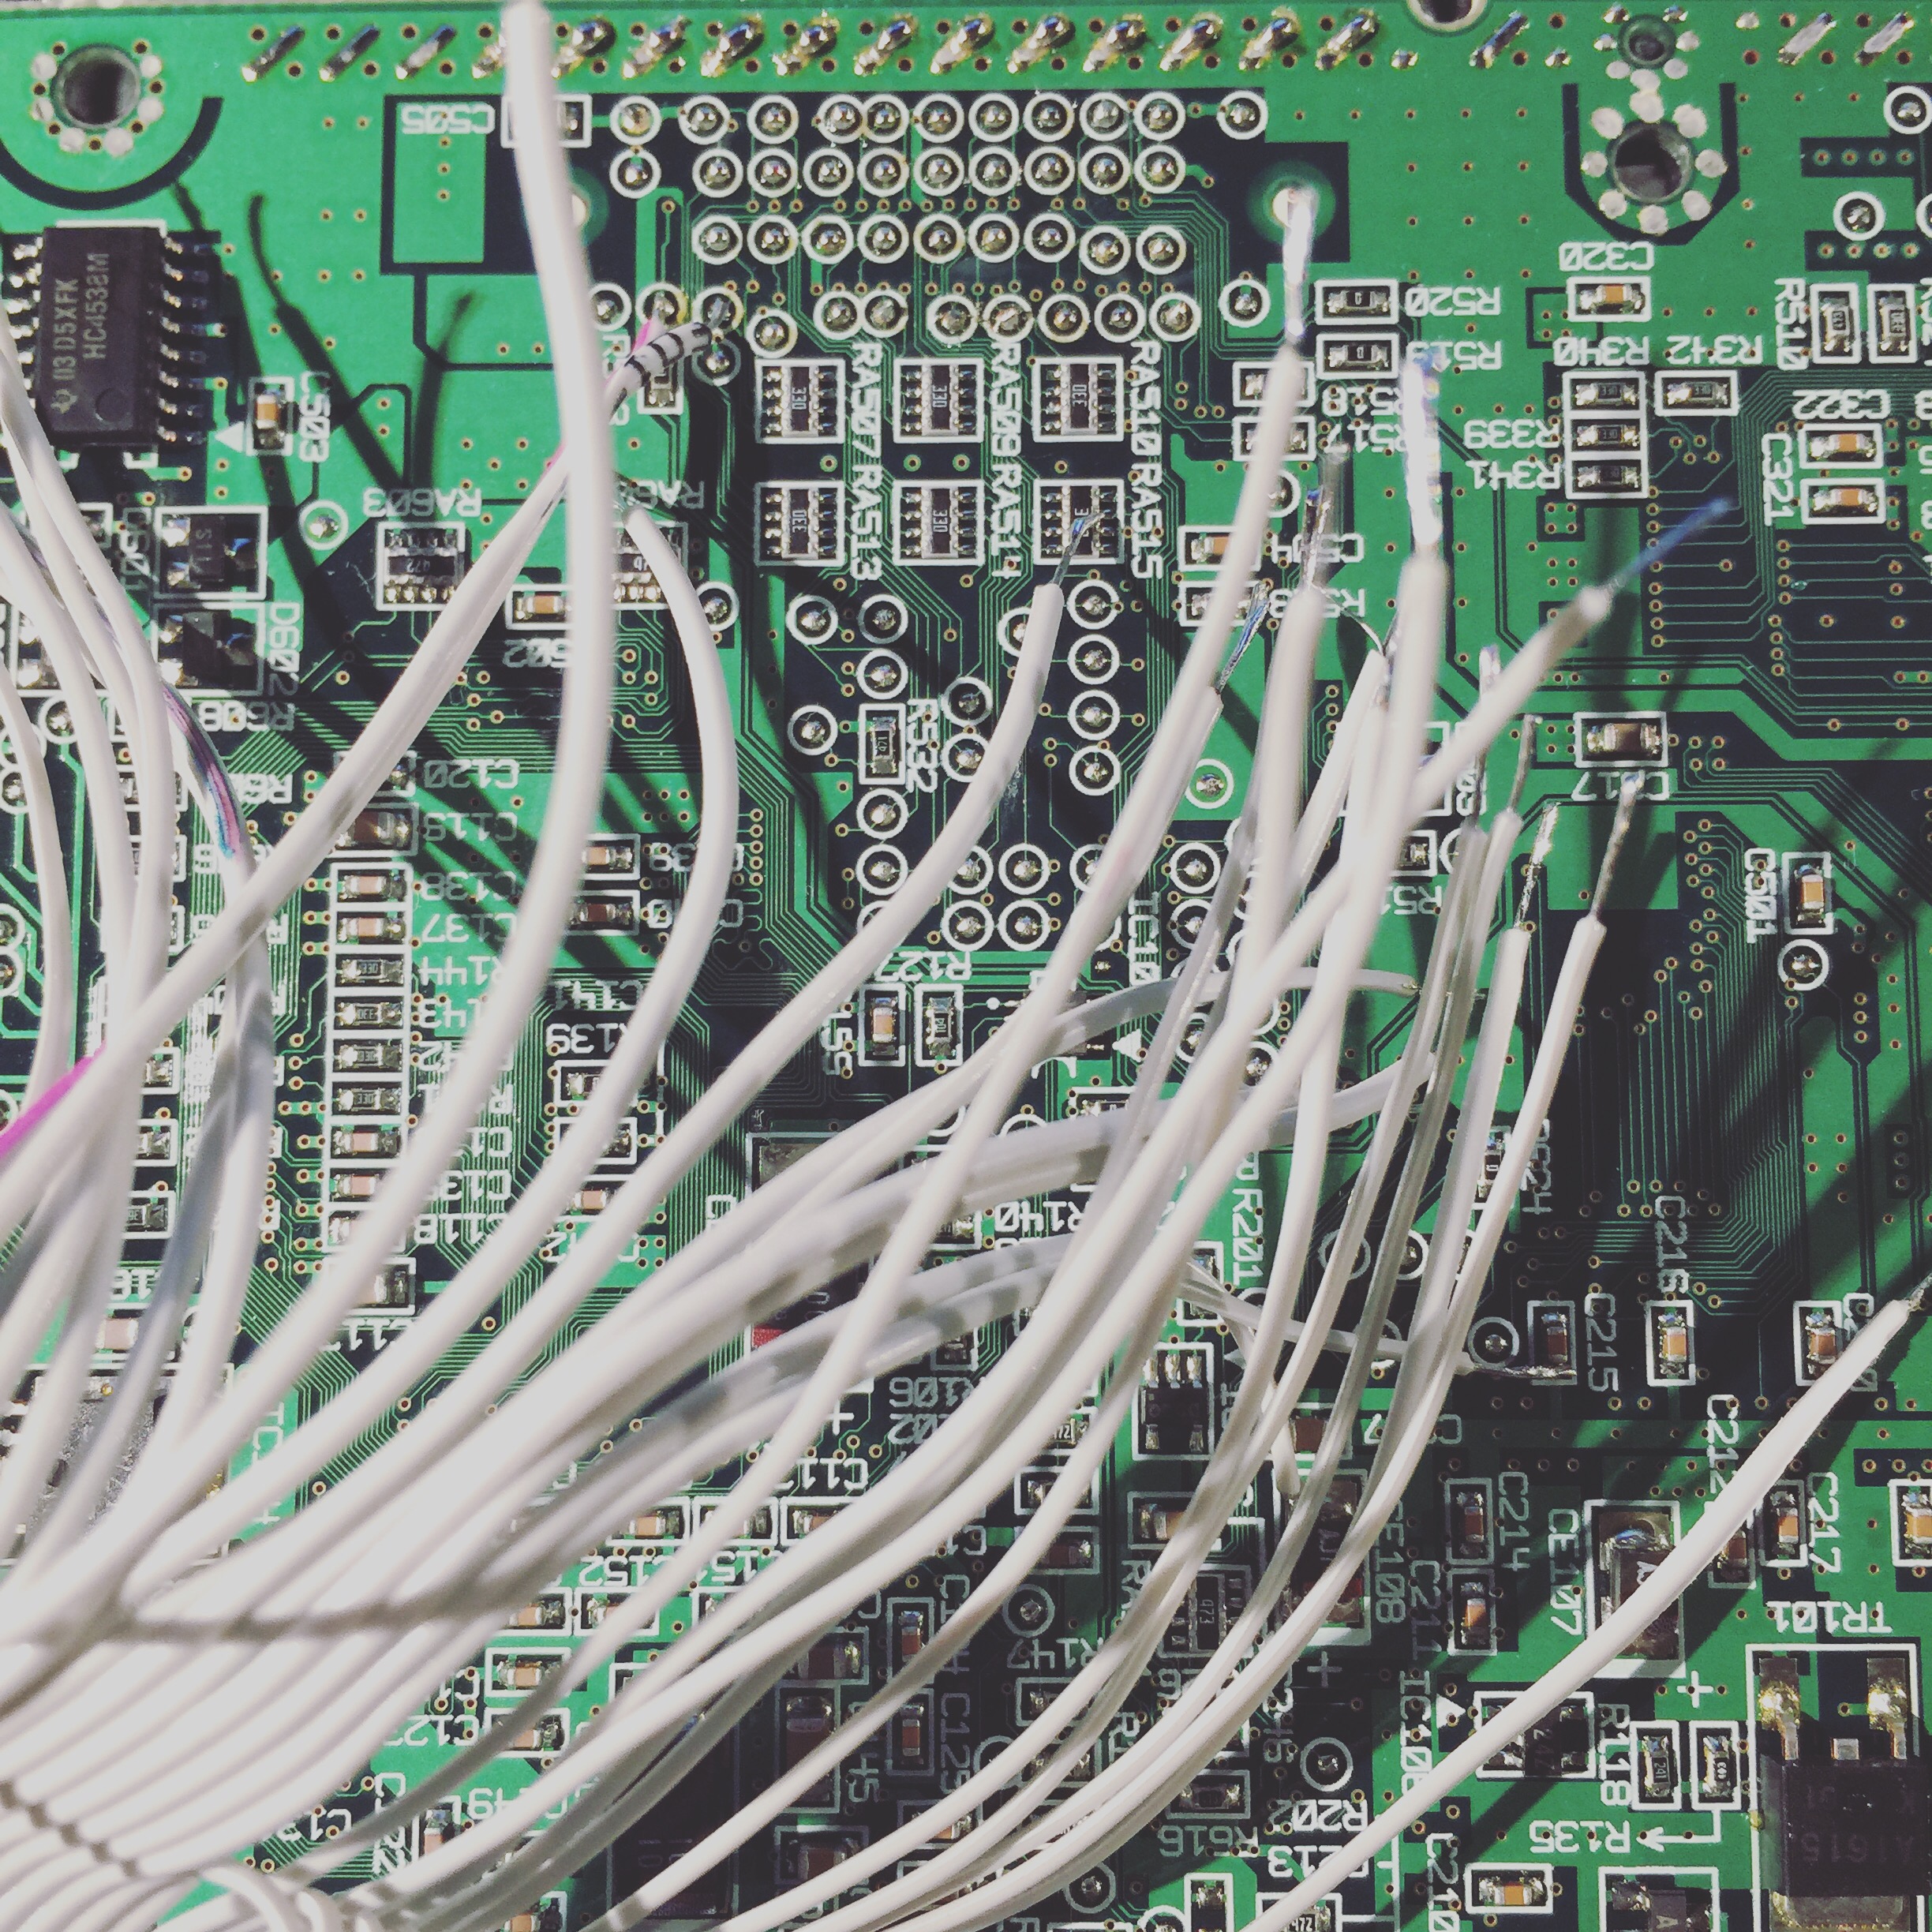
I stared soldering with the bottom row and worked my way from left to right and up. When I finished a row I then used a hot glue gun to hold the wires in place to the board and to keep them out of the way. It looks crazy but if you take your time its not that bad.
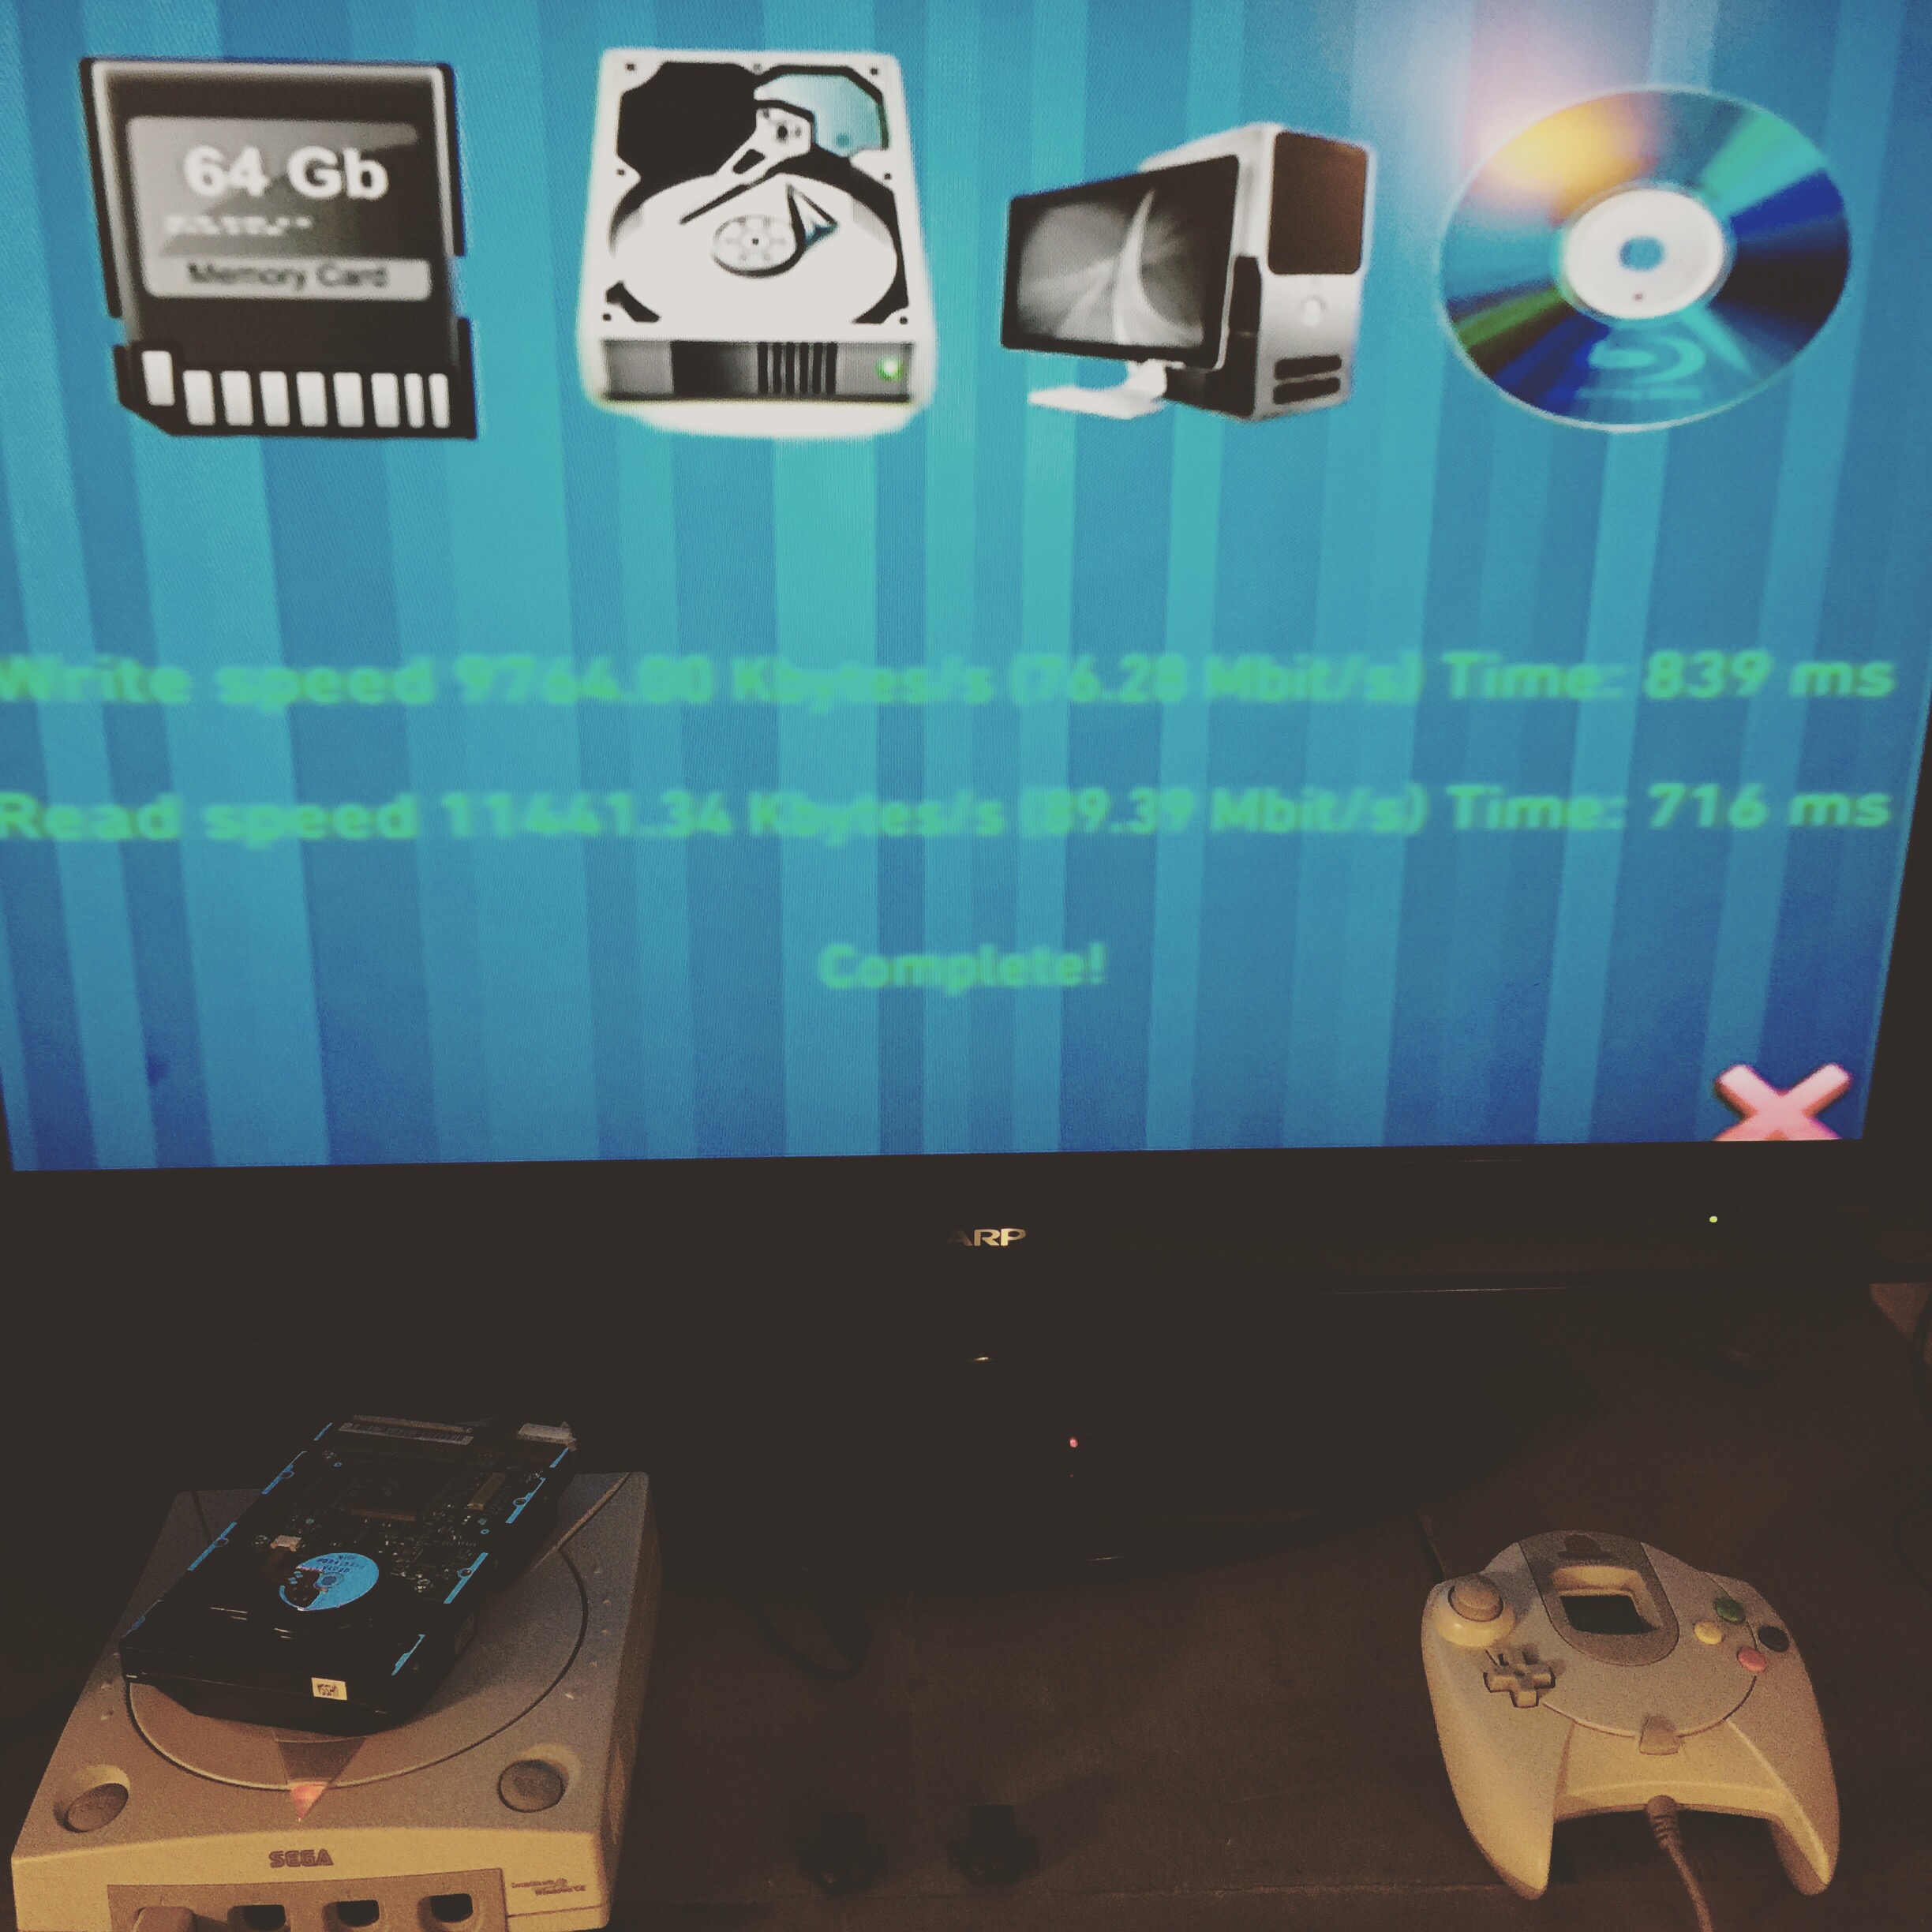
When done I then assembled the Dreamcast and hooked up the IDE HDD and used an external power source for the drive. I booted the Dreamshell CD and did a quick HDD test and it all looks good so far. I tossed a couple games on it to test and it seems like its good to go.
Next I will most likely install a SD to IDE 44 pin adapter.
What else can be done?
You can piggy back a new BIOS chip flashed with a custom bios that will let you boot Dreamcast from the HDD.
A SD/Compact Flash to IDE adapter can be used also
Final Thoughts:
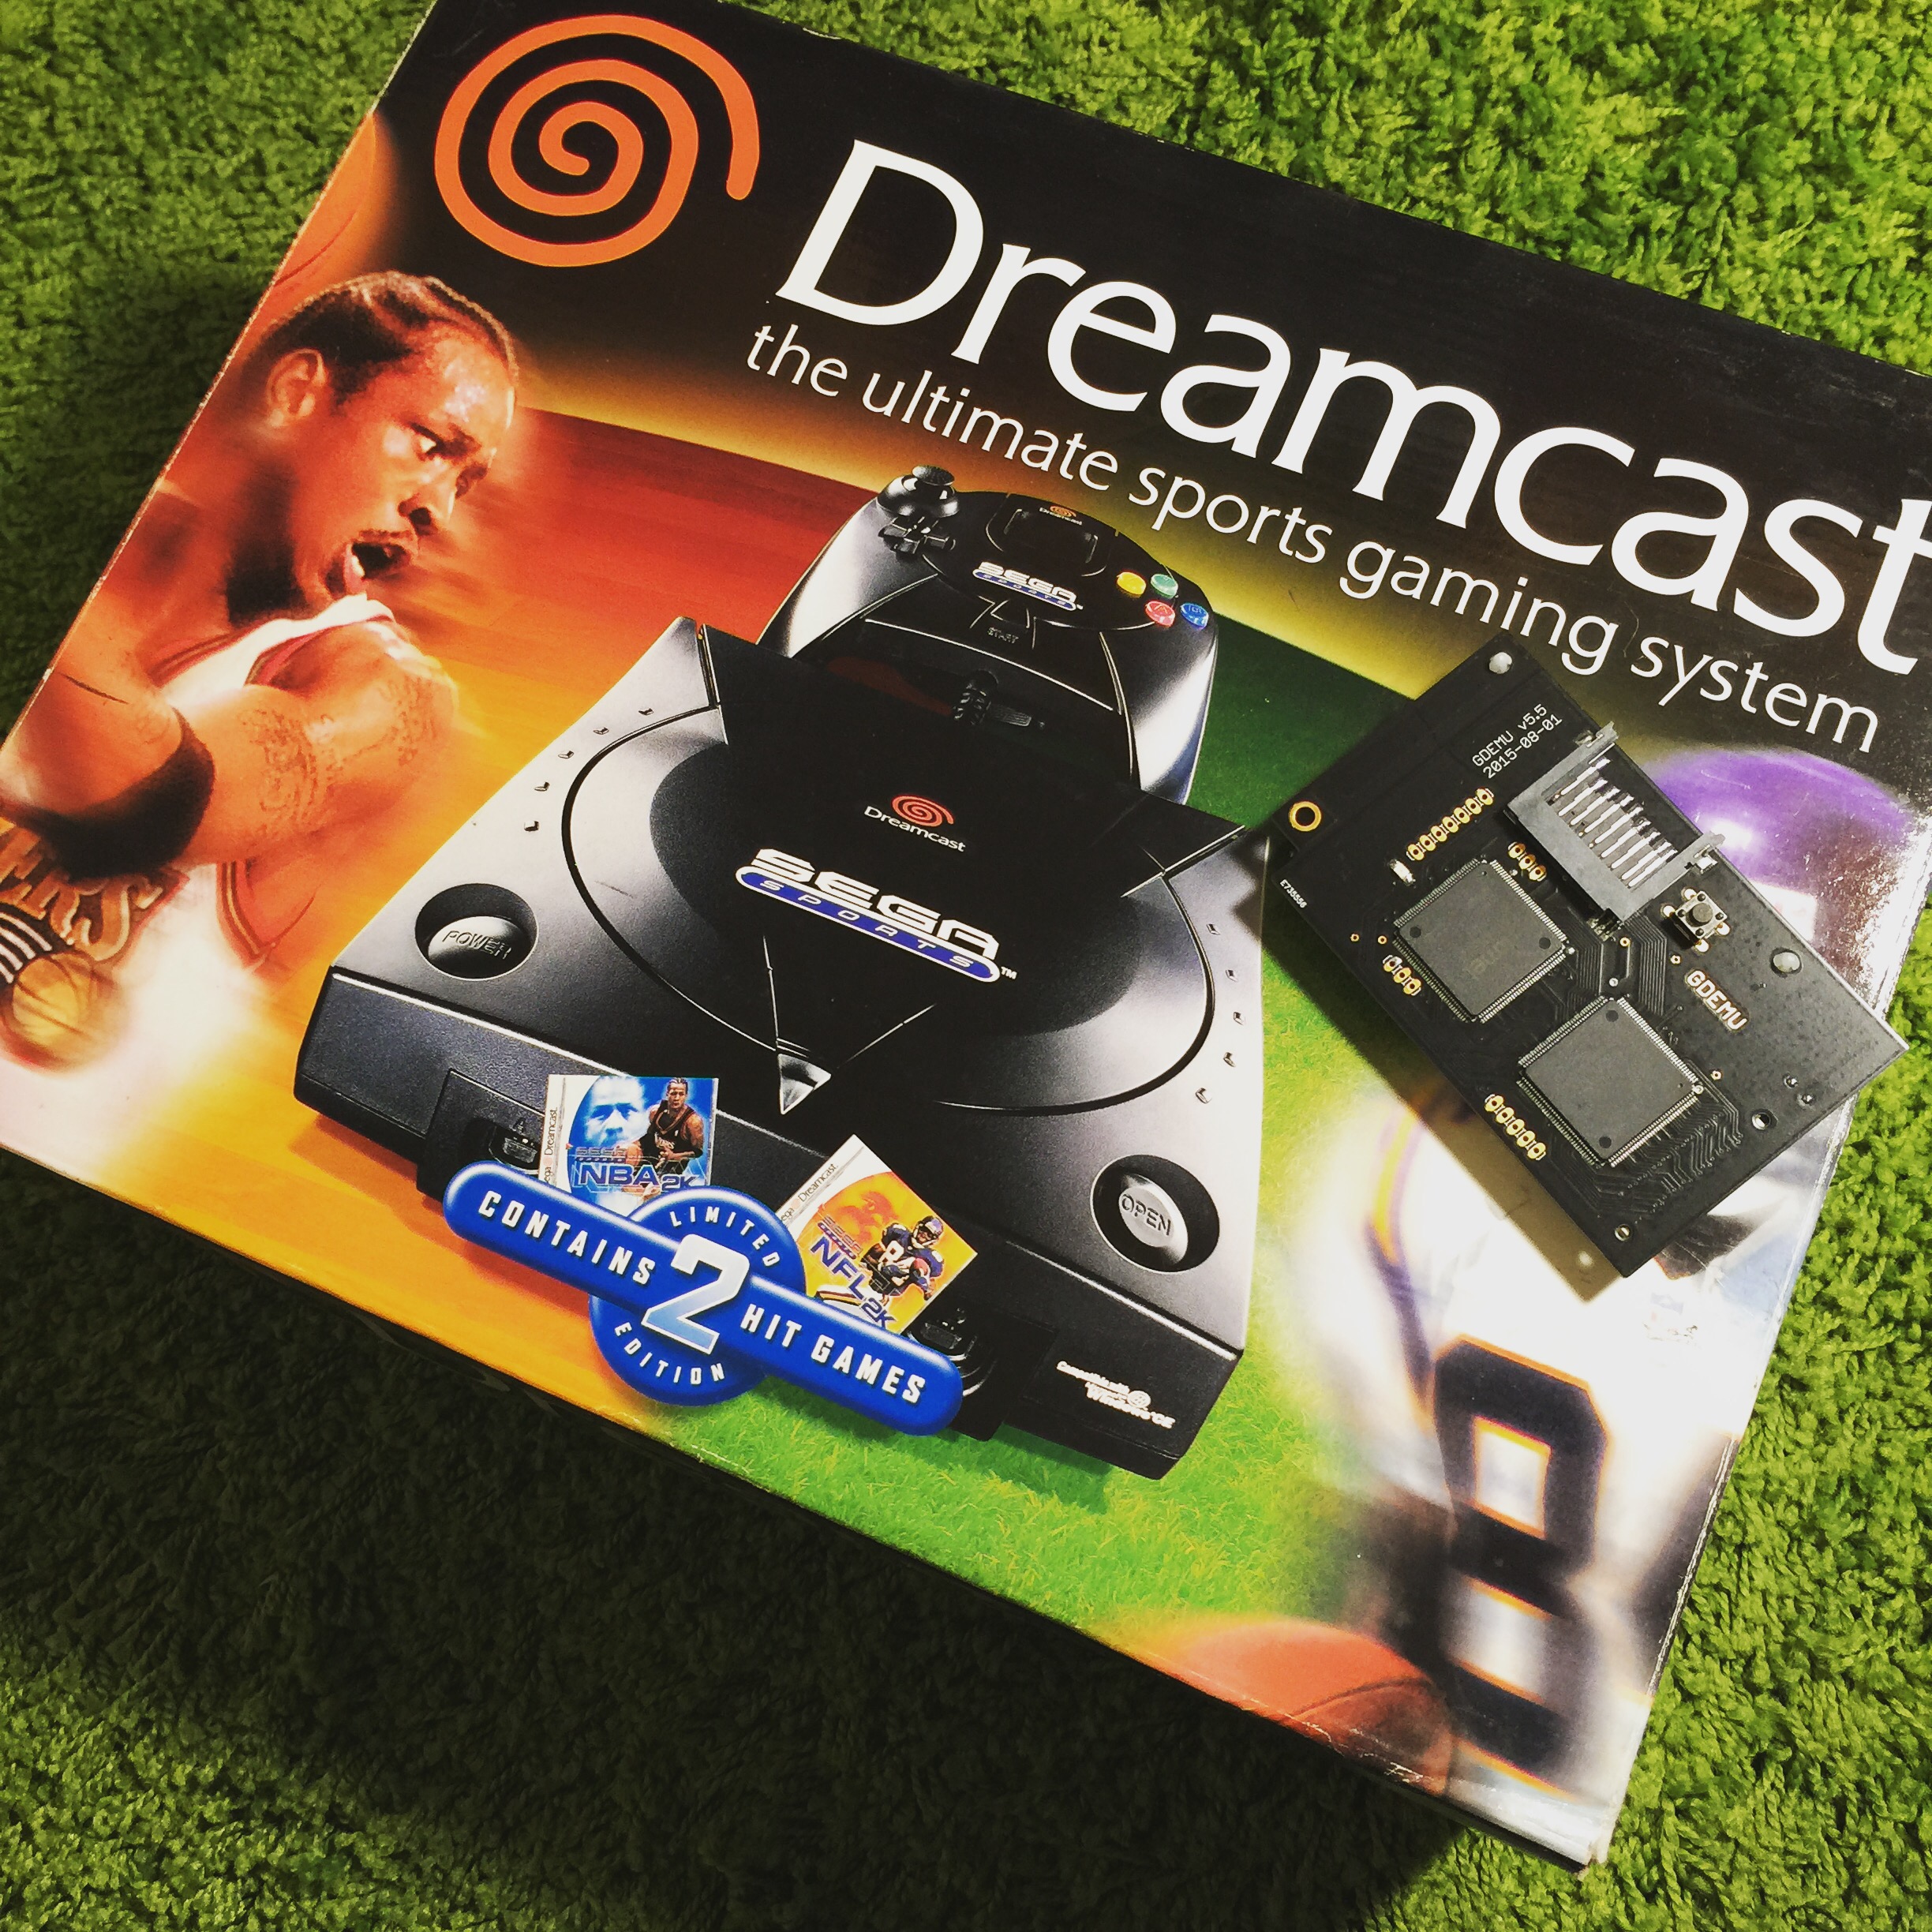
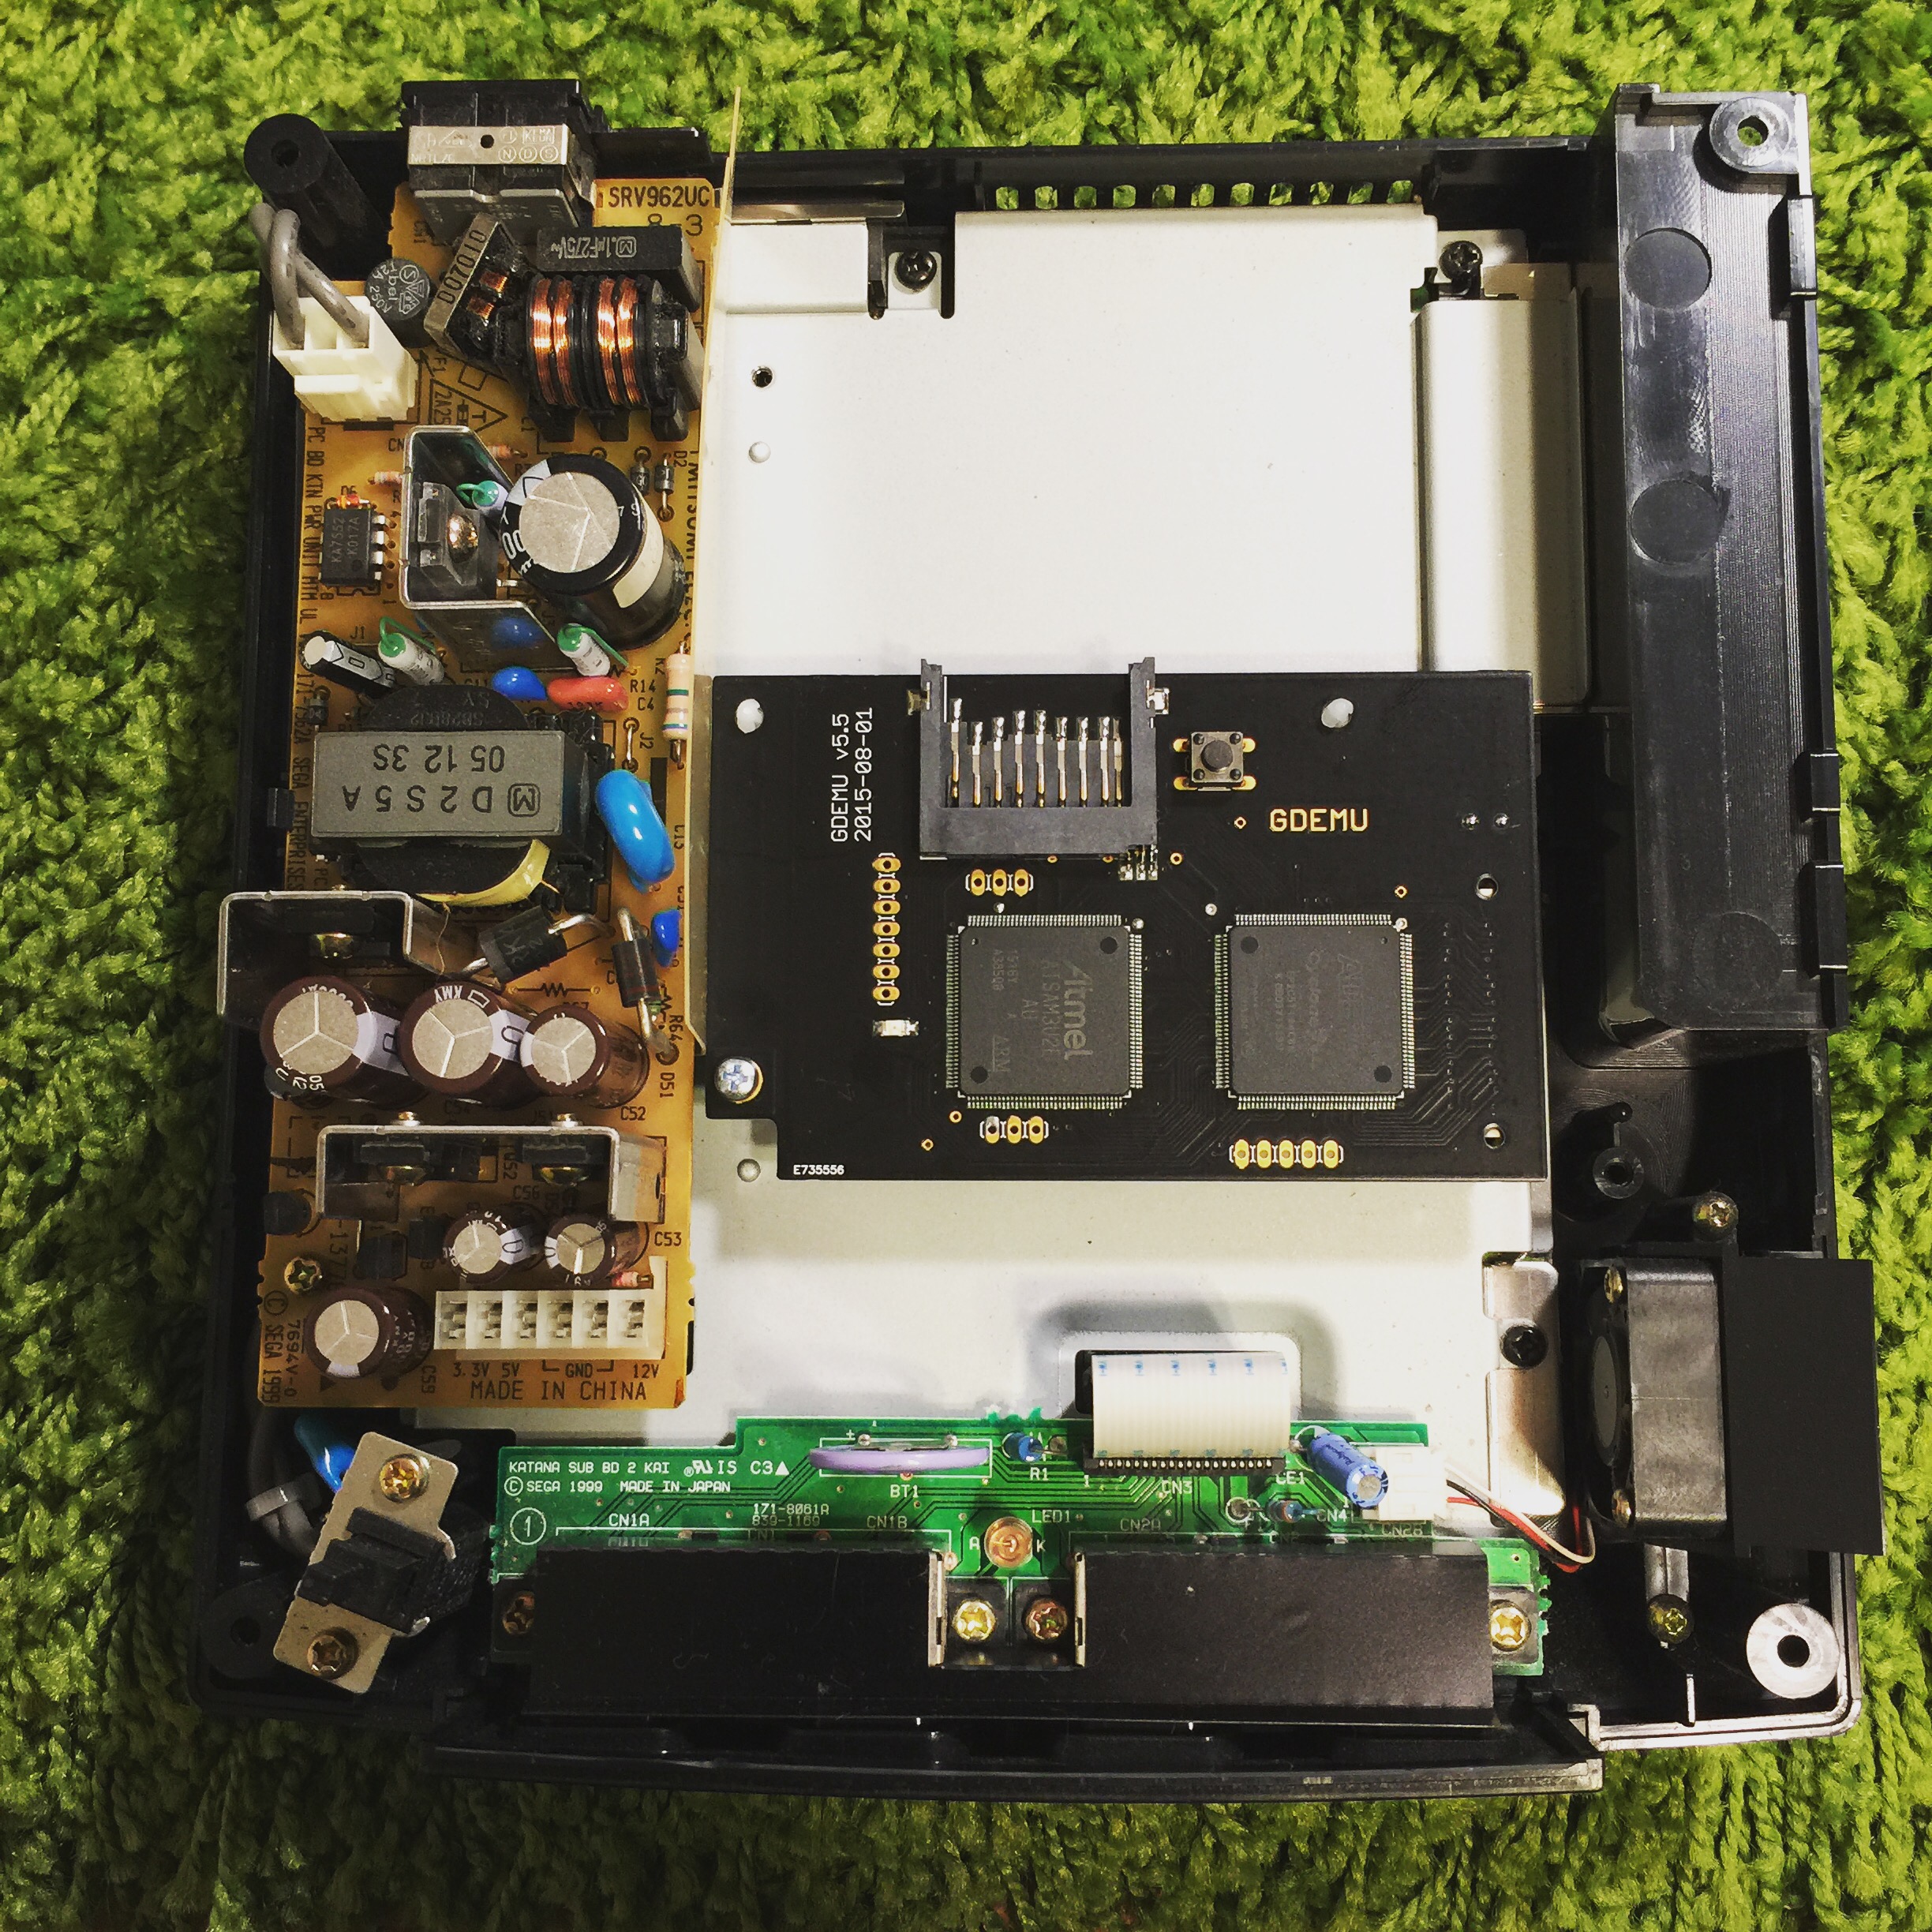
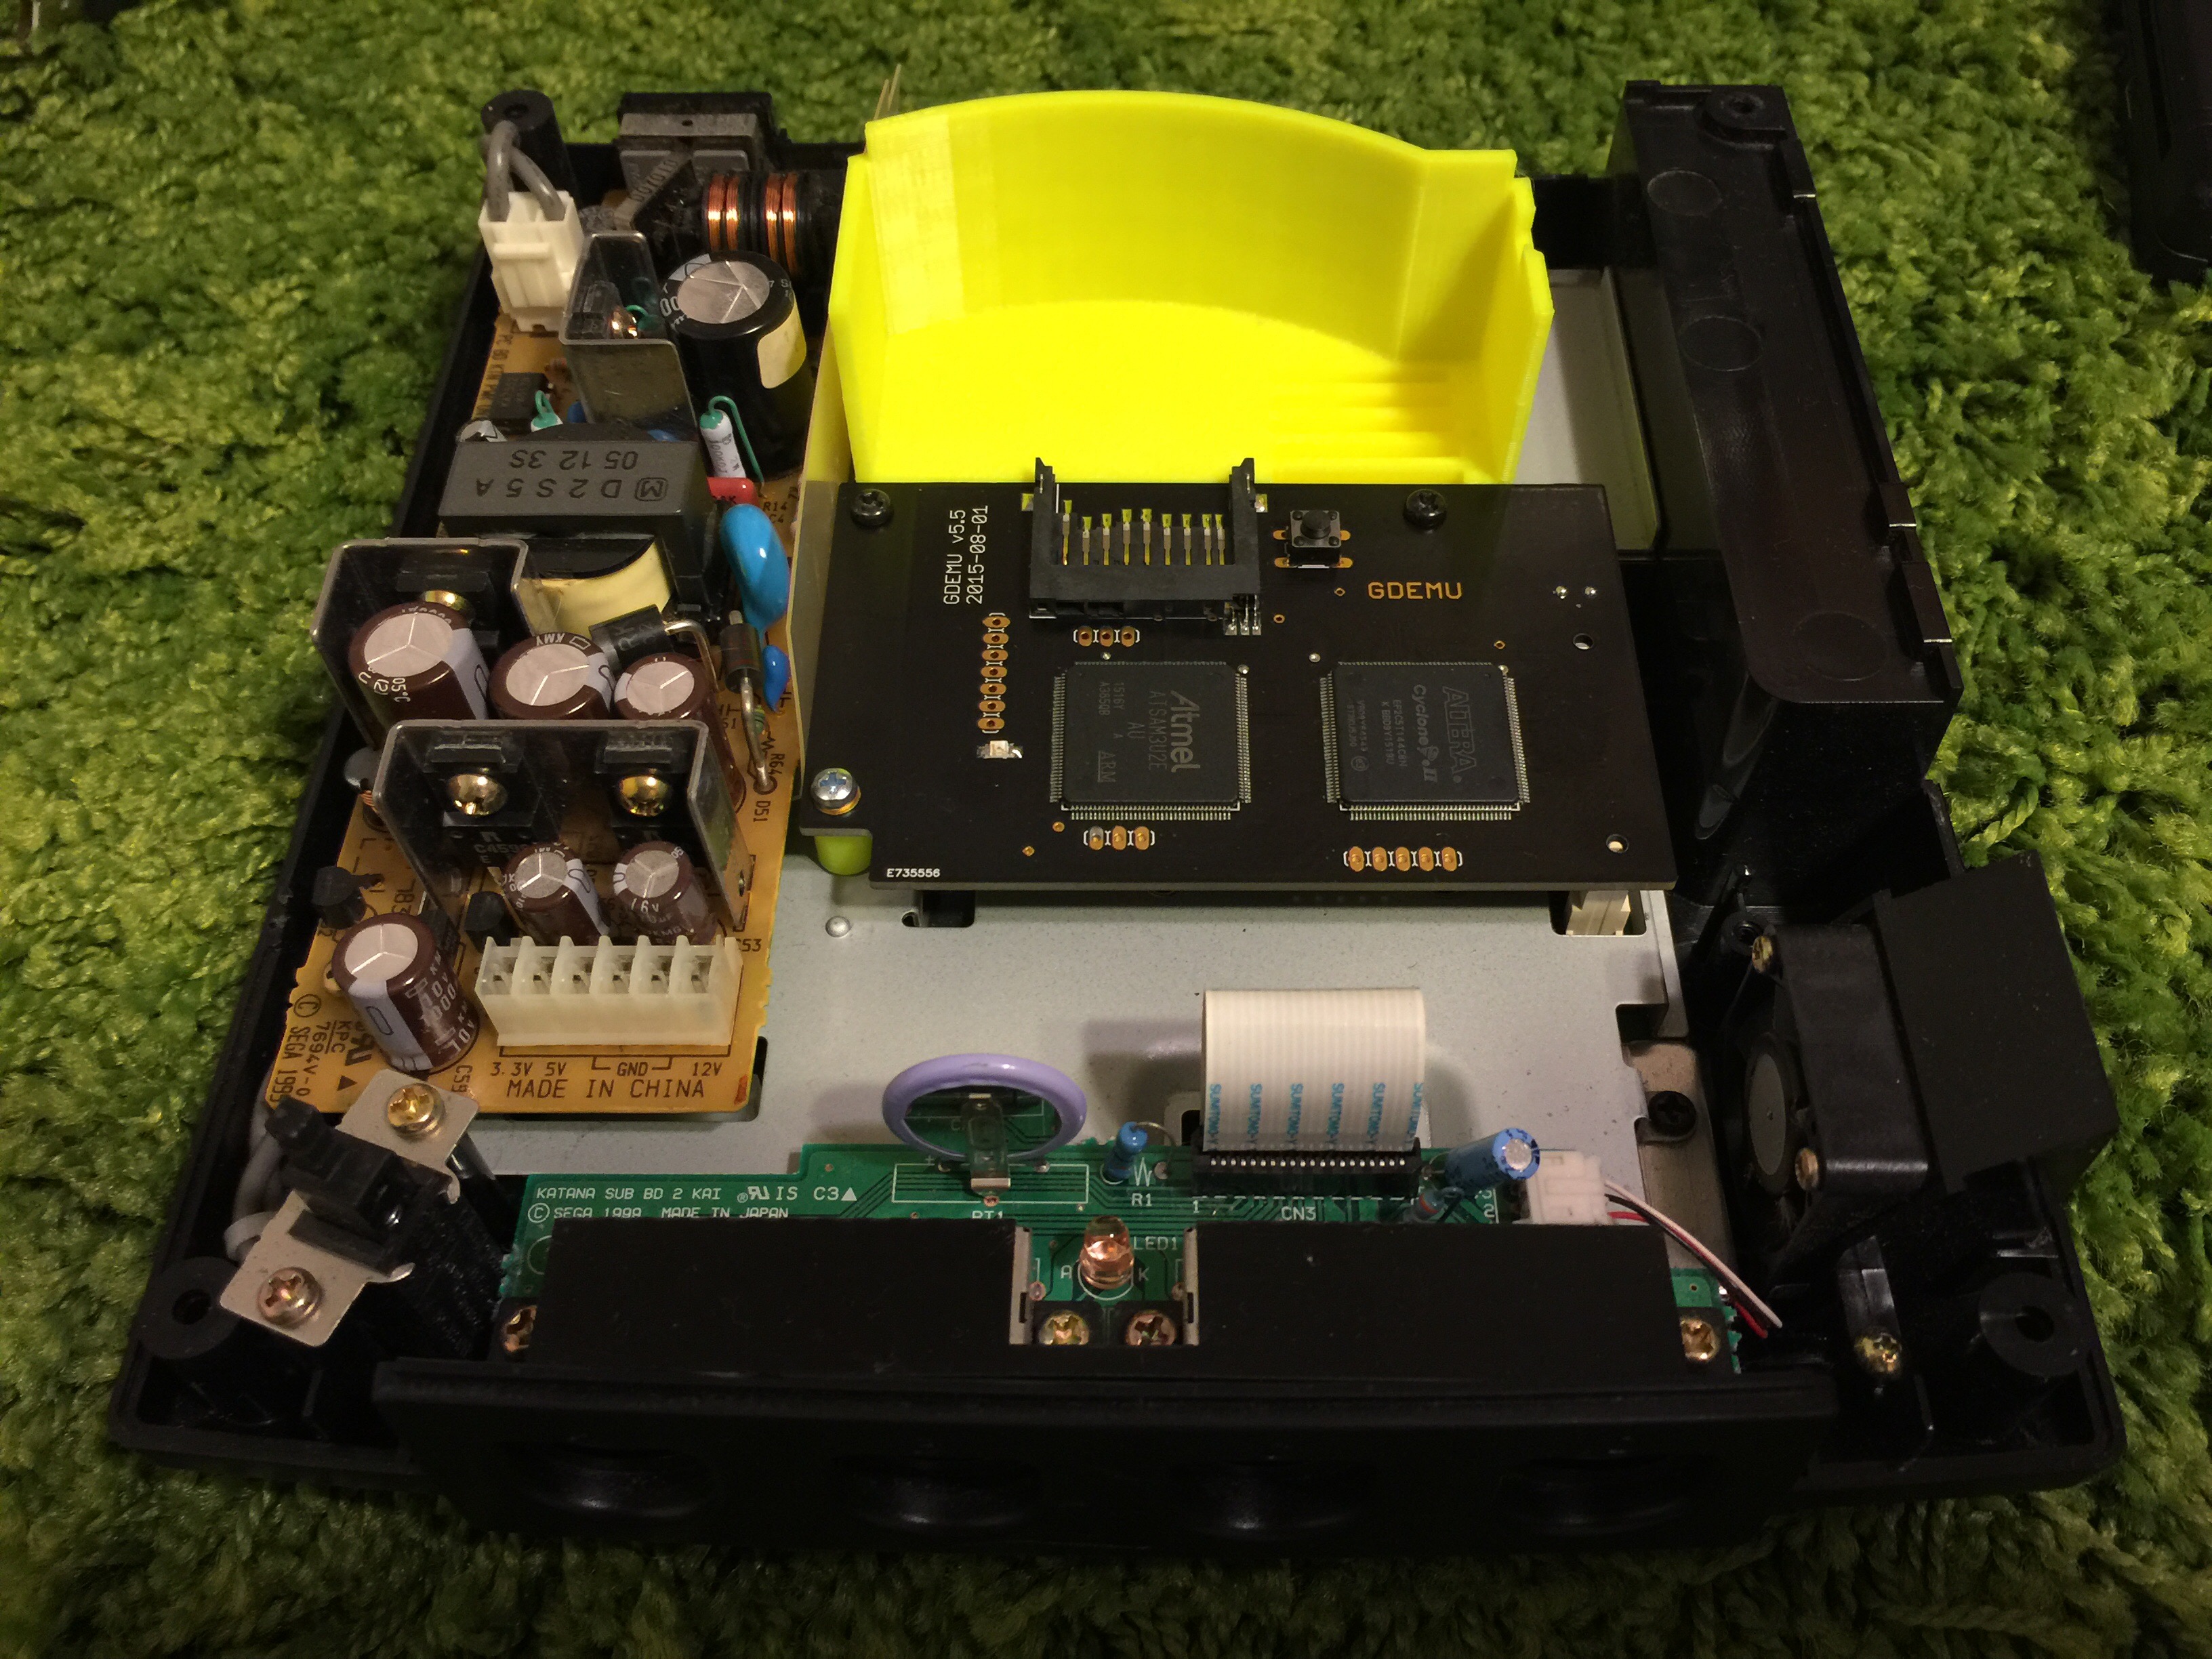
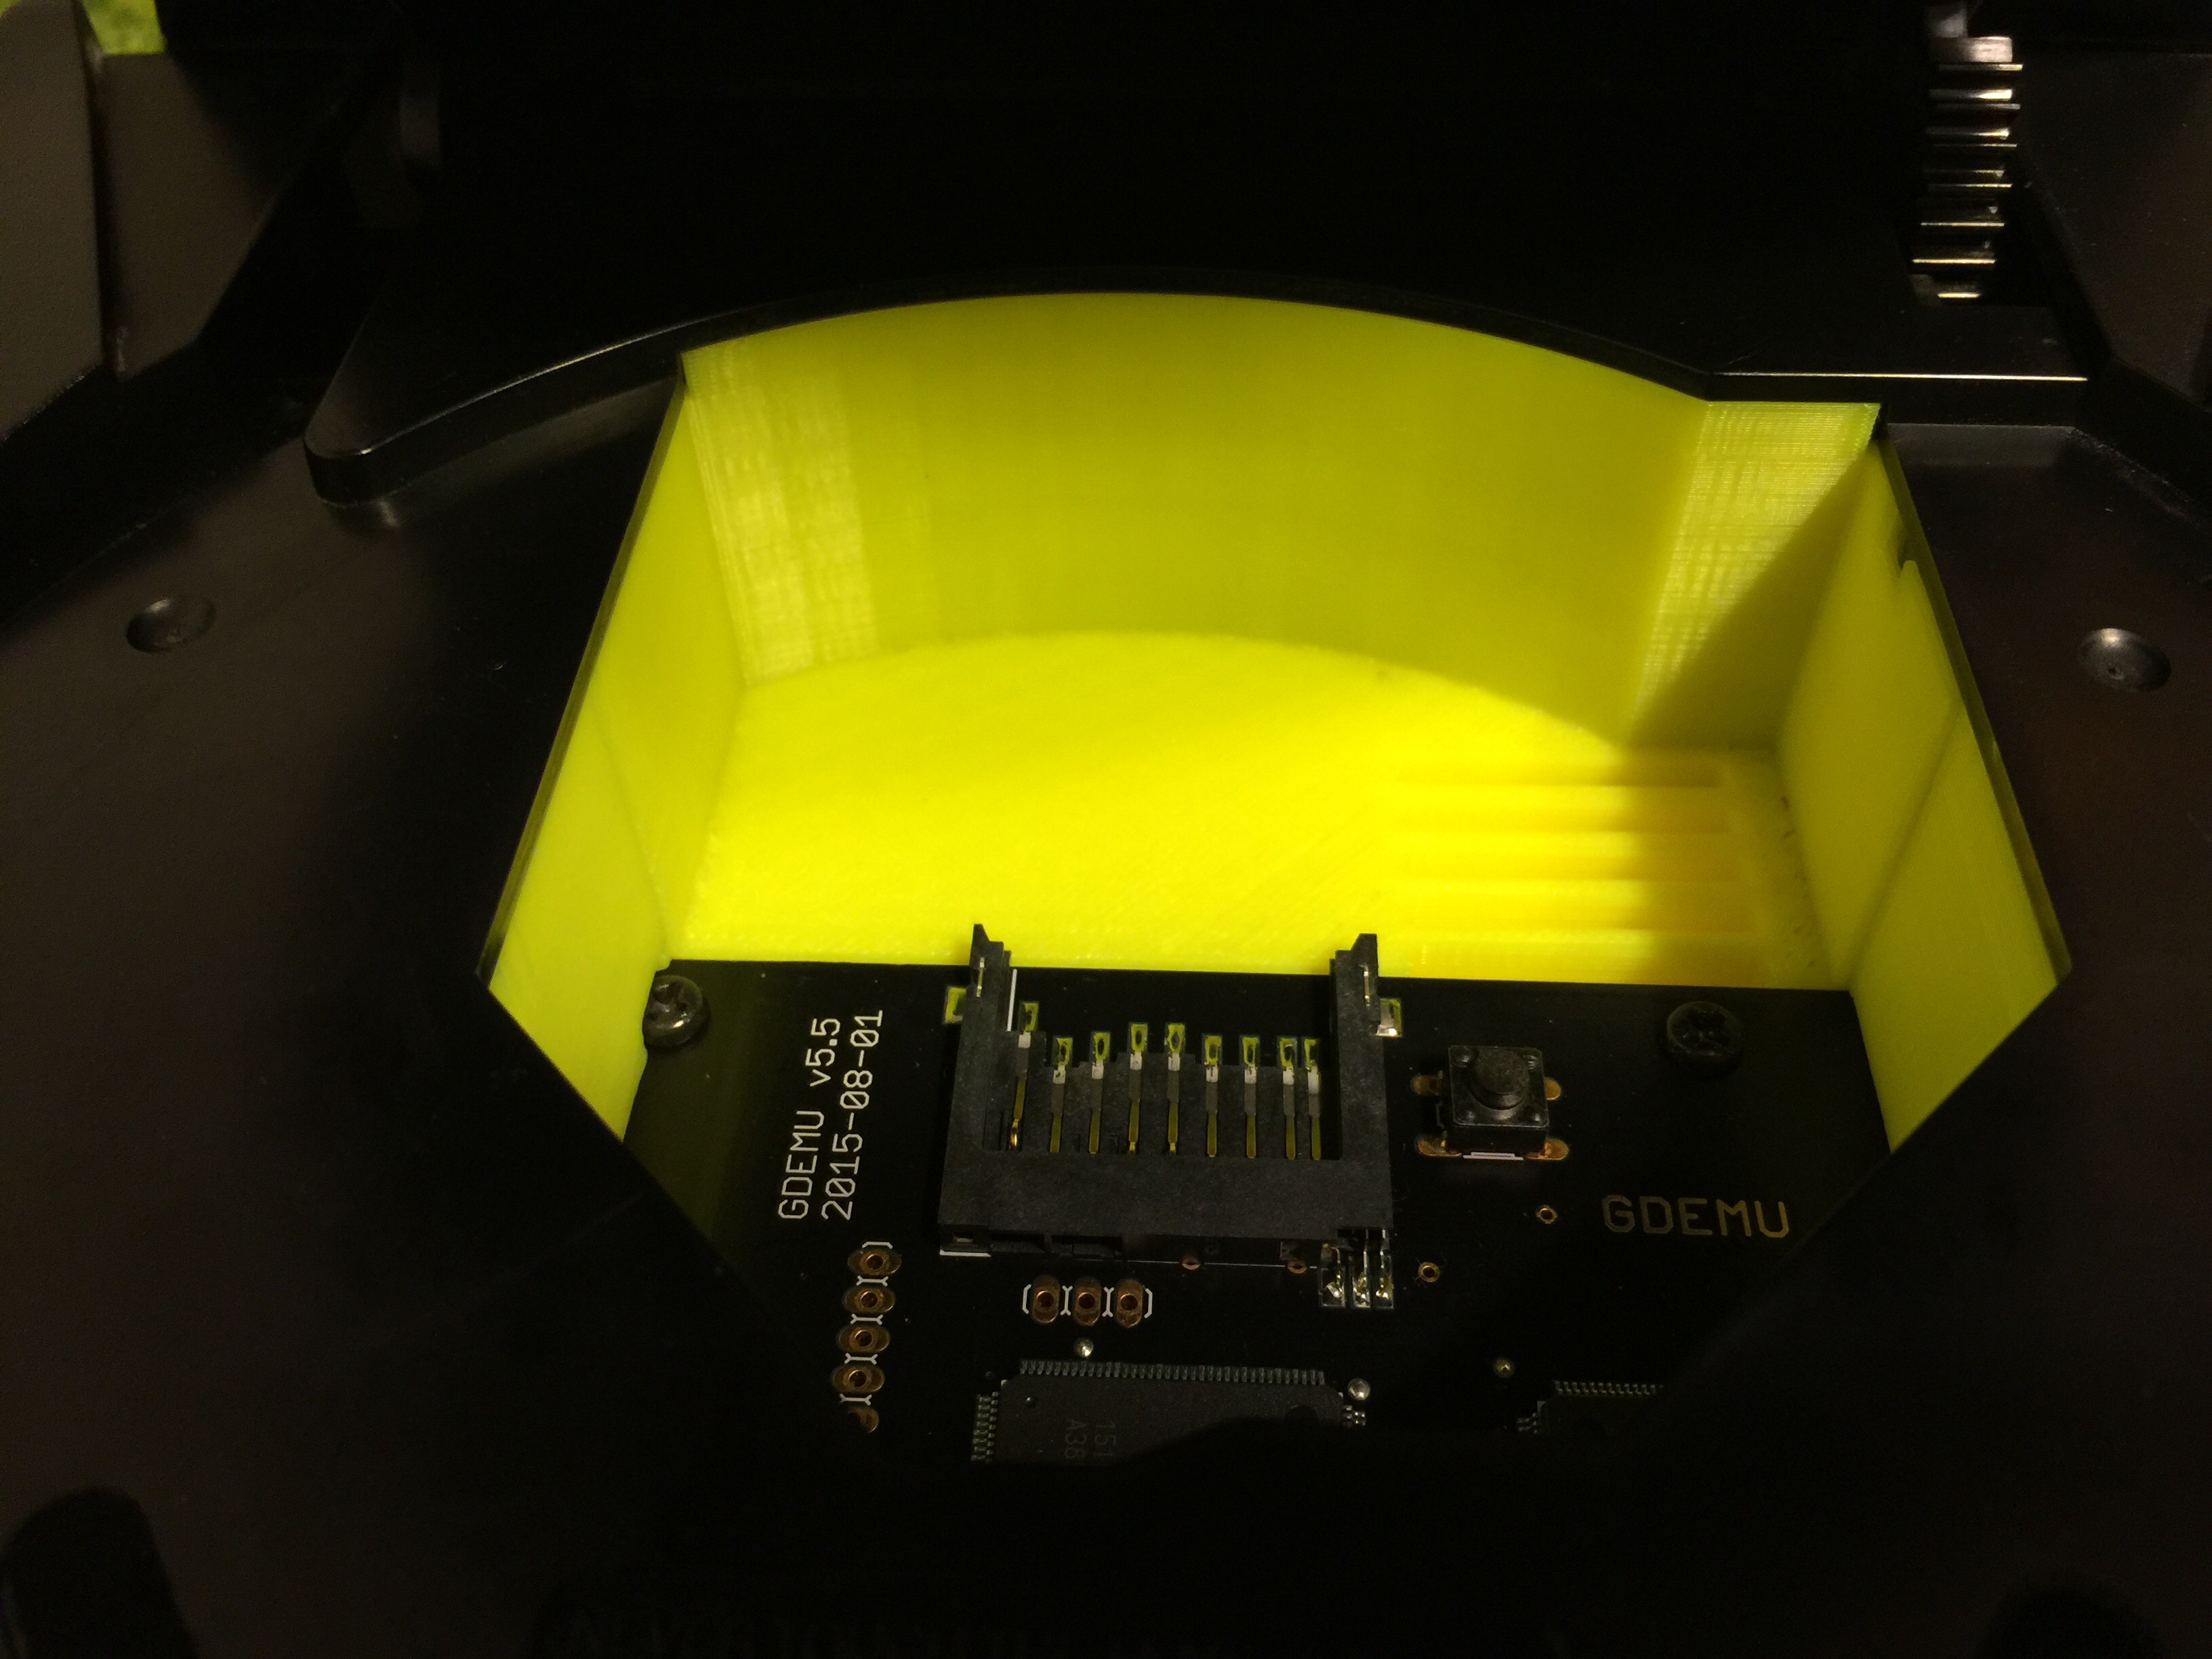
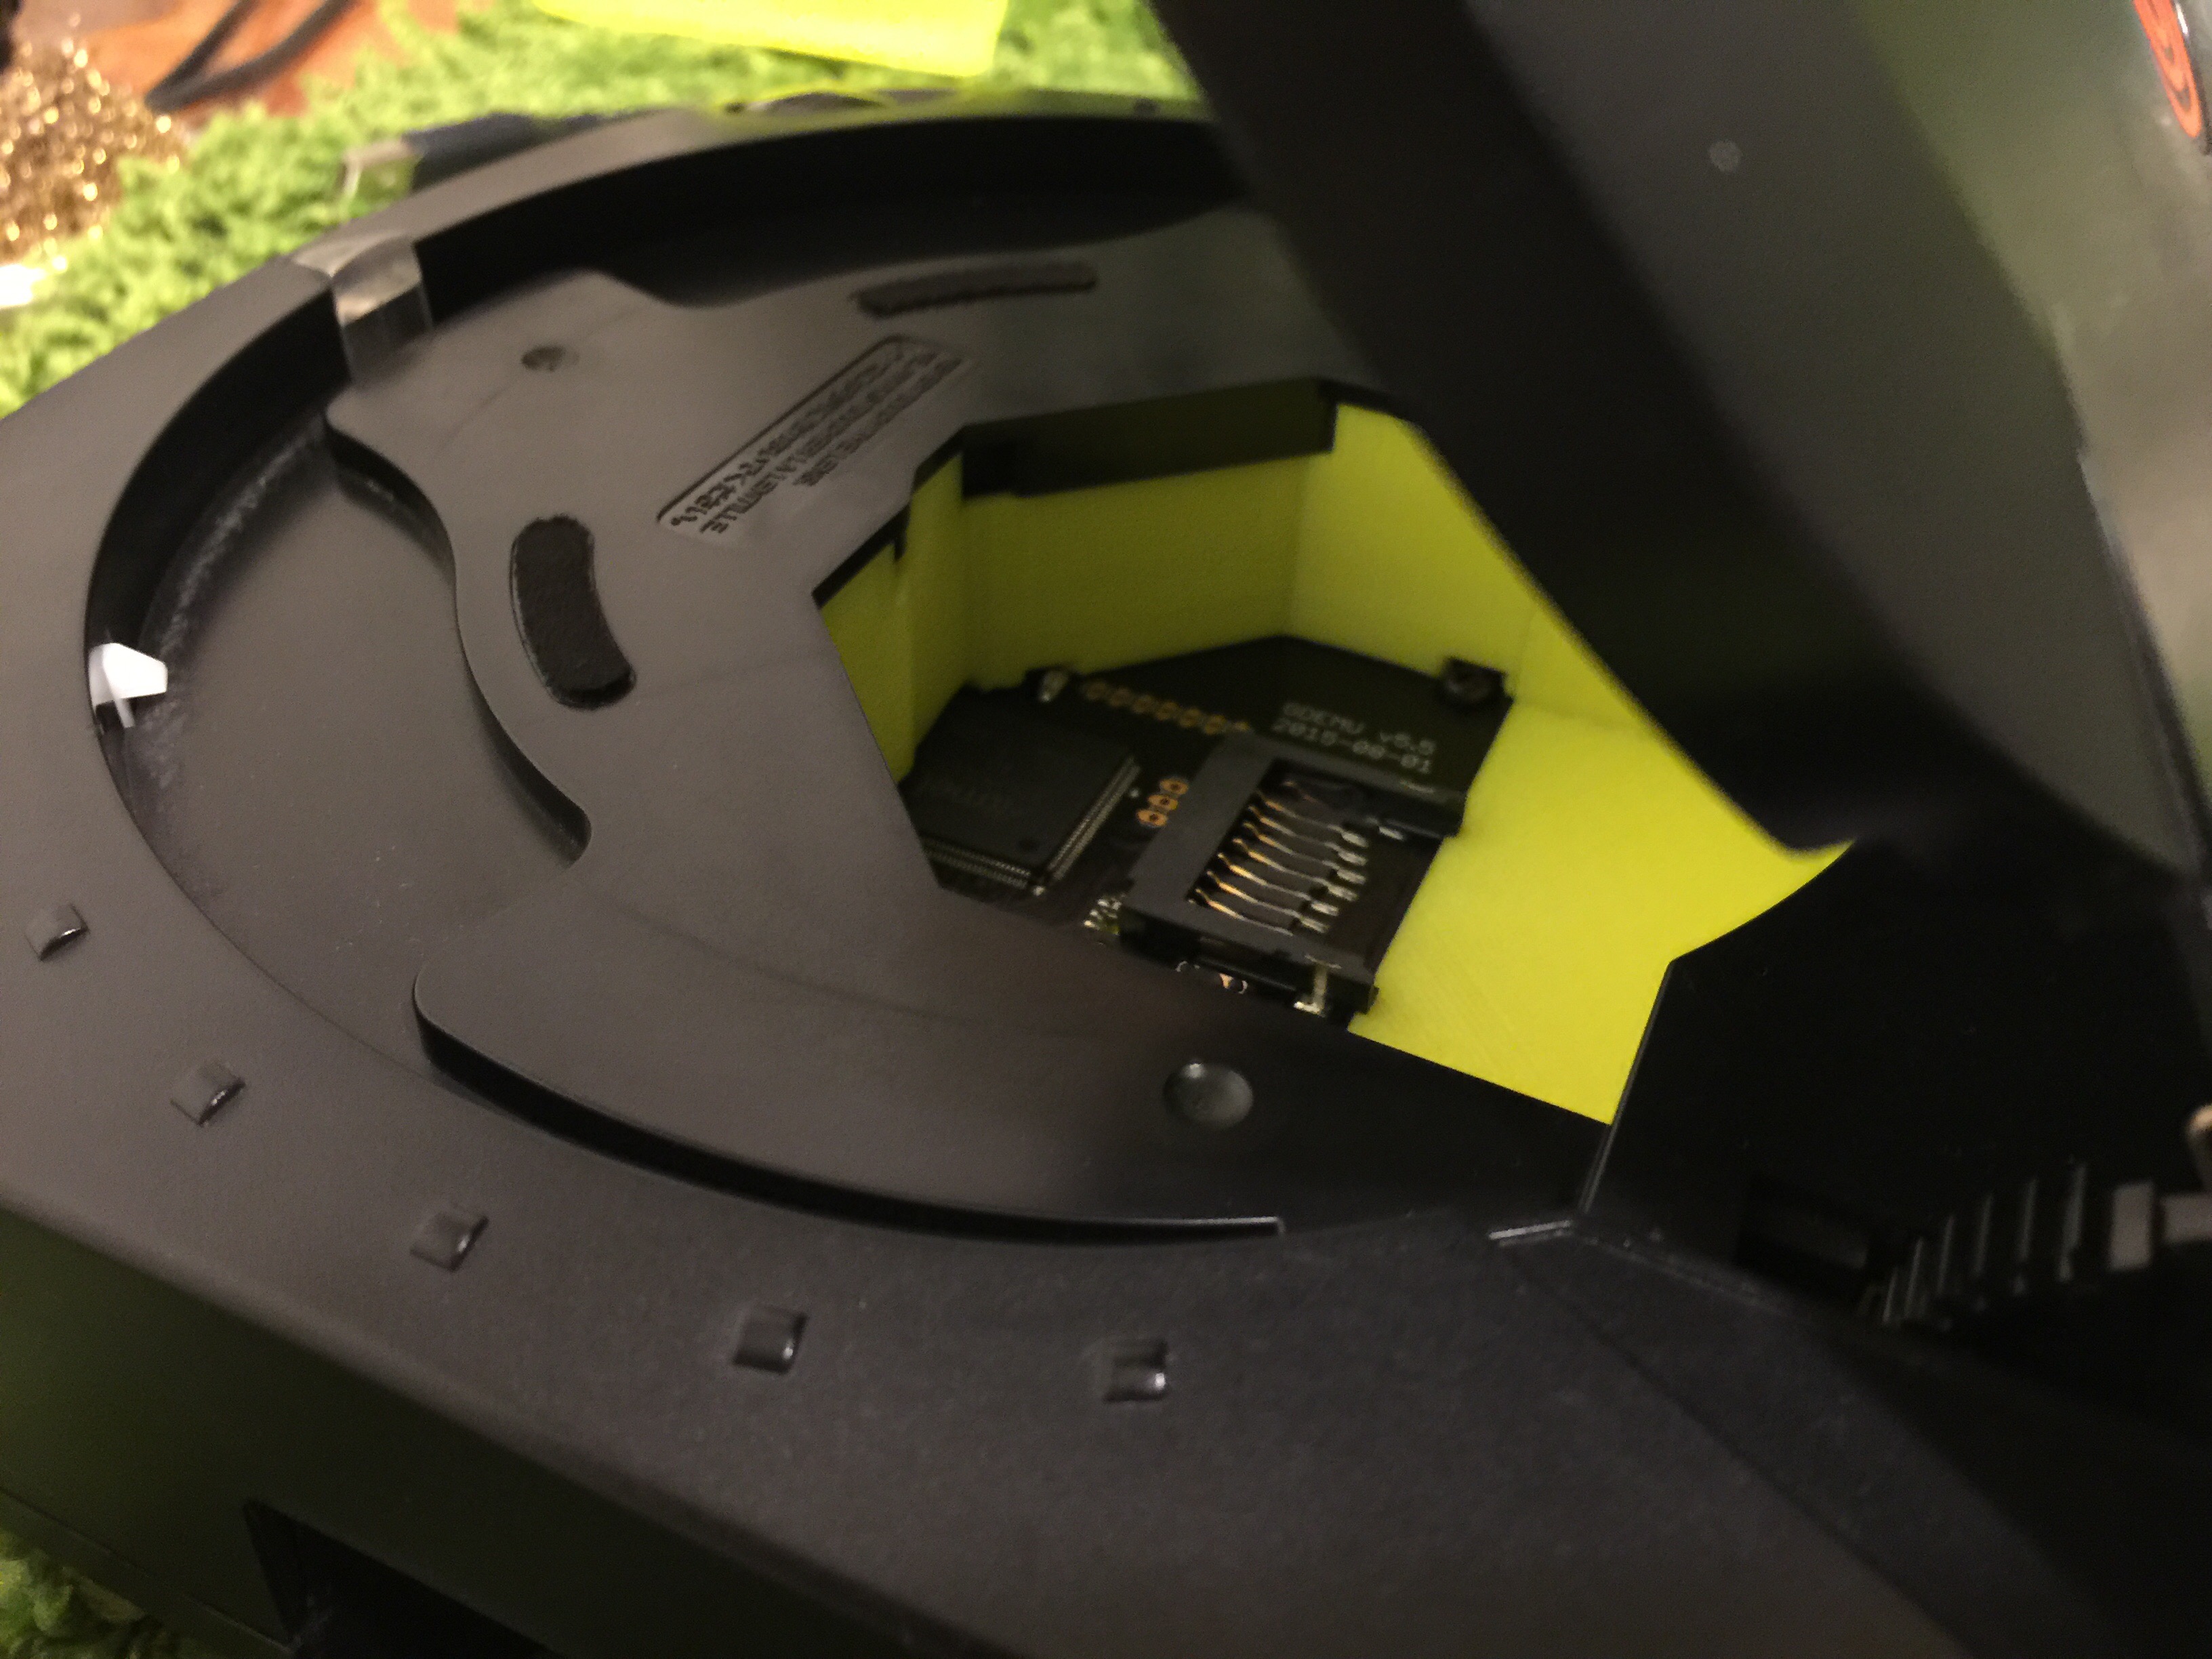
I think this is a great option if you want to have a few of the supported games on SD/CF or IDE and have the soldering skills. If you want a better game compatibility, I would go with a Dreamcast ODE / CD emulator. The GDEMU is the best option as of writing this. Supports SD card and CDI images.
Sega Dreamcast Vertical Shooters (rotatable)
A list of Sega Dreamcast SHMUPS that can be rotated from a menu option.
Make sure you have a memory card or a VMU in your controller so you can save your tate option.

Gunbird 2
VGA Supported: Yes (Issues?)
Multi Player: No
Rotate Instructions:
Gameplay Video: Youtube

Ikaruga
VGA Supported: Yes
Multi Player: Yes
Rotate Instructions:
Gameplay Video: Youtube

Karous
VGA Supported: Yes
Multi Player: Yes
Rotate Instructions:
Gameplay Video: Youtube

Psyvariar II
VGA Supported: Yes
Multi Player: Yes
Rotate Instructions:
Gameplay Video: Youtube

Radilgy
VGA Supported: Yes
Multi Player: Yes
Rotate Instructions:
Gameplay Video: Youtube

Shikigami no Shiro II
VGA Supported: Yes
Multi Player: Yes
Rotate Instructions:
Gameplay Video: Youtube

Triggerheart Exelica
VGA Supported: Yes
Multi Player: Yes
Rotate Instructions:
Gameplay Video: Youtube

Trizeal
VGA Supported: Yes
Multi Player: Yes
Rotate Instructions:
Gameplay Video: Youtube

Under Defeat
VGA
Supported 2 Player Mode
Gameplay Video: Youtube
Dreamcast to JAMMA
I had a few spare Sega Dreamcasts around and decided it would be a good system to stick in my Sega Astro City due to the tate (vertical) games.
Needed:
- 1 Sega Dreamcast
- 2 Sega Dreamcast controllers
- 1 JAMMA Fingerboard
- 1 Sega Dreamcast to VGA adapter
I kind of lucked out since the VGA adapter I have is compatible to an easy hack to make it output 15khz for my M9 arcade monitor.
Here is the link for the Dreamcast VGA Adapter mod.
I was only going to use this VGA adapter for the Astro City so I decided not to install a switch to go back to 31khz. I just cut pin 6 (blue wire on my adapter) so it forces 16khz. You could just add a switch inline with pin 6 and then you can switch between 16khz and 31khz. This is handy if you want to use the adapter on a LCD TV also, which I do not recommend since the Sega Dreamcast does not look that great on a LCD.
To start this project off I call on a friend, Adam, to help out with the cabinet and to kill some beer. he was successful with both tasks. We wanted to do a quick “proof of concept” and just get the video working to see how it looked.
- I took the Dreamcast VGA converted and cut pin 6.
- Took a VGA cable and cut one end off so I can soldier it to the JAMMA fingerboard.

More to come…