Mods

Neo SD Loader

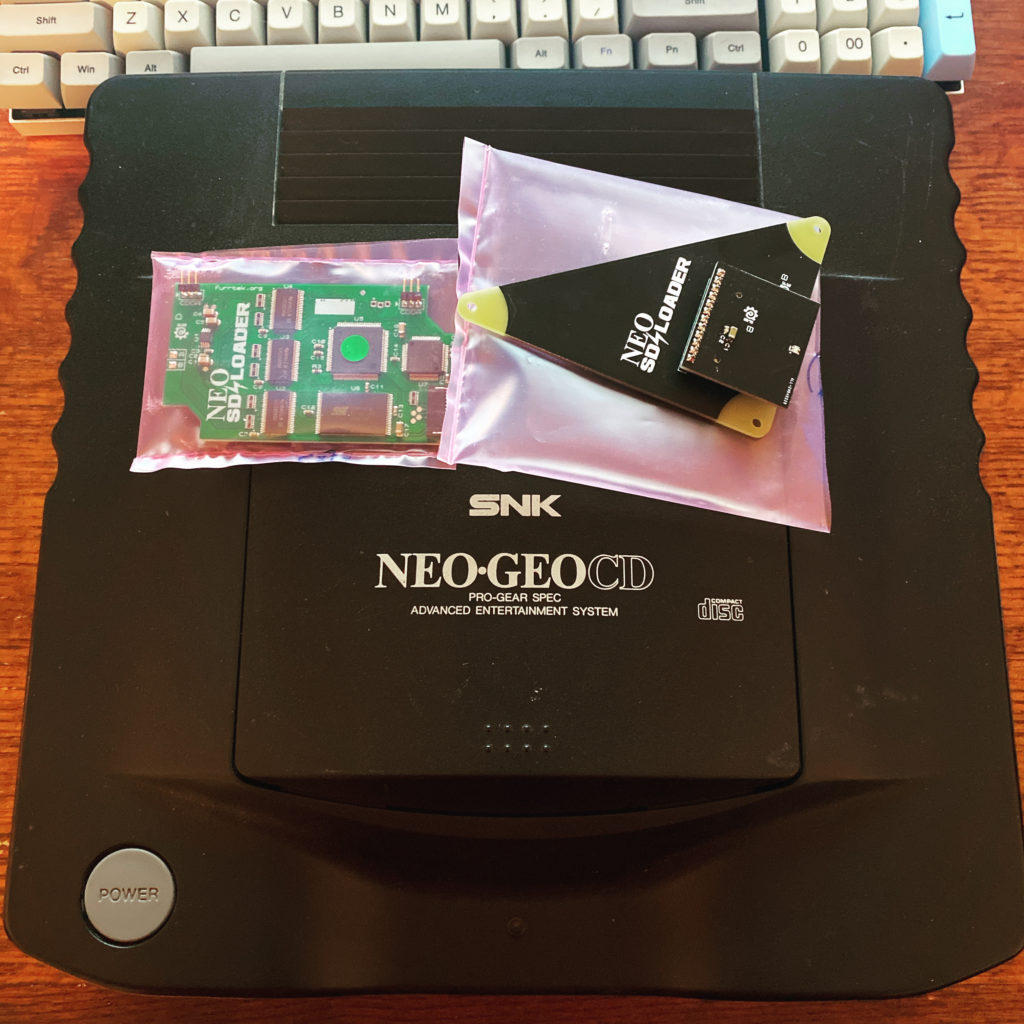
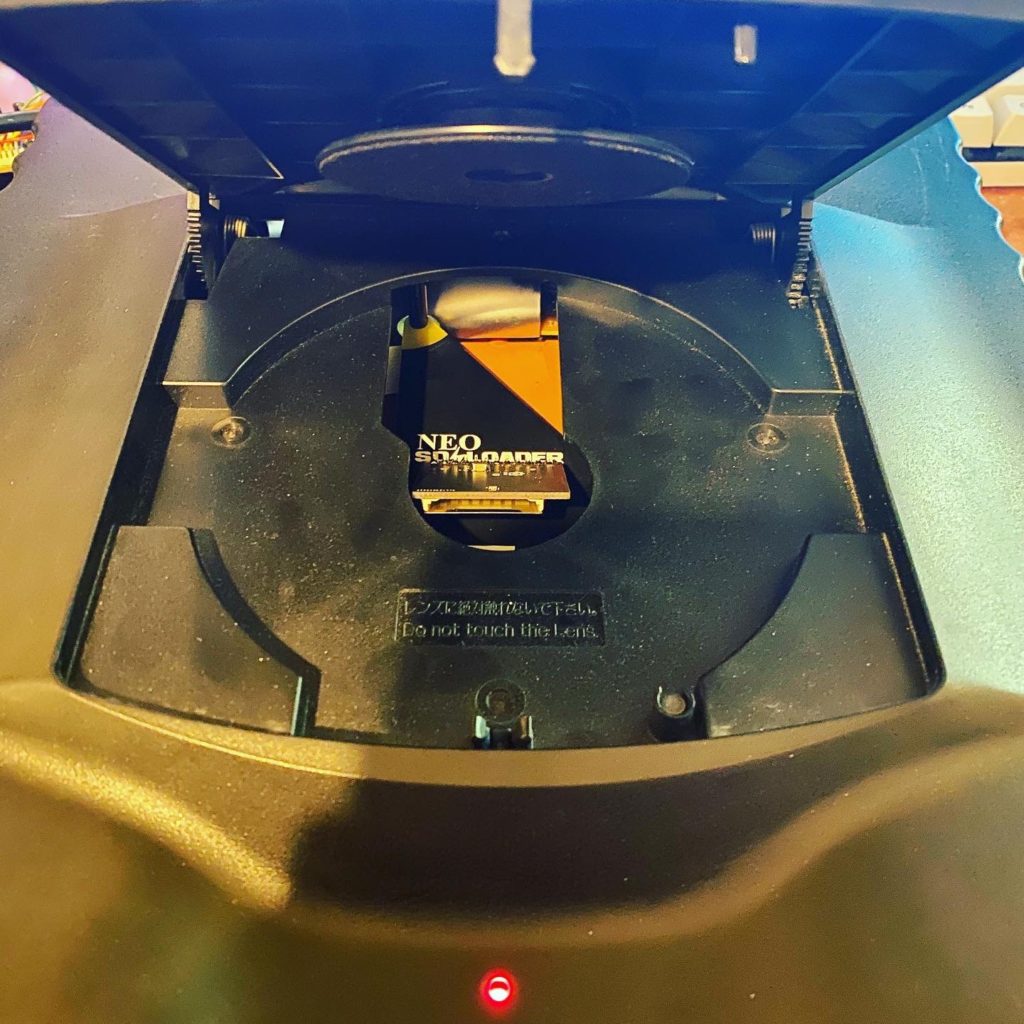
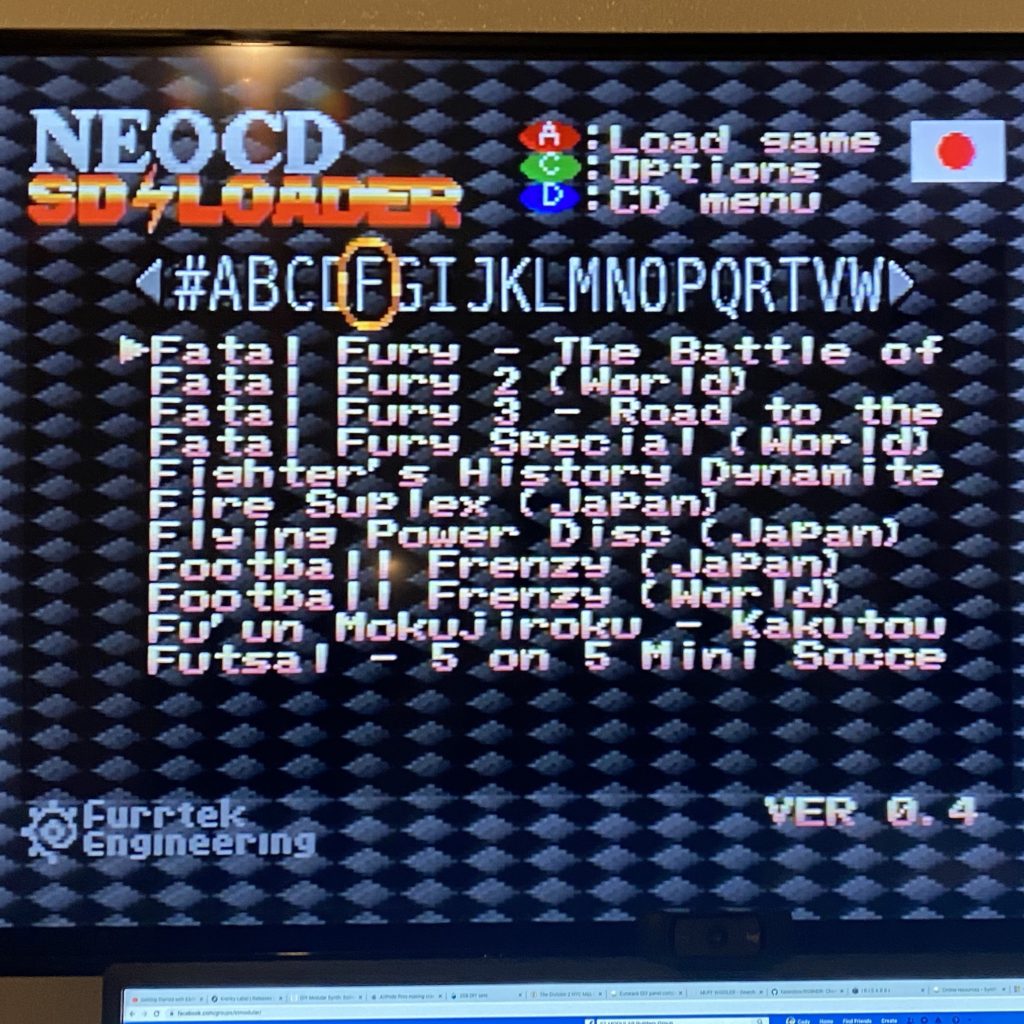
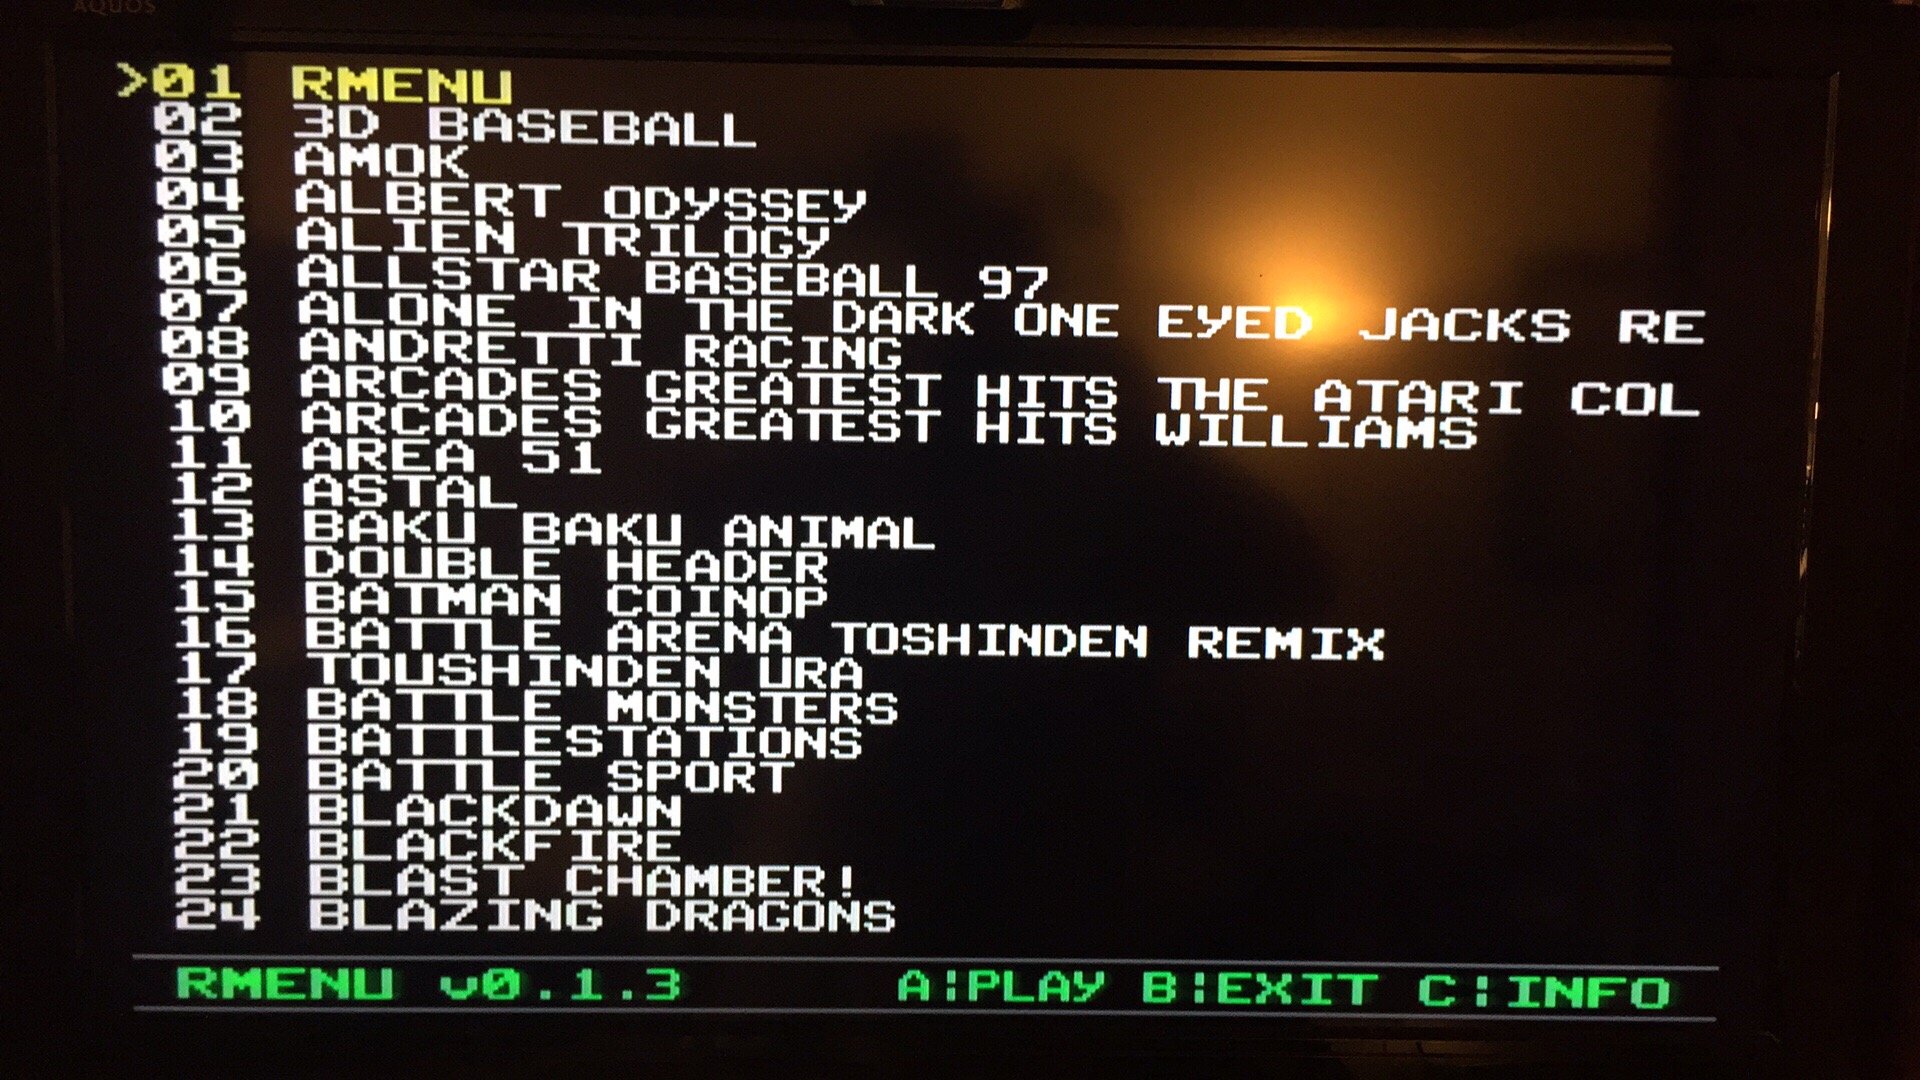
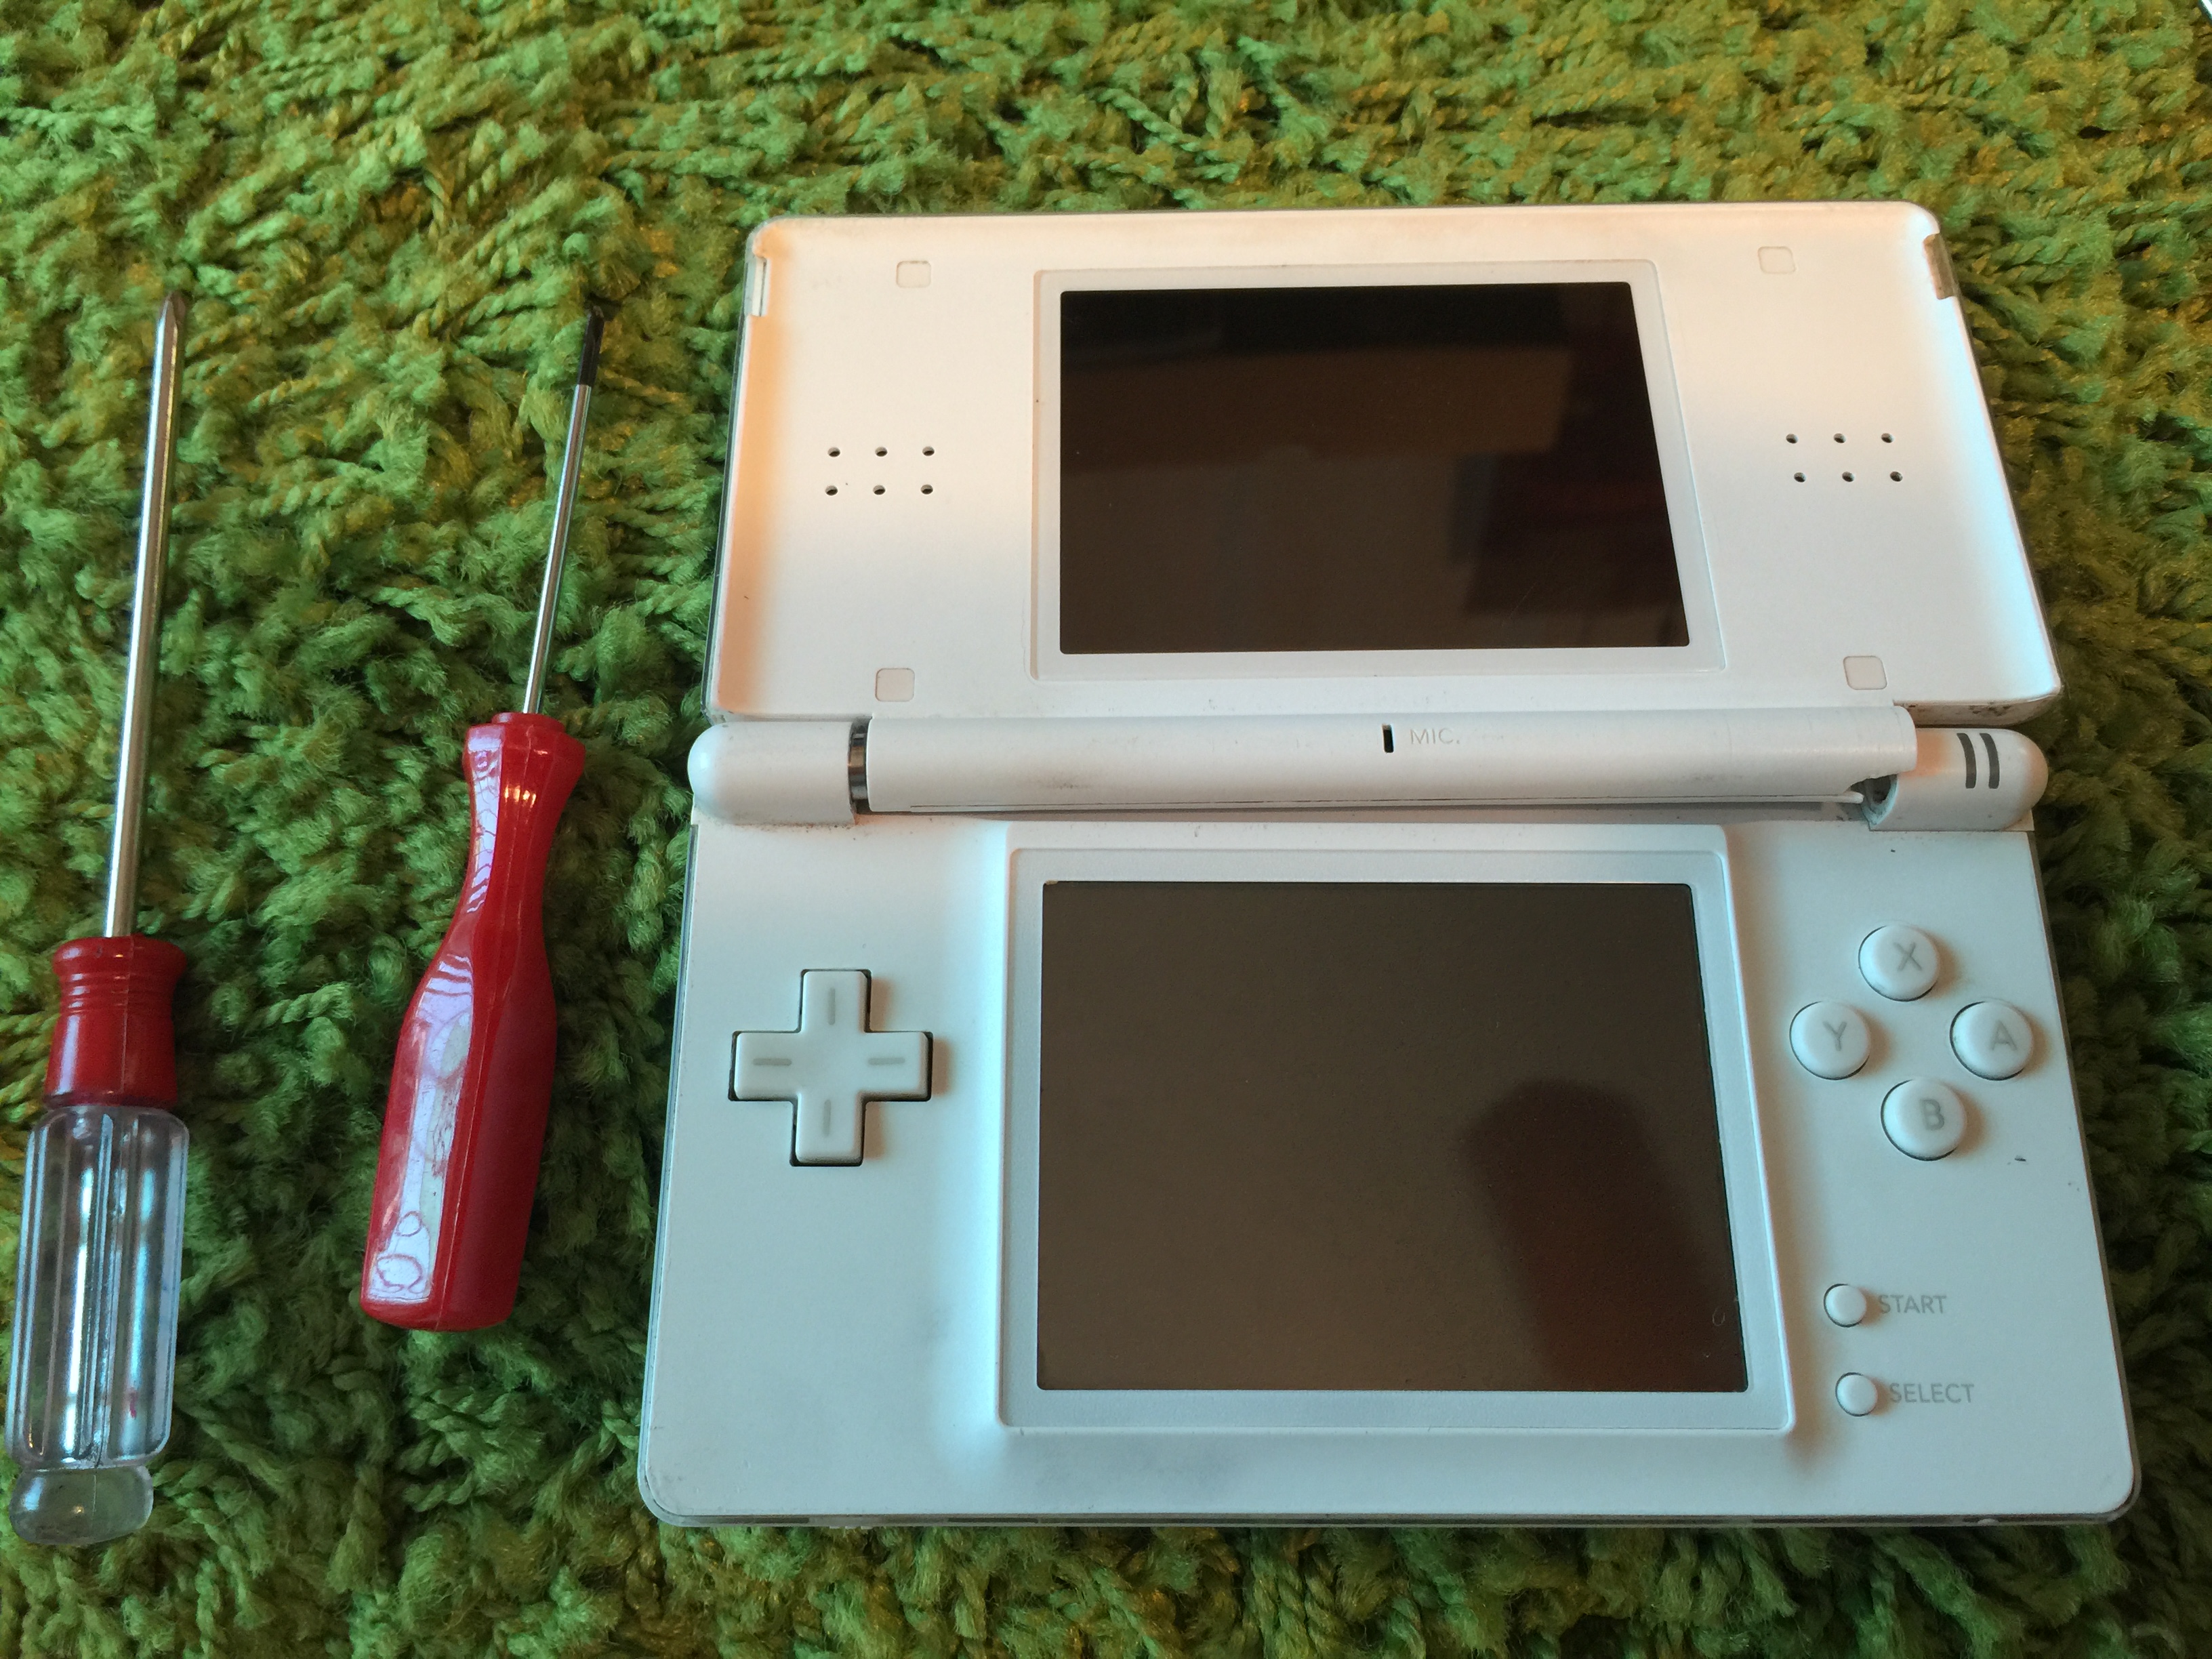
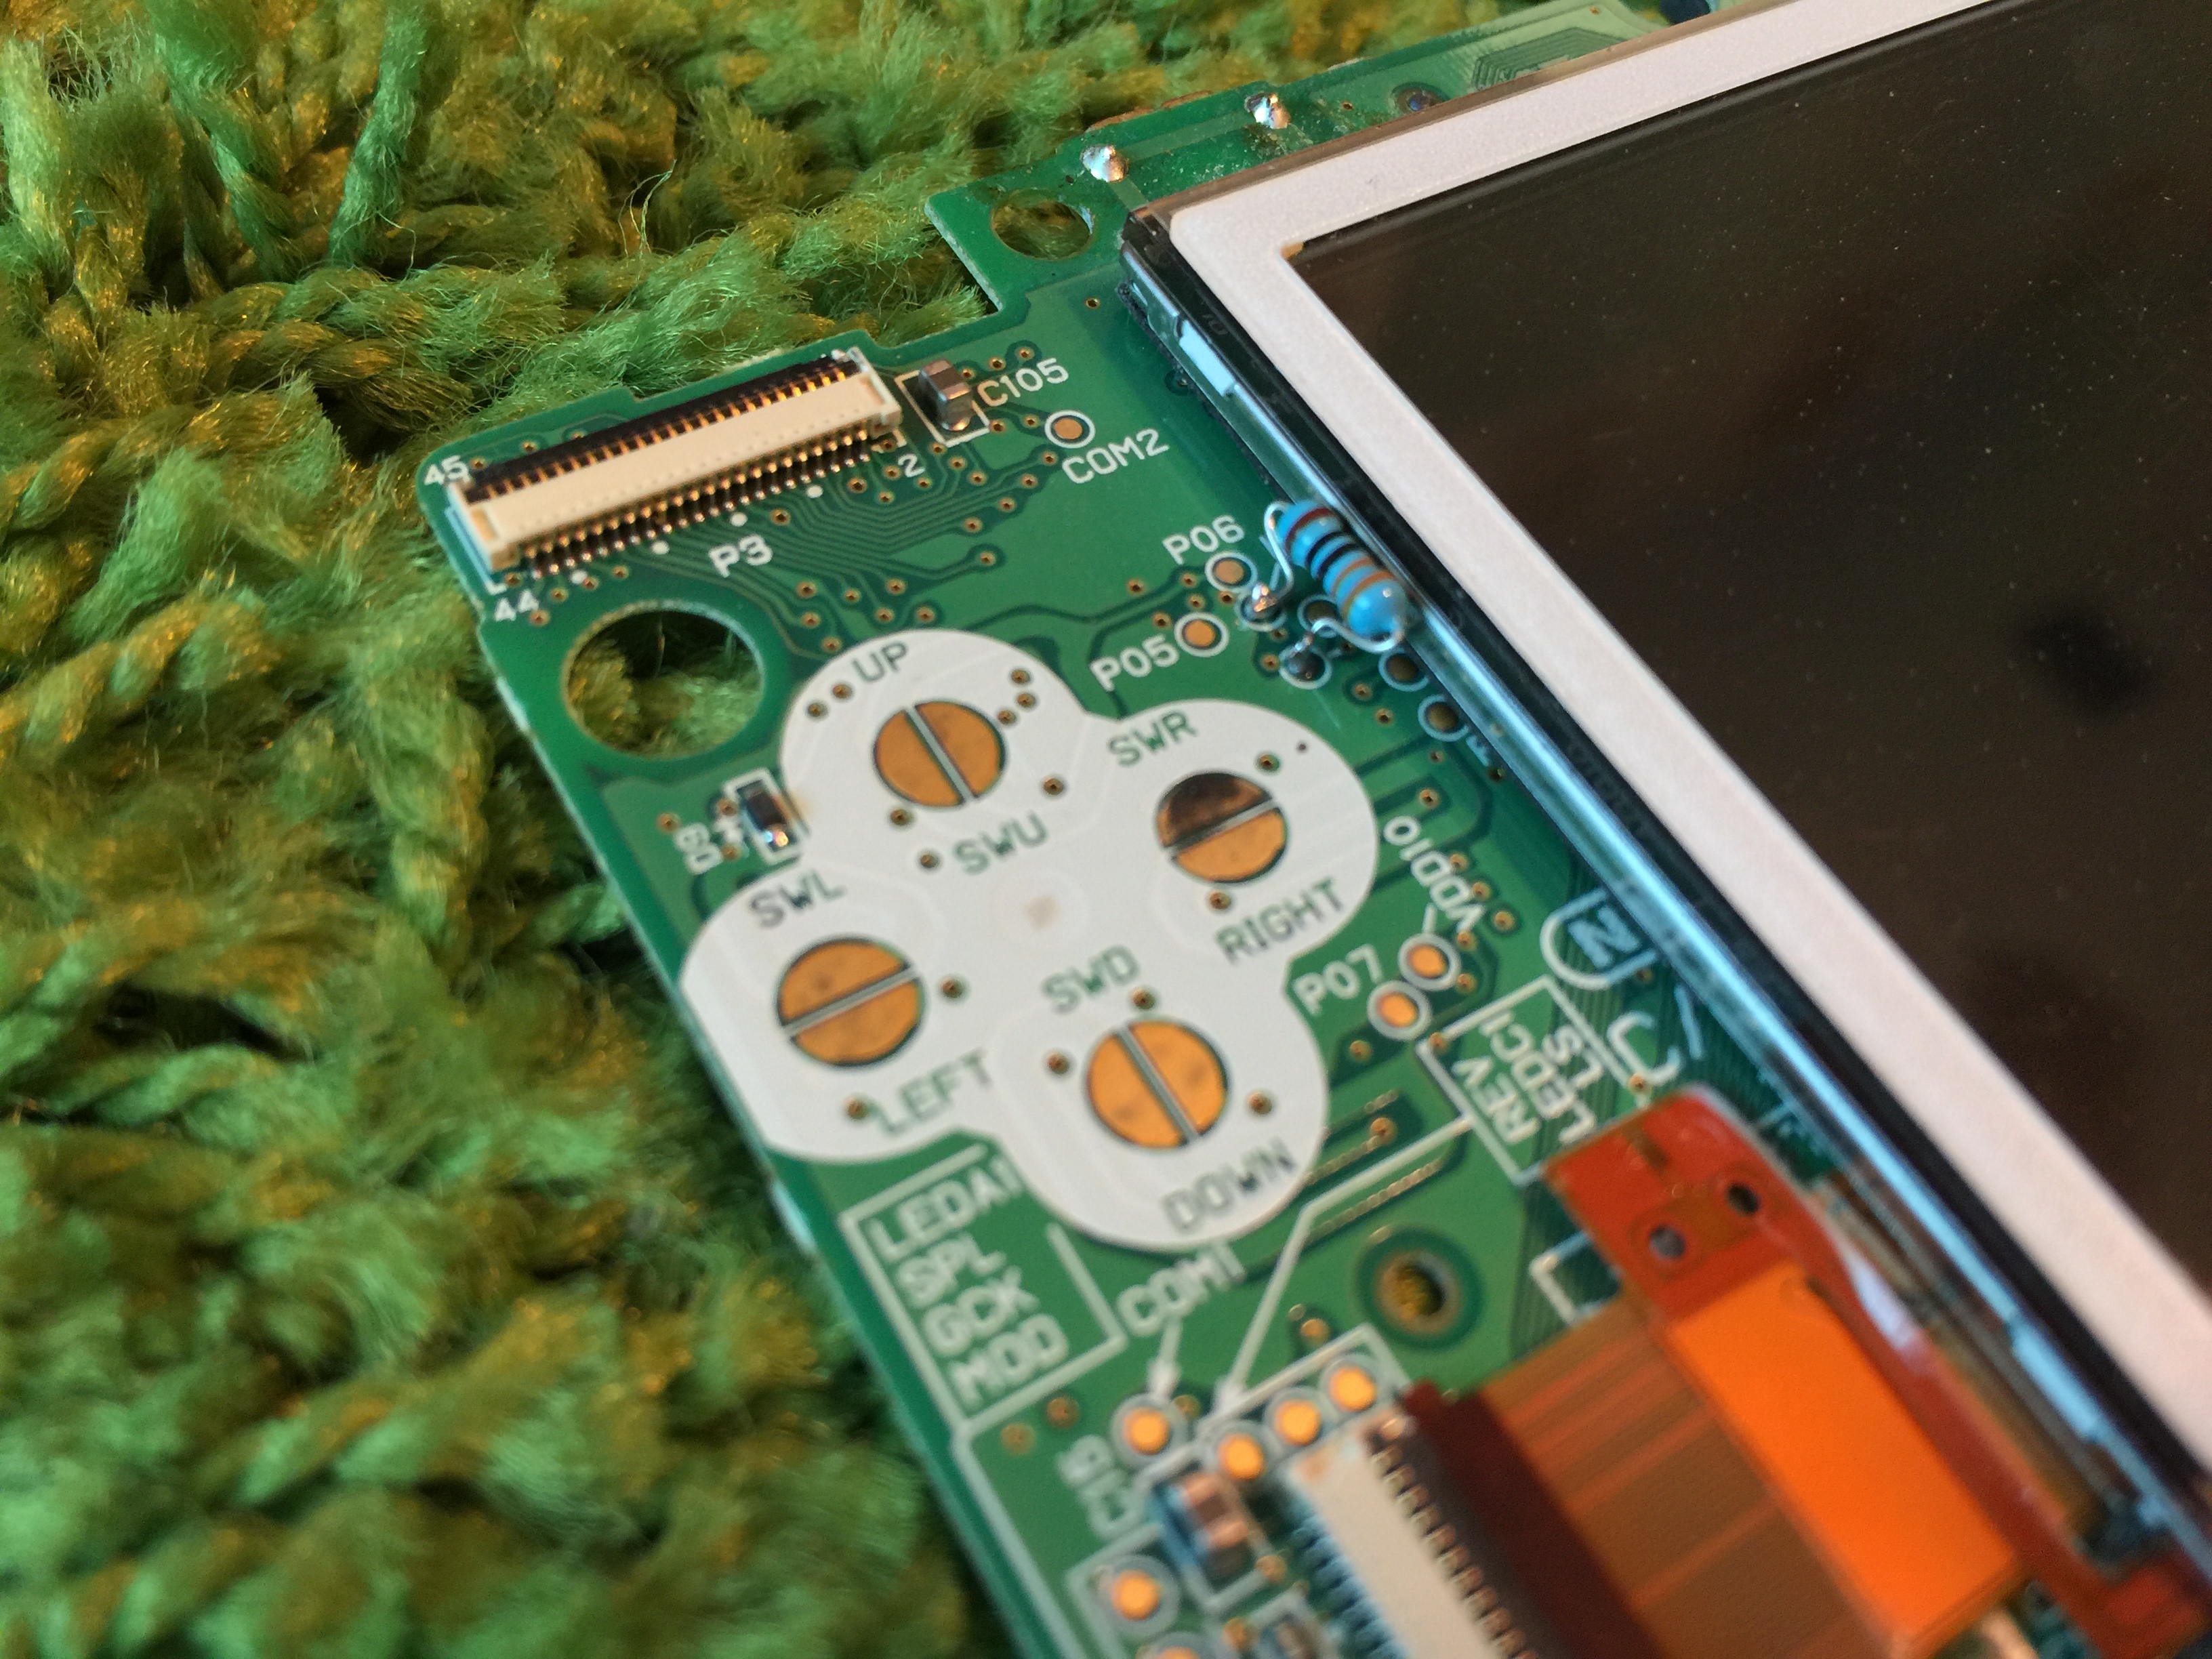
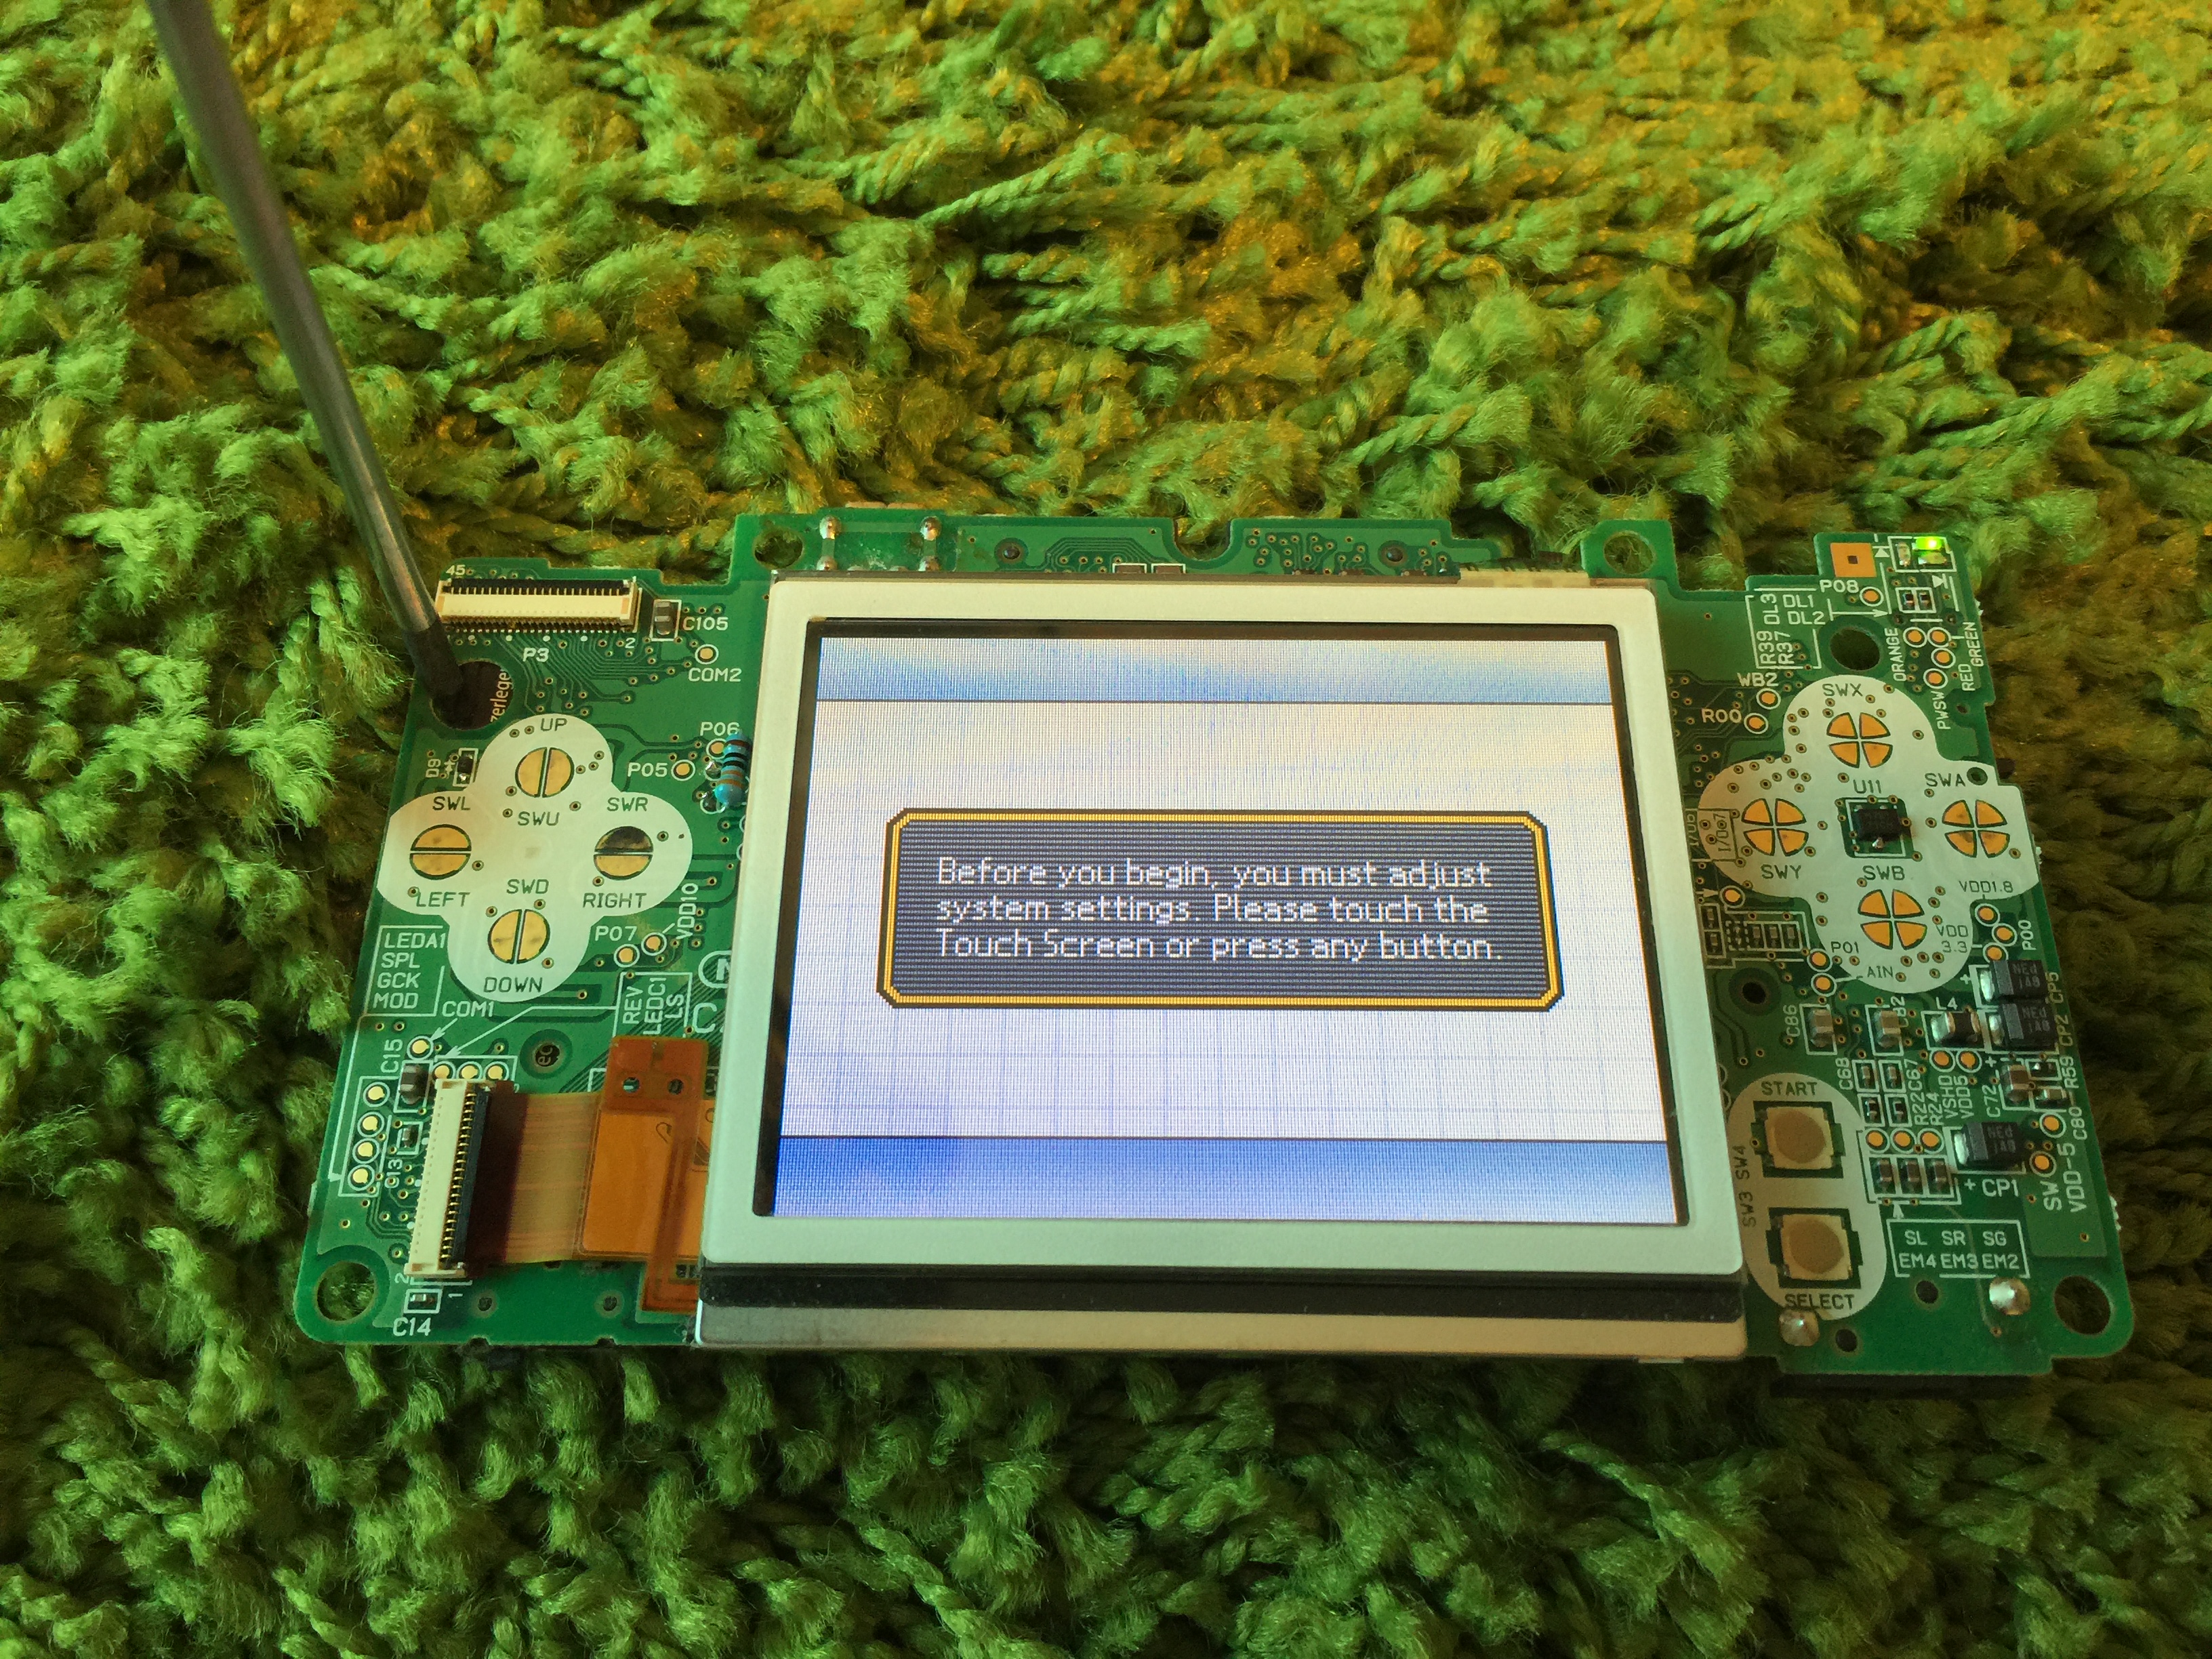
CD emulators are getting more popular as we are seeing them for Saturn, Dreamcast and Sega CD, to name a few. Why not one for the Neo-Geo CD? The Neo-Geo CD top loader is known for being notoriously SLOW when loading data off of the CD due to its 1X read speeds. This is a shame since there are some decent games that never made it on the AES/MVS platform. The Neo SD Loader was exactly what I needed to solve this problem. It has a slick interface/frontend to choose what ISO to start and speeds up the read times to 4X, a HUGE difference. This was a pretty straight forward mod, but there was a pin of a SMD IC that needed to be unsoldered and pulled away from the board. So this might not be for the unexperienced with SDM soldering.

Pop the cover off!
Down to just the main board
Used a little hot glue to hold the wires in place
Mouth open and ready for an SD card!
Lets play!

TG-16 Engine Block AV

Everyone that owned a TG-16 also had a TurboBooster, right? I doubt that. If you wanted to use anything other than RF out, you needed the TurboBooster. It would get you composite output and stereo audio. They have since been hard to find in good working order or at all. There is a way to make a cable to plug into the expansion port on the back to get composite output but its just feels janky and a non-permanent solution. In comes the AV Block which I picked up from StoneAgeGamer earlier this year. This unit plugs into the TG-16 expansion port and gives you many output options due to its use of the Sony CXA1645 video encoder chip.

Three output connectors are found on the Engine Block AV each carrying the following signals: (Specs was taken from StoneAgeGamer)

  • Mini DIN9 (a.k.a. Sega Genesis 2 A/V connector)
    • RGB + CSYNC (i.e SCART)
    • Video level CSYNC
    • CVBS (a.k.a. composite video)
      • Compatible with out of the box yellow/white/red Sega Genesis 2 A/V cable
      • Transcoded from RGB by CXA1645
    • Stereo Audio Only
      • While the Sega Genesis 2 A/V pinout permits mono audio, it is not supported by the dbGrafx Booster (why the hell would you want mono audio?)
      • Amplified on dbGrafx Booster
  • S-Video connector (a.k.a. Mini DIN4)
    • Y/C Video
      • Compatible with standard S-Video cable
      • Transcoded by CXA1645
  • RCA Jacks (yellow/white/red)
    • CVBS (a.k.a. composite video)
      • Direct signal from console (i.e. same as original Turbo Booster)
    • Stereo Audio
      • Amplified on dbGrafx Booster


Stop Wii U from Updating automatically

If you have a CFW on your Wii U it is recommended that you block updates to it by changing the following: (Taken from Wiiu.guide)

The listed DNS servers will block various Nintendo URLs that the Wii U communicates with. In other words, these servers are built to prevent updates to your Wii U. You need to set two of them, because if one goes down – the other will kick in and work.

Step 1) Enter Sytem Settings from the system menu.

Step 2) Select ‘Internet’ for internet settings.

Step 3) Select ‘Connect to the Internet’

Step 4) Connect to the internet. If you have already configured an internet connection, Press ‘X‘ to display connections.

Step 5) Select your default connection

Step 6) Select ‘Change Settings’

Step 7) Find the DNS section and select it.

Step 8) Select ‘Don’t Auto-obtain’.

Step 9) Set both of the following to the ‘Primary DNS’ and ‘Secondary DNS’.

  • 168.235.092.108
  • 081.004.127.020

Step 10) Hit ‘Confirm’

Step 11) Press ‘B‘ to save

Old 3DS, new to me.

With the launch of SoundHax & Luma3DS recently allowing the ability to aid putting a custom firmware on any 3/2DS with the latest firmware as of today (11.2.0) , I decided to pick up an older 3DS. I had a launch red one when they first got released and regret selling it. I flipped it to get a PS Vita at the time. I found this very clean Midnight Purple O3DS that I jumped on. I always loved this color and wish that the N3DS XL came in this color. I’m not a huge fan of the purple galaxy N3DS XL model.

I followed this tutorial and everything went by the book.

PSIO install

The PSIO is another seemingly “hard to get” mod device for the original Playstation. I actually waited and missed out on this device twice before finding a eBay auction for one and got it for the same price a new one goes for. It was actually new in box.

So what is this madness?

The PSIO is a development device that plugs into the early model Playstation parallel I/O port. The PSIO supports BIN, ISO and IMG files. It has a slick menu system with cover artwork and multiple CD game support.

In order for the PSIO to work properly, you need to install a switch board. This board is needed to switch the signal from the CD-ROM to the development device. 9 wires later… put it back together and see if we still get video.

I put the Cybdyn sticker on the bottom of the PS so I remember that this is the unit that has the PSIO Switch BOard installed.


Game Boy Advance SP Case Replacment

I had a back-lit (AGS-101) Game Boy Advance SP that had a broken hinge for a year or so. I picked it up cheap on eBay with the intent on fixing it. I came across a vendor on Amazon that was selling full shell replacements for the SP and jumped on it. I always liked the black SP but the back-lit models did not come in this color. It was a perfect opportunity to accomplish this with a new shell.

As you can tell from the photos below, this thing was in bad shape and needed some TLC.

img_1061

img_1060


After about an hour or so I ended up with a working black back-lit SP.

img_1062

I ended up not using the screen protector that came with the Amazon one since the original actually looked fantastic after a good cleaning. I also changed most of the triwing screws to standard screws.

Sega Saturn ODE (Phoebe) 

I have dreamed over the thought to have a HDD in a Sega Saturn. I had no idea an ODE (optical drive emulator) existed for the Saturn and Dreamcast. I then of course went on a mission to buyone. I soon found out that the guy that makes these does them in batches and they sell QUICKLY.

I went to his site on a Thursday and found a post that he was going to open up the preorders during the weekend. I checked the website like crazy on Saturday but nothing. Then Sunday morning at around 4:30am PST they went up on sale. It lasted 3 hours and they were gone. I heard the Dreamcast ODE sell even quicker.

The Phoebe is very well made and was dead simple to install.

I removed my mod chip I had installed since it was no longer needed and followed the easy install docs for my model.

img_1046

All US Sega Saturn games can fit on a 128GB SD with about 25mb free 🙂

img_1054


Game Boy Macro (DS Lite to GBA)

Ever since I came across Anthony Thomas’ tutorial on making a Game Boy Macro I wanted one. I had a DS Lite that had a broken hinge and a scratch on the top screen. This made it a perfect candidate for the Macro treatment.

Took this beast apart

img_0885

I used a 1/4 watt resistor instead of a smaller SMD or 1/8 watt cause I can. It actually fits fine and does not hinder the unit from being put back together.

img_0887

Quick little test and it all seems good. Time to start working on the enclosure.

img_0888

Whats next to do?

I need to sand and fill a few areas with bondo before I shoot it with some paint. Really looking forward to finishing this project.

Playstation / PSOne Mods

I had a few Playstation/PSOne systems laying around that would benefit to having a good old stealth chip. I started looking into the current status of mod chips for the Playstation and it all seems pretty much open sourced not. All the HEX dumps of the major chips are available online and they can be used with a simple $2 PIC. This is just some information I found and will be using this as a spot for notes as I mod a couple Playstation systems.

Available code:

MultiMode (MM)
Mayumi
ONEChip
Stealth
ModAVR
Anti-Piracy Mod
Old Crow
Many others/variations of the above.

What code for what system?

Fat SCPH-100x = Stealth 2.8a
Fat SCPH-500x-900x = MM3
Slim PSOne 10x = MM3 (PAL model SCPH-102 which should use ONEChip) , Mayumi v5.1

What PIC should I use?

There are actually a few that are proven to work well. I went with SMD ICs since they have a smaller footprint and I always bend or trim the legs on the through hole ones anyways.

12C508
12C508A
12C509
12C509A
12F508

I will most likely go with the 12F508 due to cost. I will use the PicKit2 to program the 12F508.