Author: cdeschenes
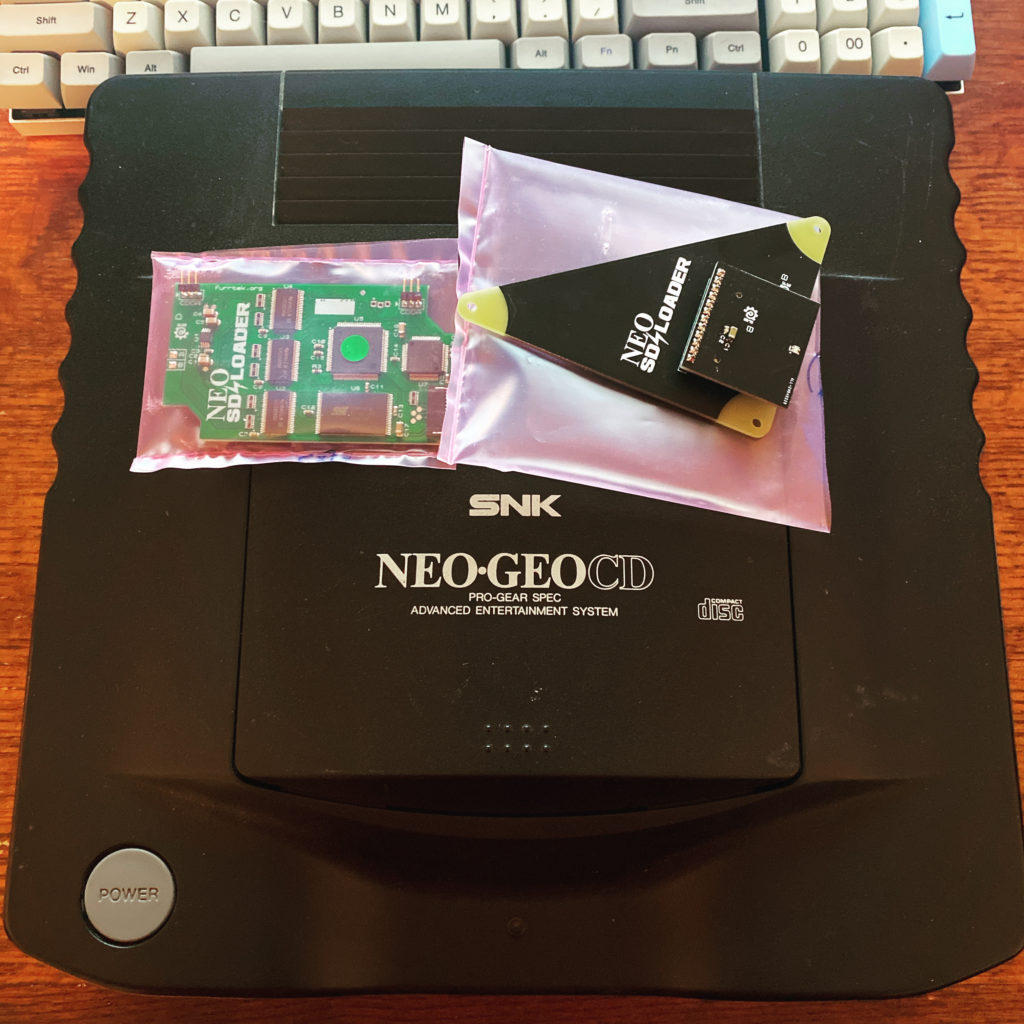
Neo SD Loader
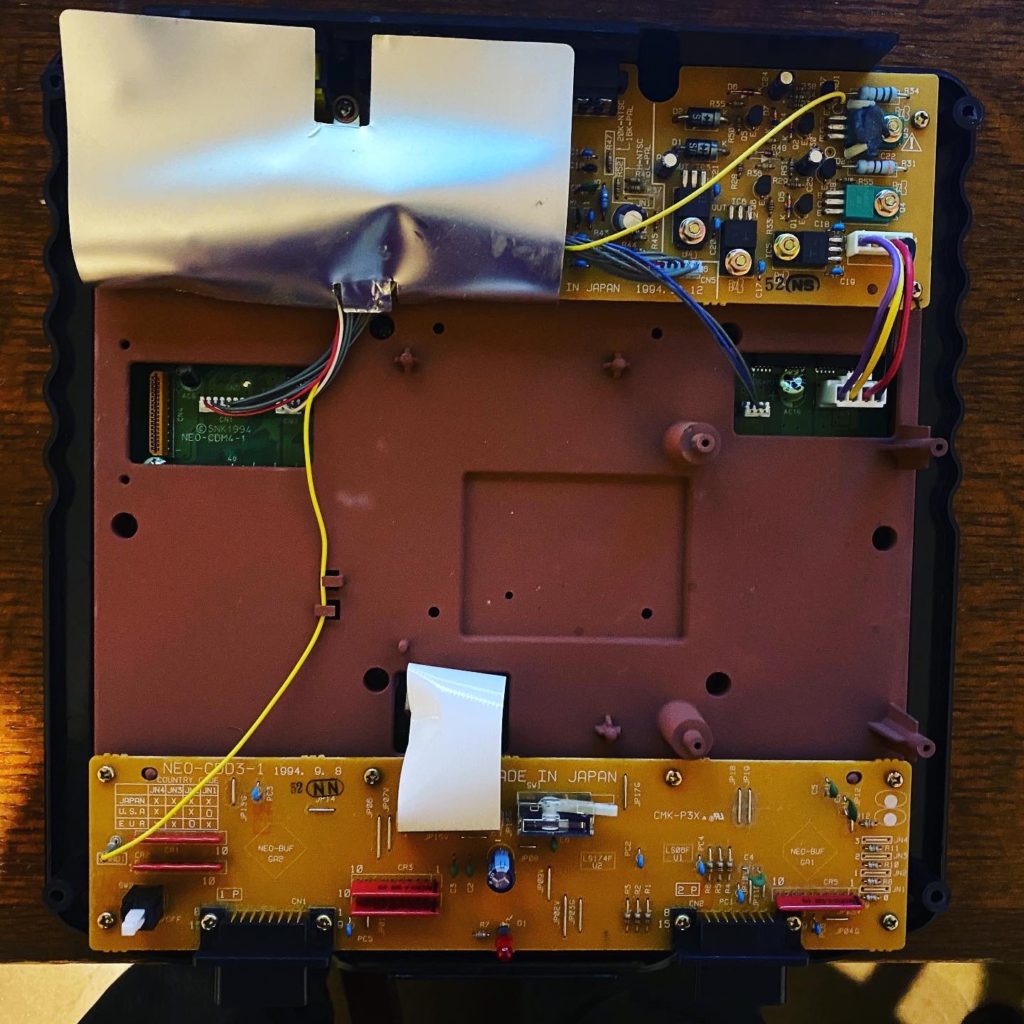
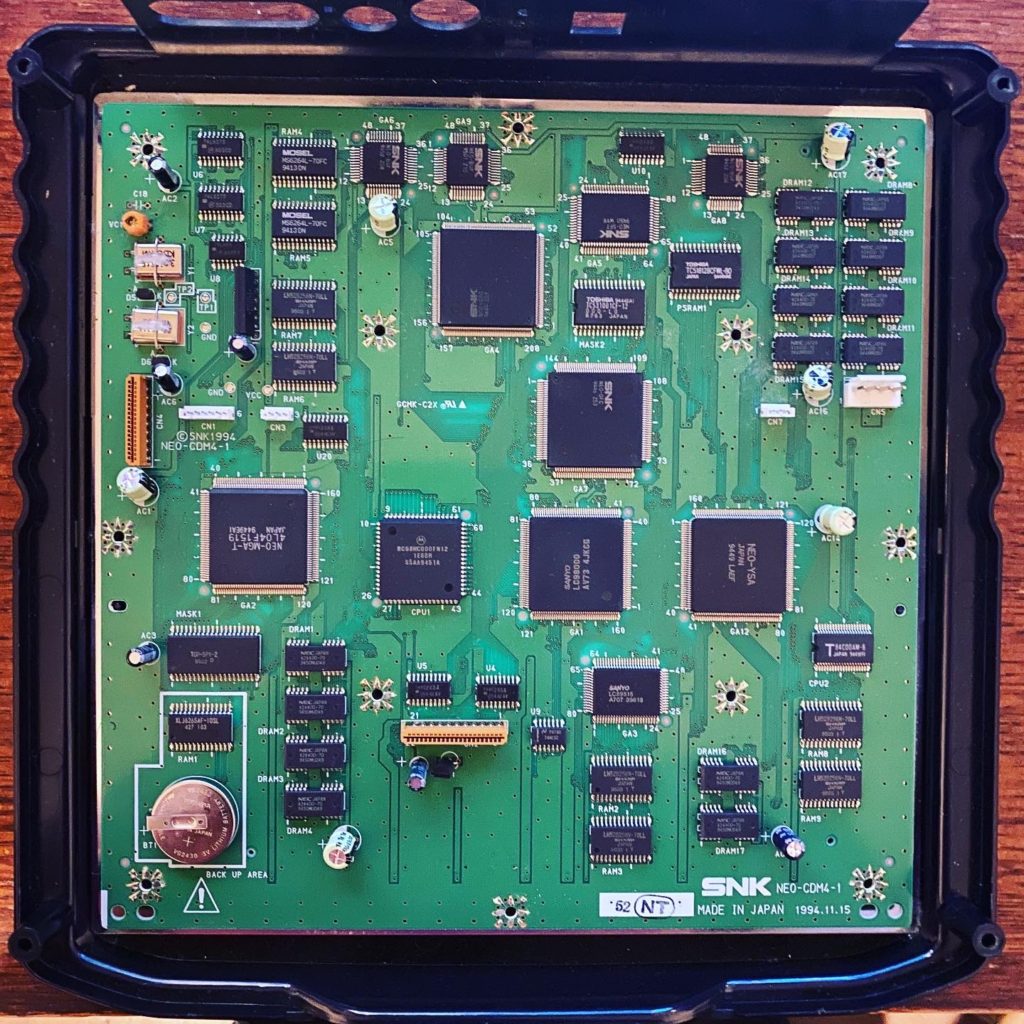
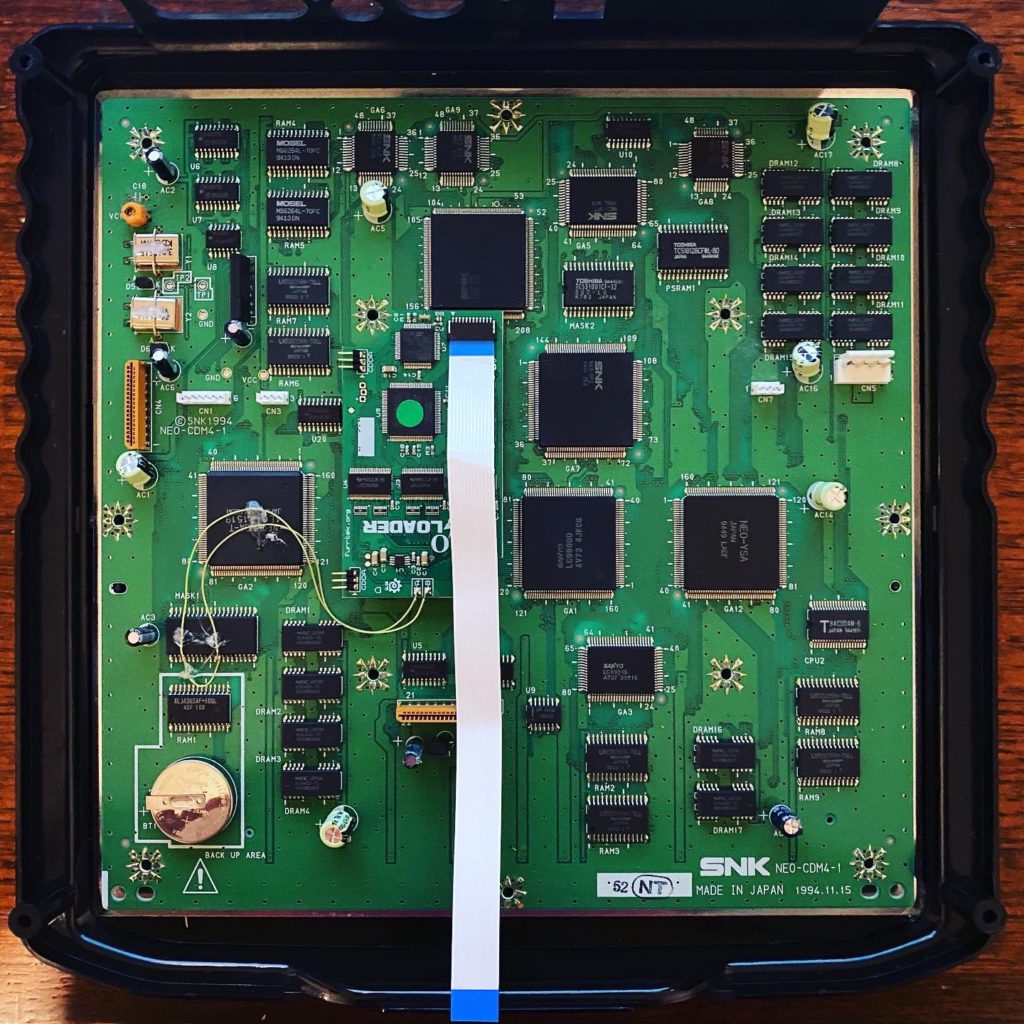
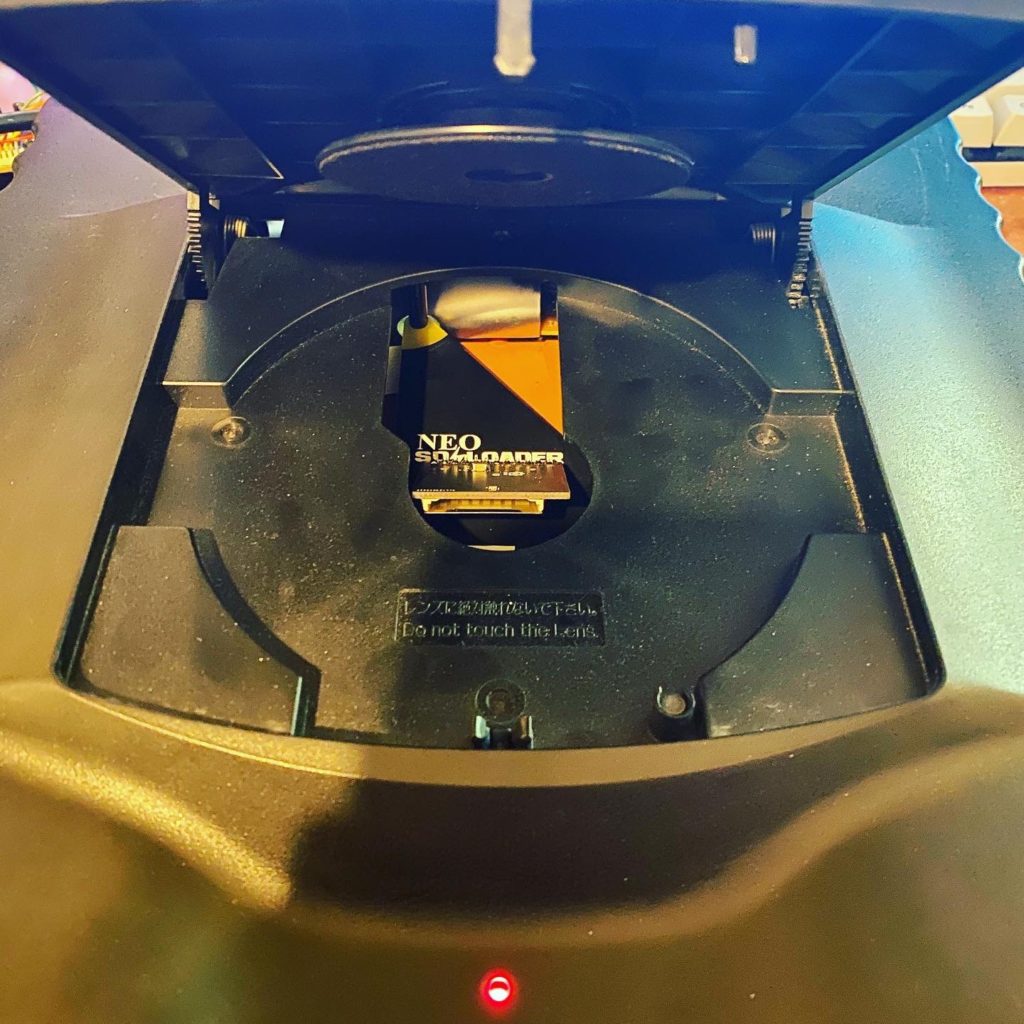
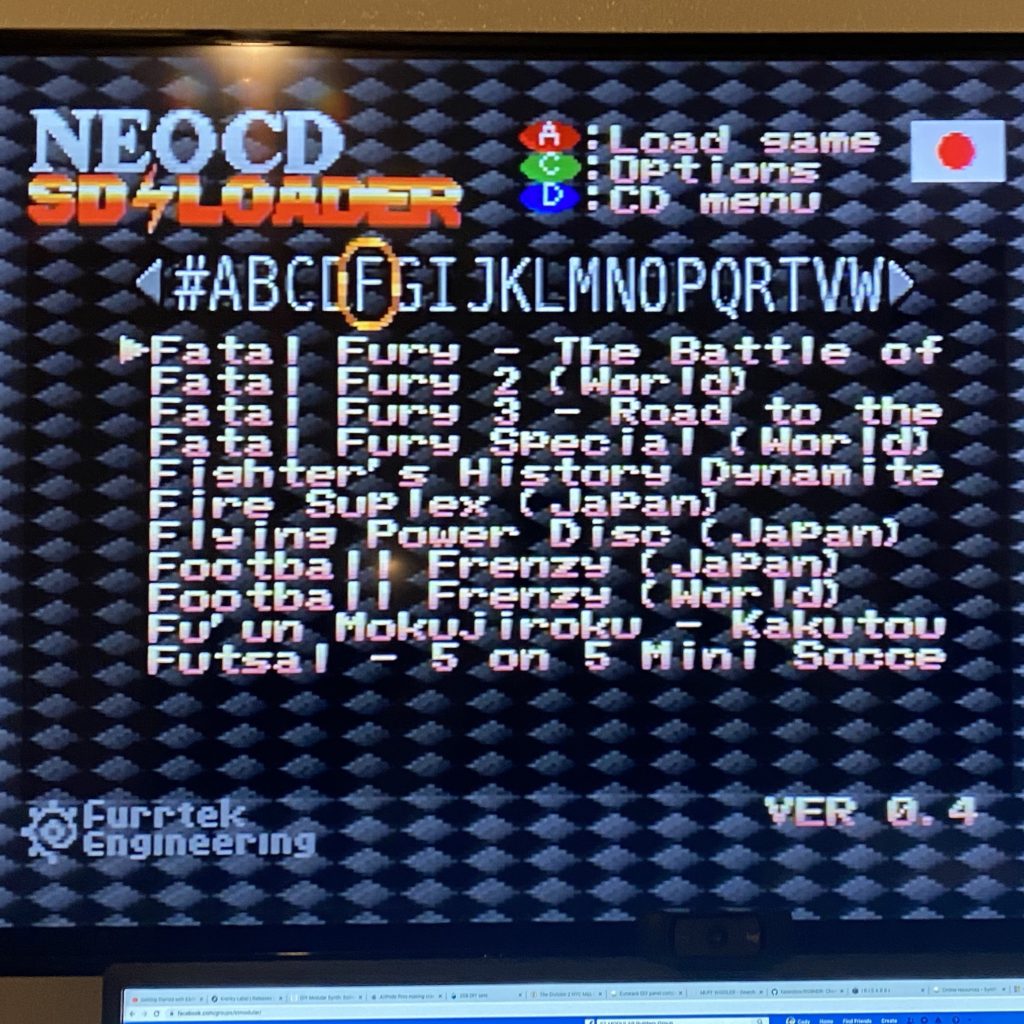
CD emulators are getting more popular as we are seeing them for Saturn, Dreamcast and Sega CD, to name a few. Why not one for the Neo-Geo CD? The Neo-Geo CD top loader is known for being notoriously SLOW when loading data off of the CD due to its 1X read speeds. This is a shame since there are some decent games that never made it on the AES/MVS platform. The Neo SD Loader was exactly what I needed to solve this problem. It has a slick interface/frontend to choose what ISO to start and speeds up the read times to 4X, a HUGE difference. This was a pretty straight forward mod, but there was a pin of a SMD IC that needed to be unsoldered and pulled away from the board. So this might not be for the unexperienced with SDM soldering.
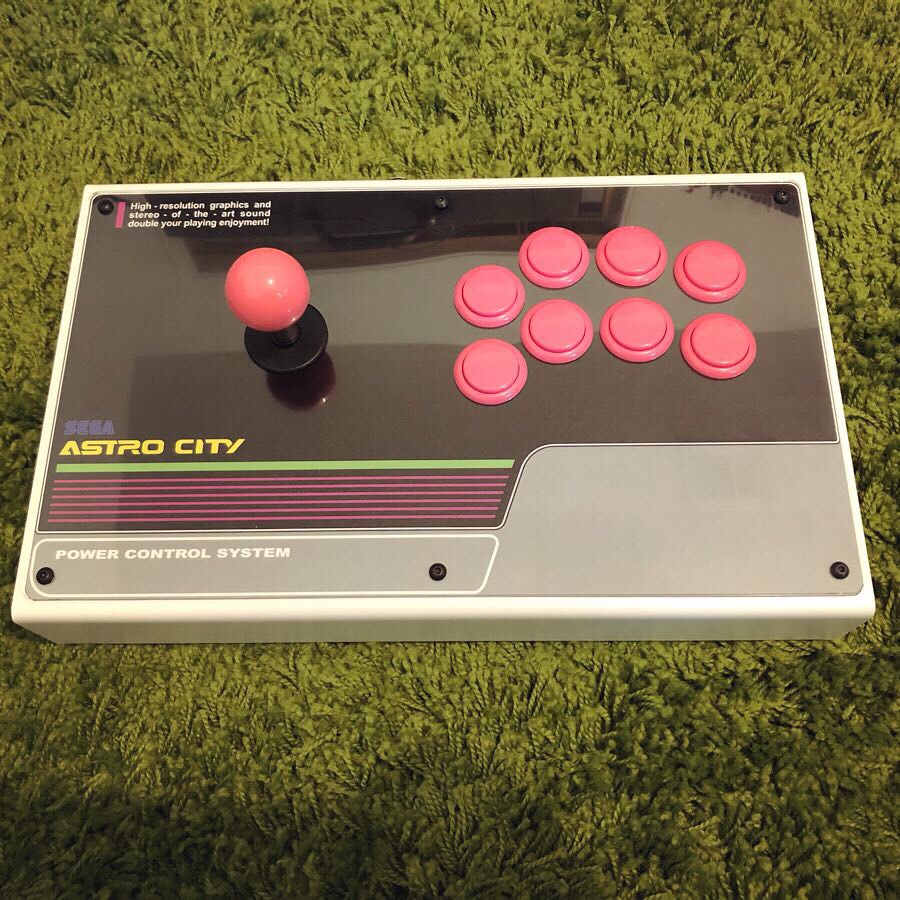
New Arcade Stick
Time to upgrade my ghetto stick with something more.. permanent and sturdy.
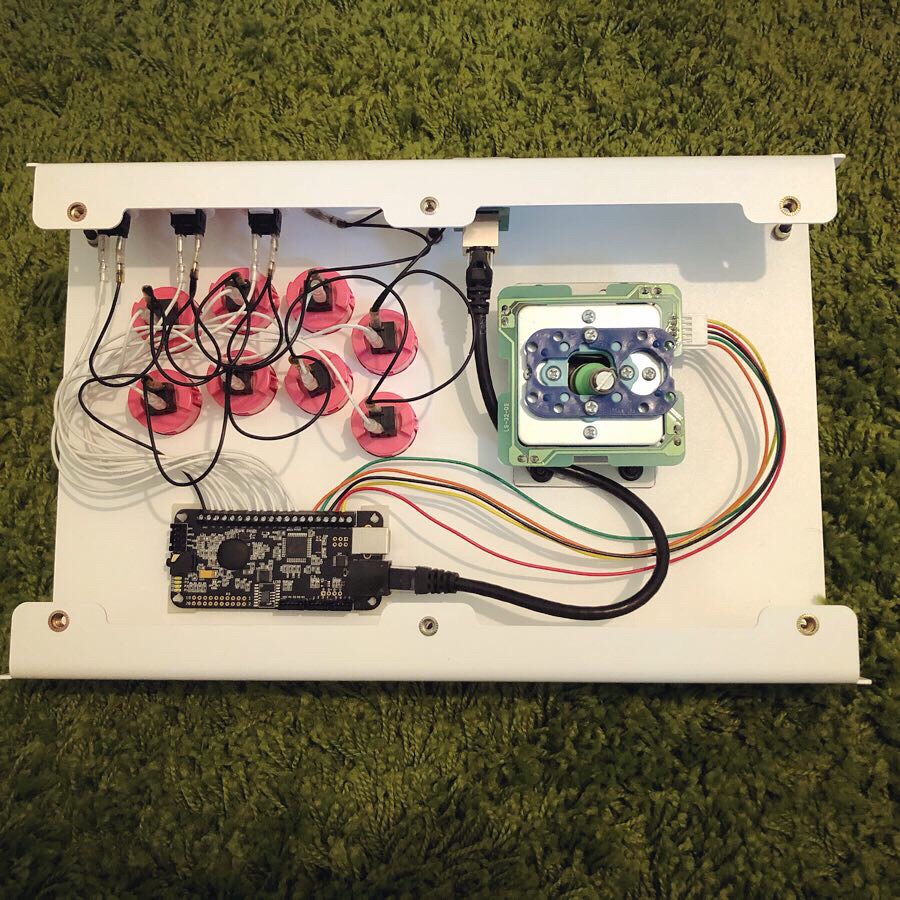
Enclosure:
I wanted to go with a metal enclosure this time around. I had a wood case before and it got pretty beat up over the years. I ended up going with the company AllFightSticks due to quality and price.
Top: https://allfightsticks.com/collections/14-enclosures/products/14-non-modular-body
Bottom: https://allfightsticks.com/collections/14-enclosures/products/14-bottom-panel
Acrylic cover for artwork: https://allfightsticks.com/collections/14-enclosures/products/14-acrylic-button-panel-cover
Hardware:
I had most of this on hand and got used to the parts I’m using. I have a Sega Astro Cab arcade cabinet that I love the feel of the buttons and sticks and wanted that same experience on my portable stick.
Joystick: Seimitsu LS-32-01 with a square gate (I play mostly vertical shooters and a square gate is perfect for that. If I played fighting games I would go with a Oct gate)
Joystick Ball Top: Sanwa LB-35 Balltop Pink
Buttons: Sanwa OBSF pink
Controller PCB:
I wanted to use this stick with a variety of systems. PC, PS4 & Xbox 360 are the main systems I want to cover but more are a plus. At one point I bought a Akishop Ps360+ PCB for my arcade machine but never used it. I decided to use it for this project since it overs so many systems out of box.
http://akishop-customs.com/PS360.html
Connector:
I used a Neutrik CAT5 Adapter so I can make my own various cables. So far I just only made the CAT5 to USB cable for PC/PS3-4/Xbox360
So far I am in love with this stick. The weight of the enclosure make it feel VERY sturdy. and I did not feel any latency at all with the PS360+ PCB.
Game I have tested so far:
PC – Crimzon Clover, DoDonPachi Resurrection, Jamestown and Dead or Alive 6 (for the hell of it)
PS4 – Ghost Blade HD, Caladrius Blaze
What’s left to do:
Make a white CAT5 to length for internal connection. I used a temporary black one I had on hand.
Tie the button wires down to clean up the insides a bit.
Book: The Game Console: A Photographic History from Atari to Xbox
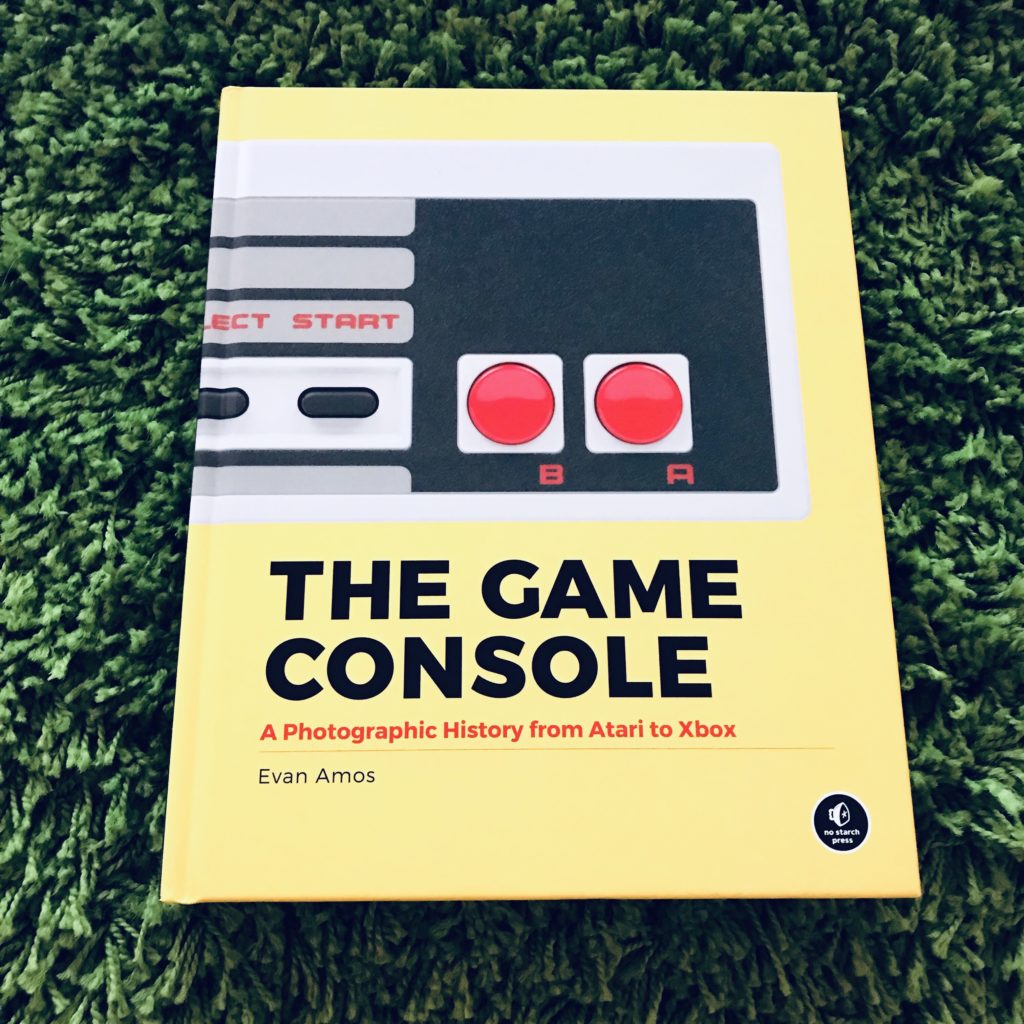
This is a great book from author Evan Amos. He’s been know in the retro gaming scene for some years now as a great photographer and wikipedia editor/historian of games consoles. If you are at all interested in vintage gaming or want a great coffee table book with some great photos, I suggest picking this up.
I got mine from Amazon but its been in and out of stock for some time. Seems like a popular book to the masses.
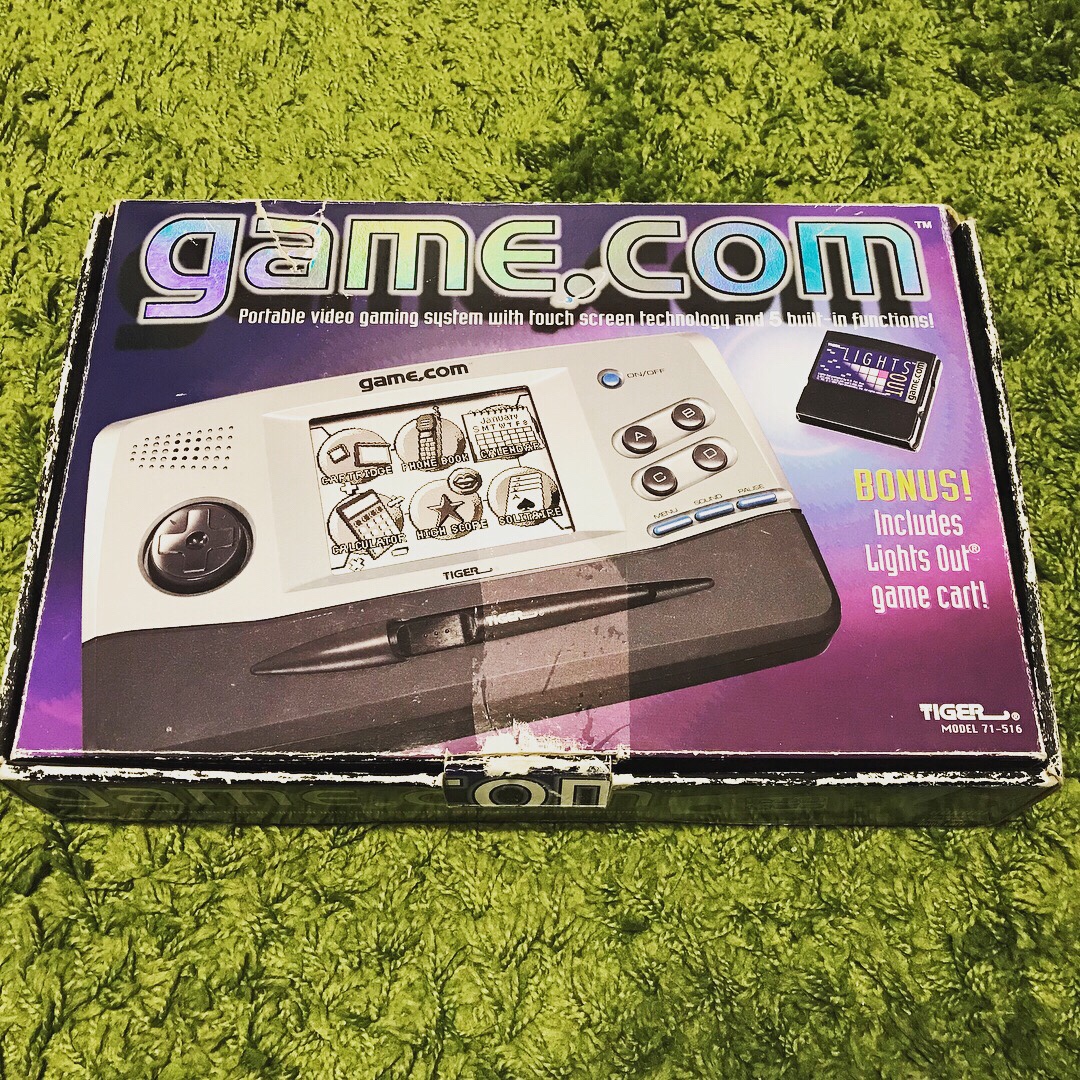
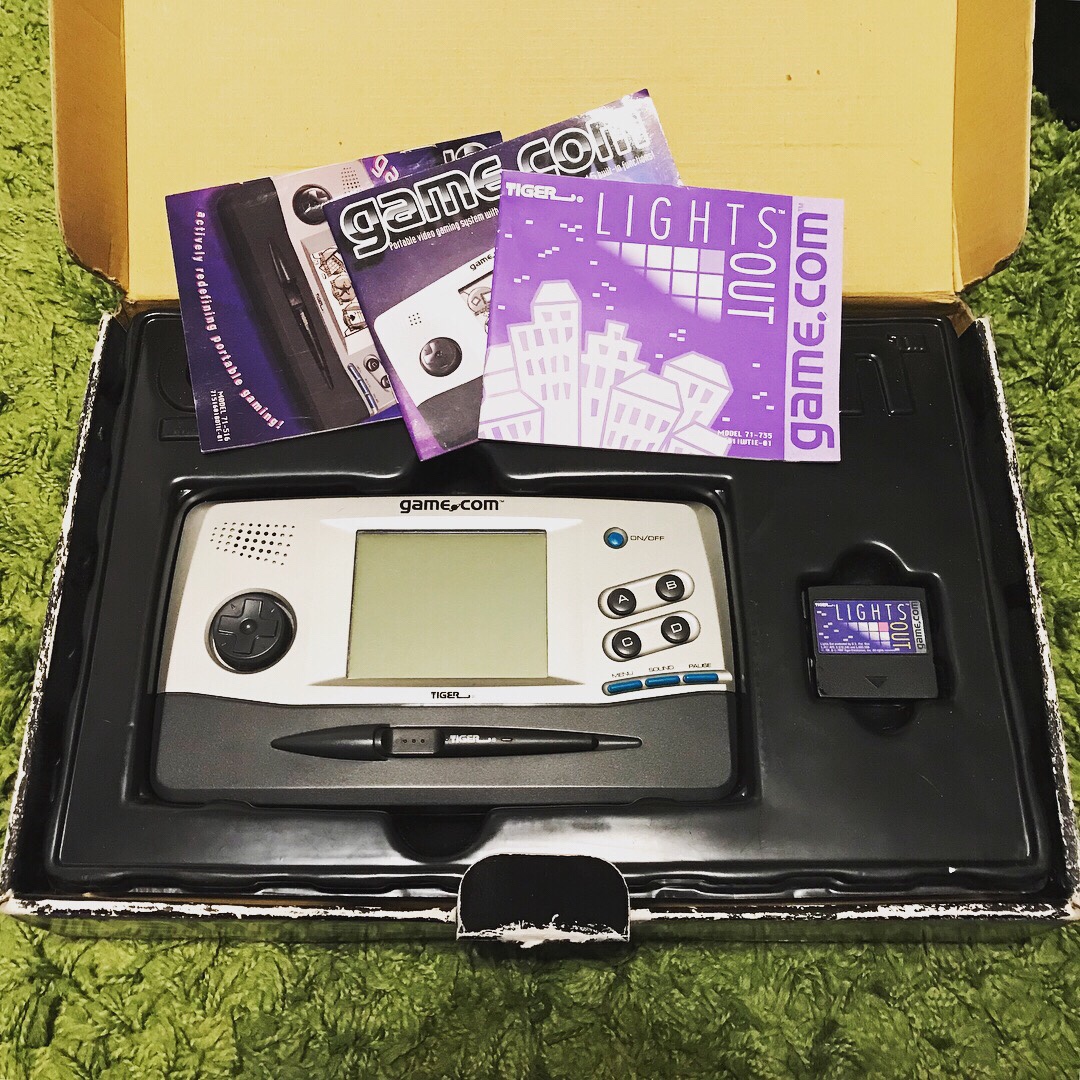
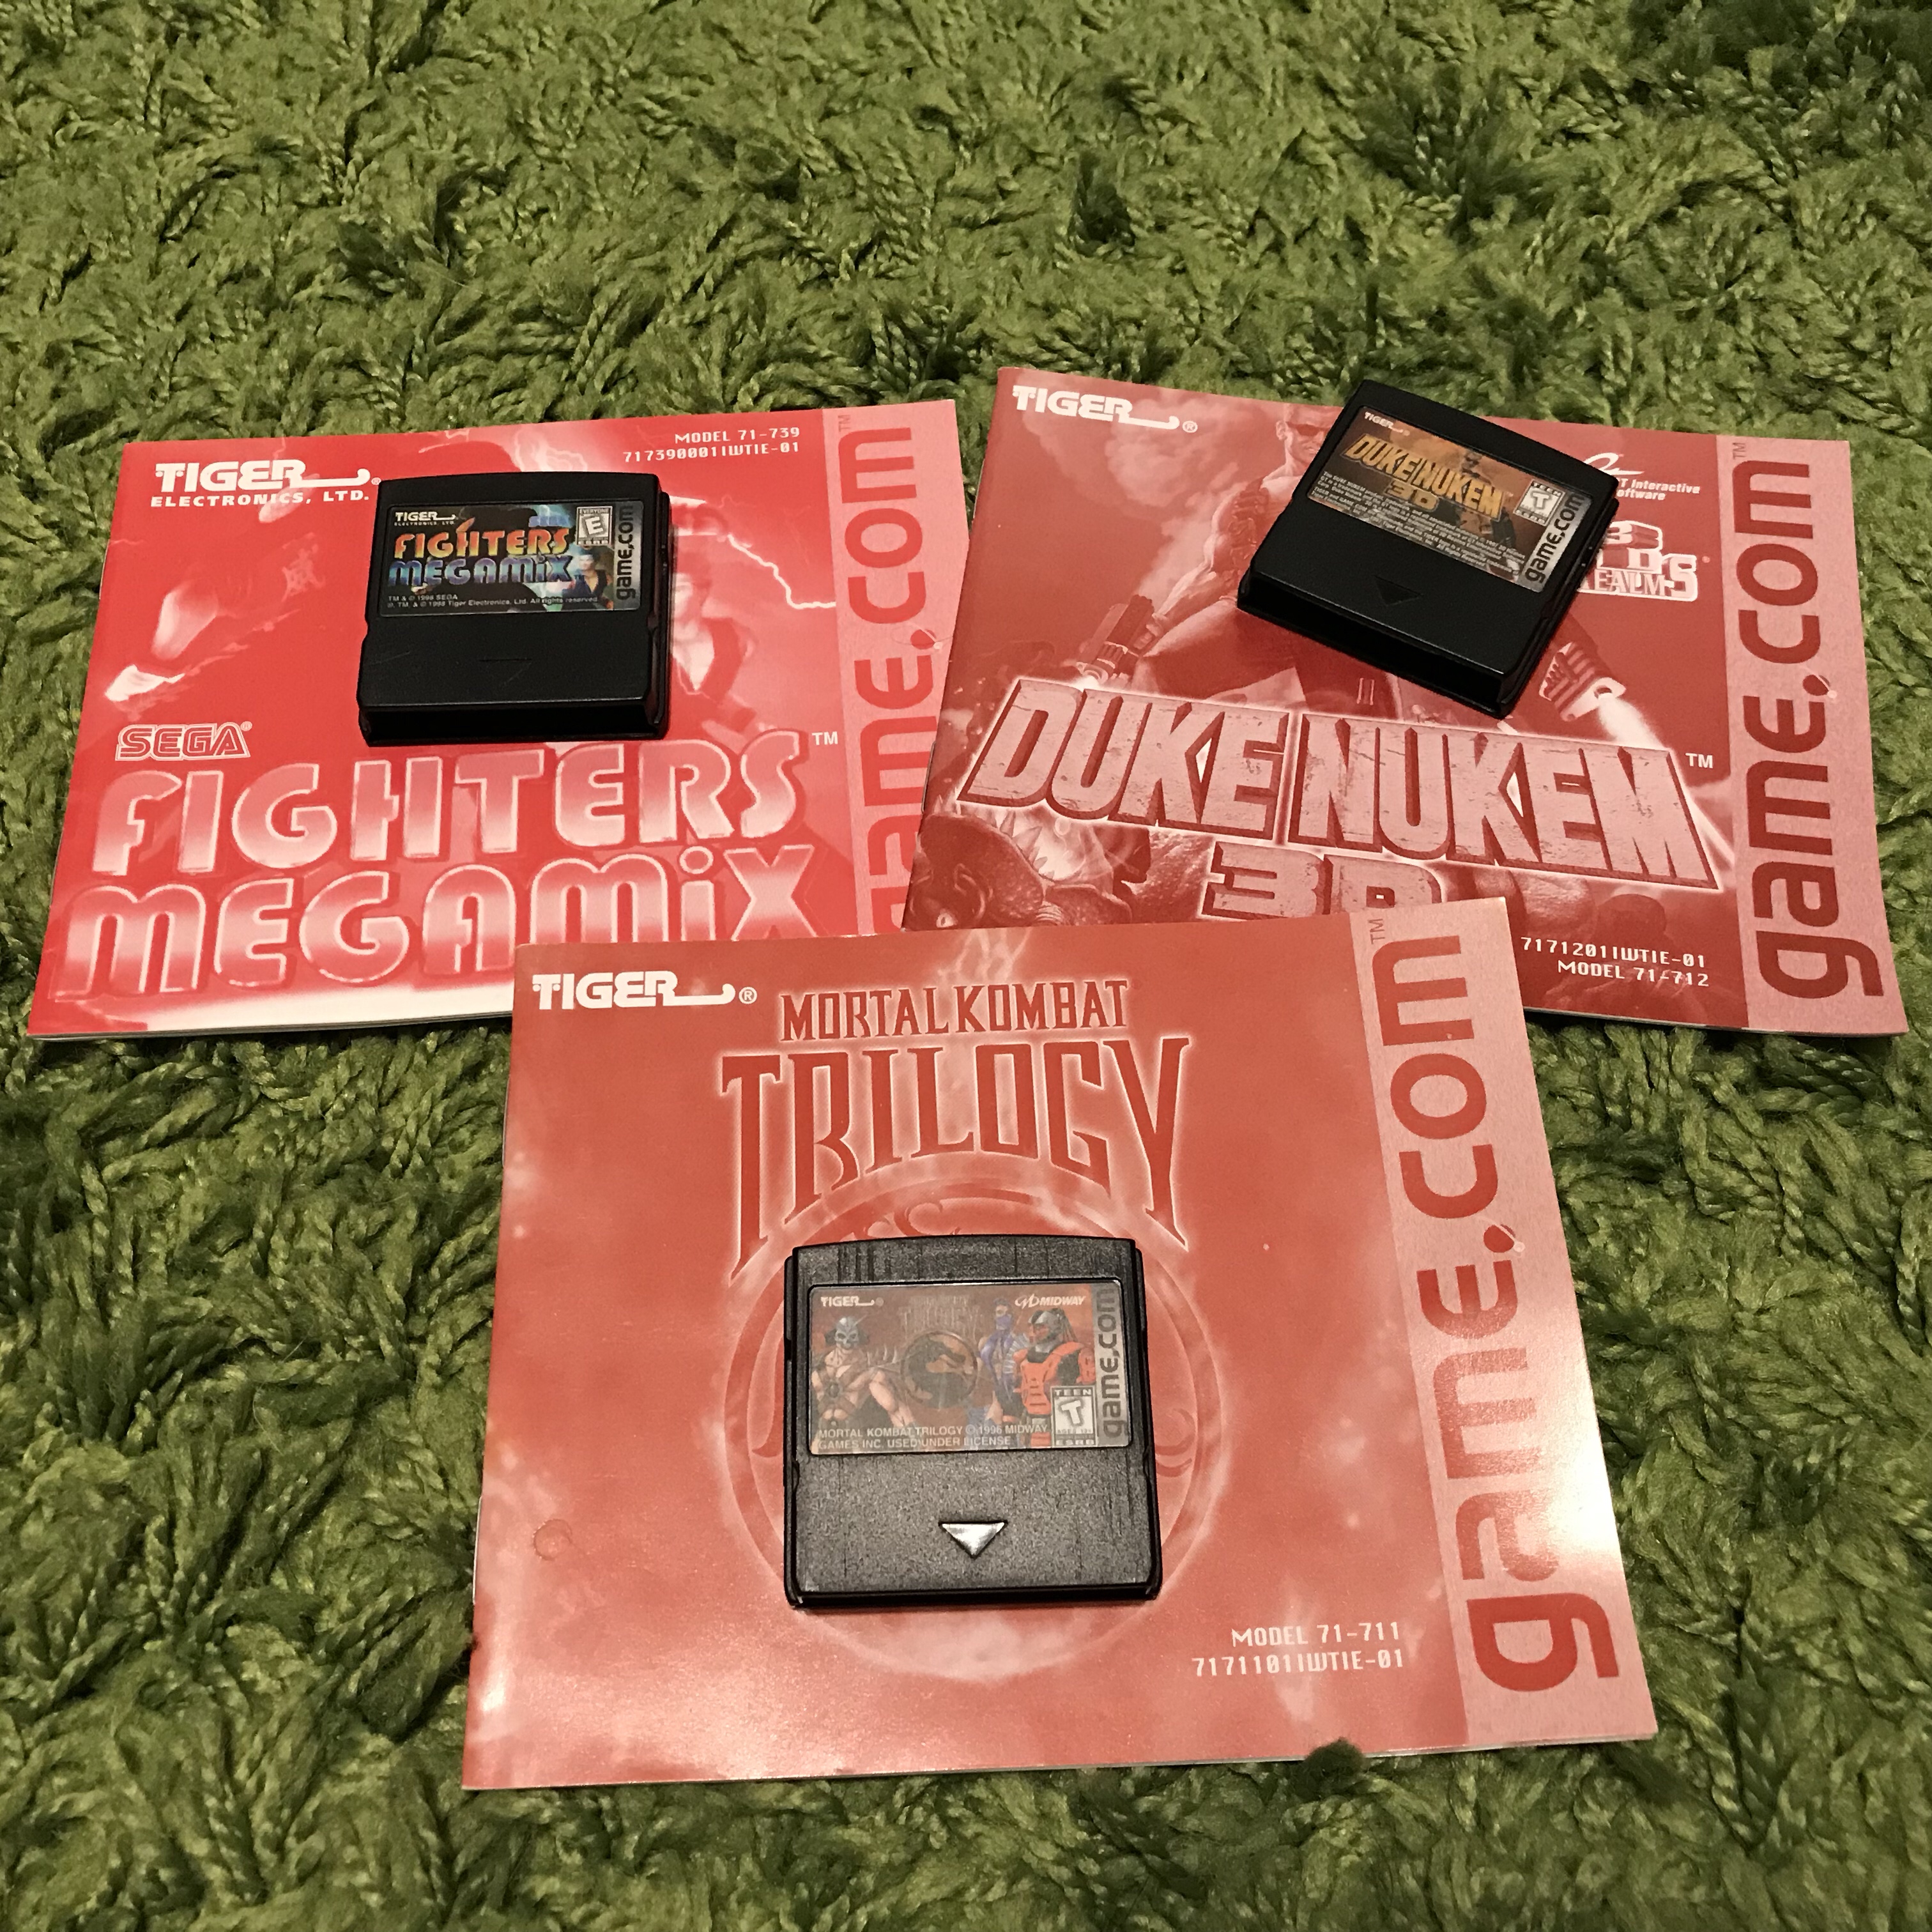
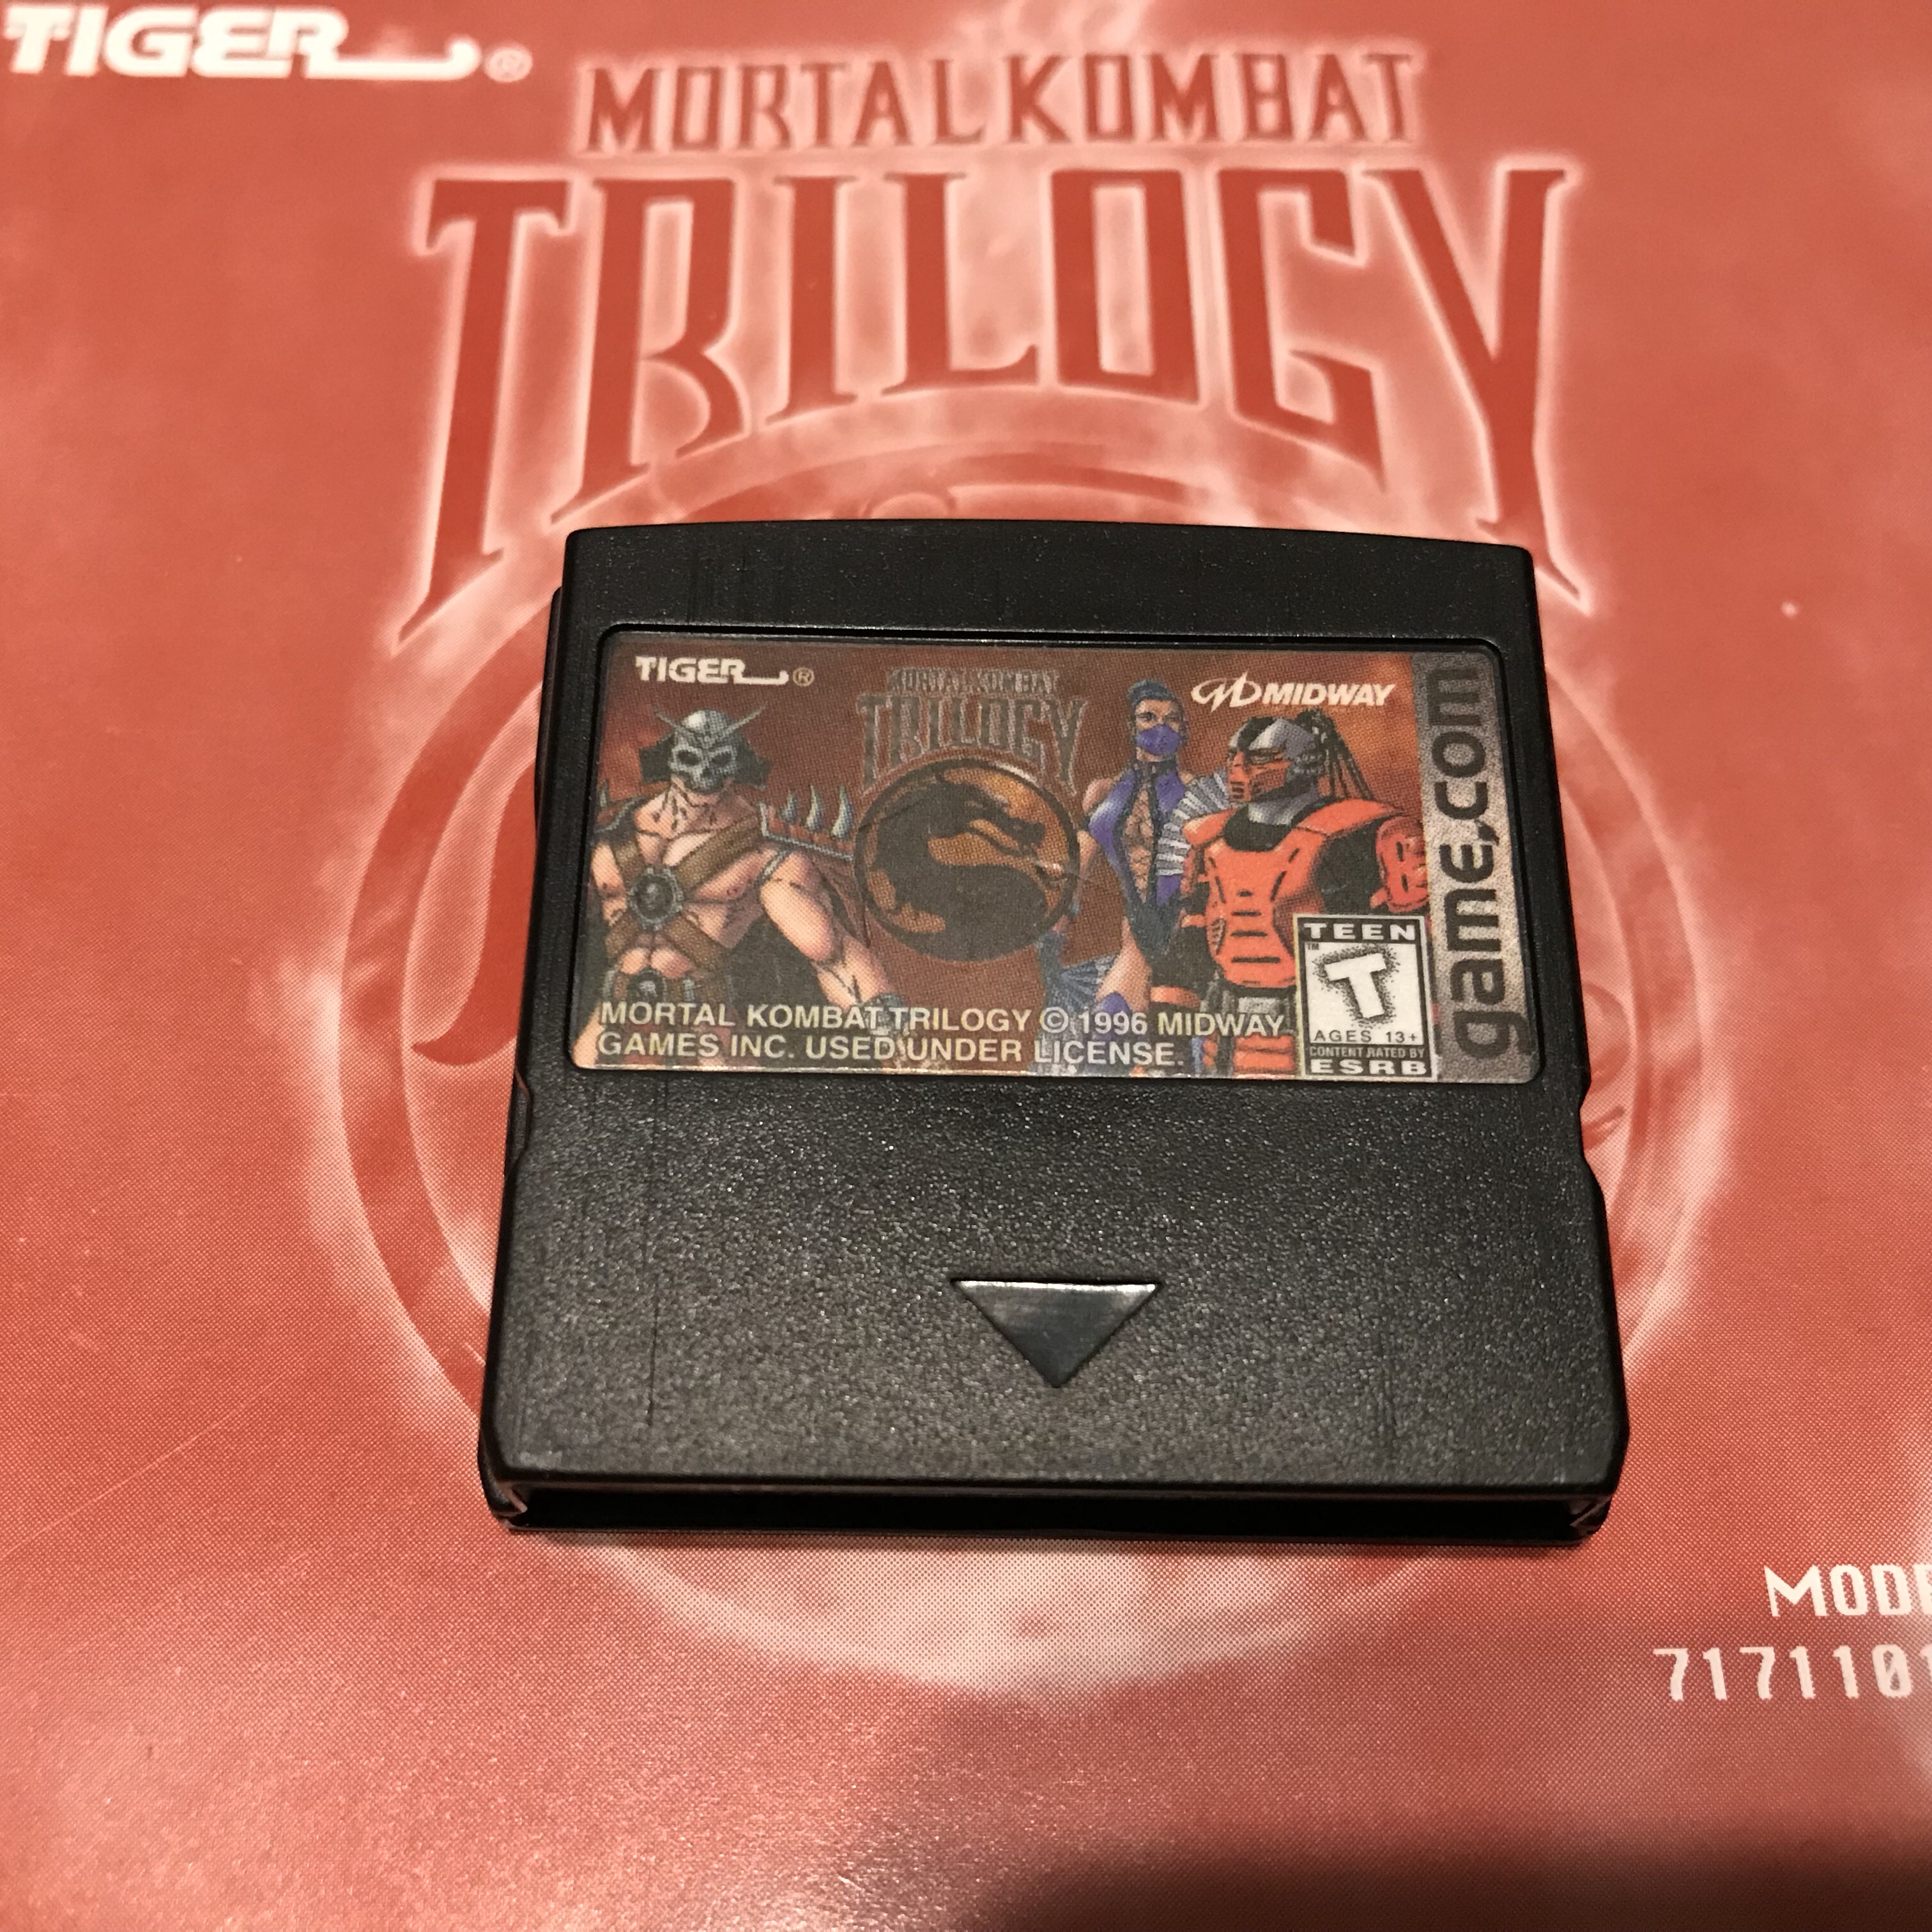
Tiger game.com
Here is a hot mess of a system for you. In 1997, this system was supposed to “change the gaming world as we know it”. I picked this up cheap on eBay a few months ago and as you can see by the photos, the box is a bit of a wreak, but intact. The seller must have found some more games for it since it was supposed to only come with the packed in Lights Out but they threw in 3 other games + manuals. The Game.com will live on, siting on a shelf.
“Broken” Xbox One launch model for cheap
Recently I picked up a “broken” Xbox One from eBay for $69.99 from a pawn shop seller. I noticed in the photos that all the warranty stickers were in place and the unit did not look like it had been opened or worked on. The description of the problem was “The Xbox One will boot to dashboard and then reboot constantly”. I was not able to hear the fan kicking on so my first thought was it was overheating and powering off. I decided to take it apart and take a look around to see if there was anything obvious. After opening it up and giving it a quick clean up, I could not find anything blatantly wrong with it.
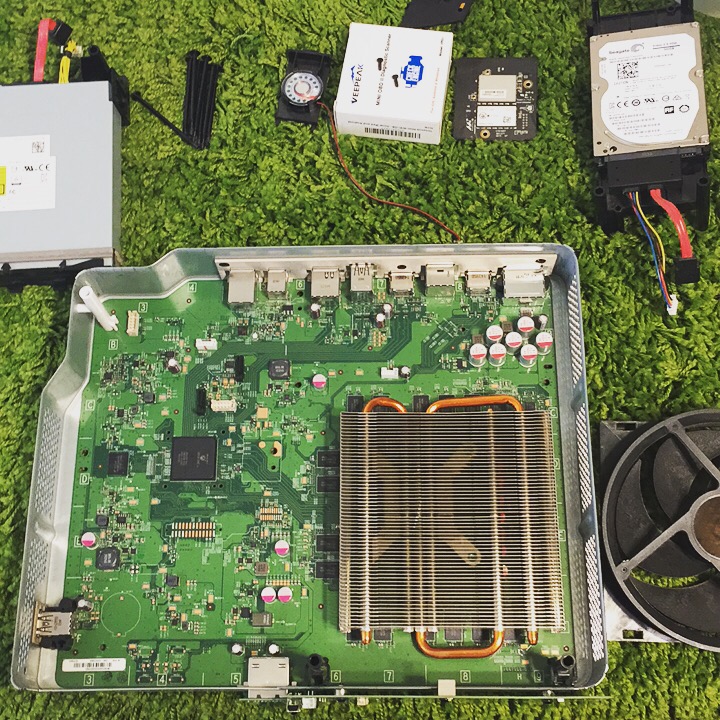
I put the system mostly back together and powered it up with no HDD and was able to see the fan kick on (It was just really quiet) and got the typical error for missing hard drive. But the most important thing was, it did not reboot.. hmm, could it be something with the HDD?
I tossed in a 2TB HDD and followed this tutorial and never looked back.
So all in all it was a corrupted OS and just needed to be re-initialized. Time to check out some of the Xbox One exclusives.
PS4 HEN Test
I got to do some game testing on my firmware 4.55 PS4 last night. I acquired a couple PKG files to test with and used my ESP8266 to enabled HEN. I copied over the PKG files to a ExFAT formatted USB drive and plugged it into the PS4. I then went to Settings>Debug Settings>Game>Package Installer and installed all packages.
Excuse the crappy photo of the TV
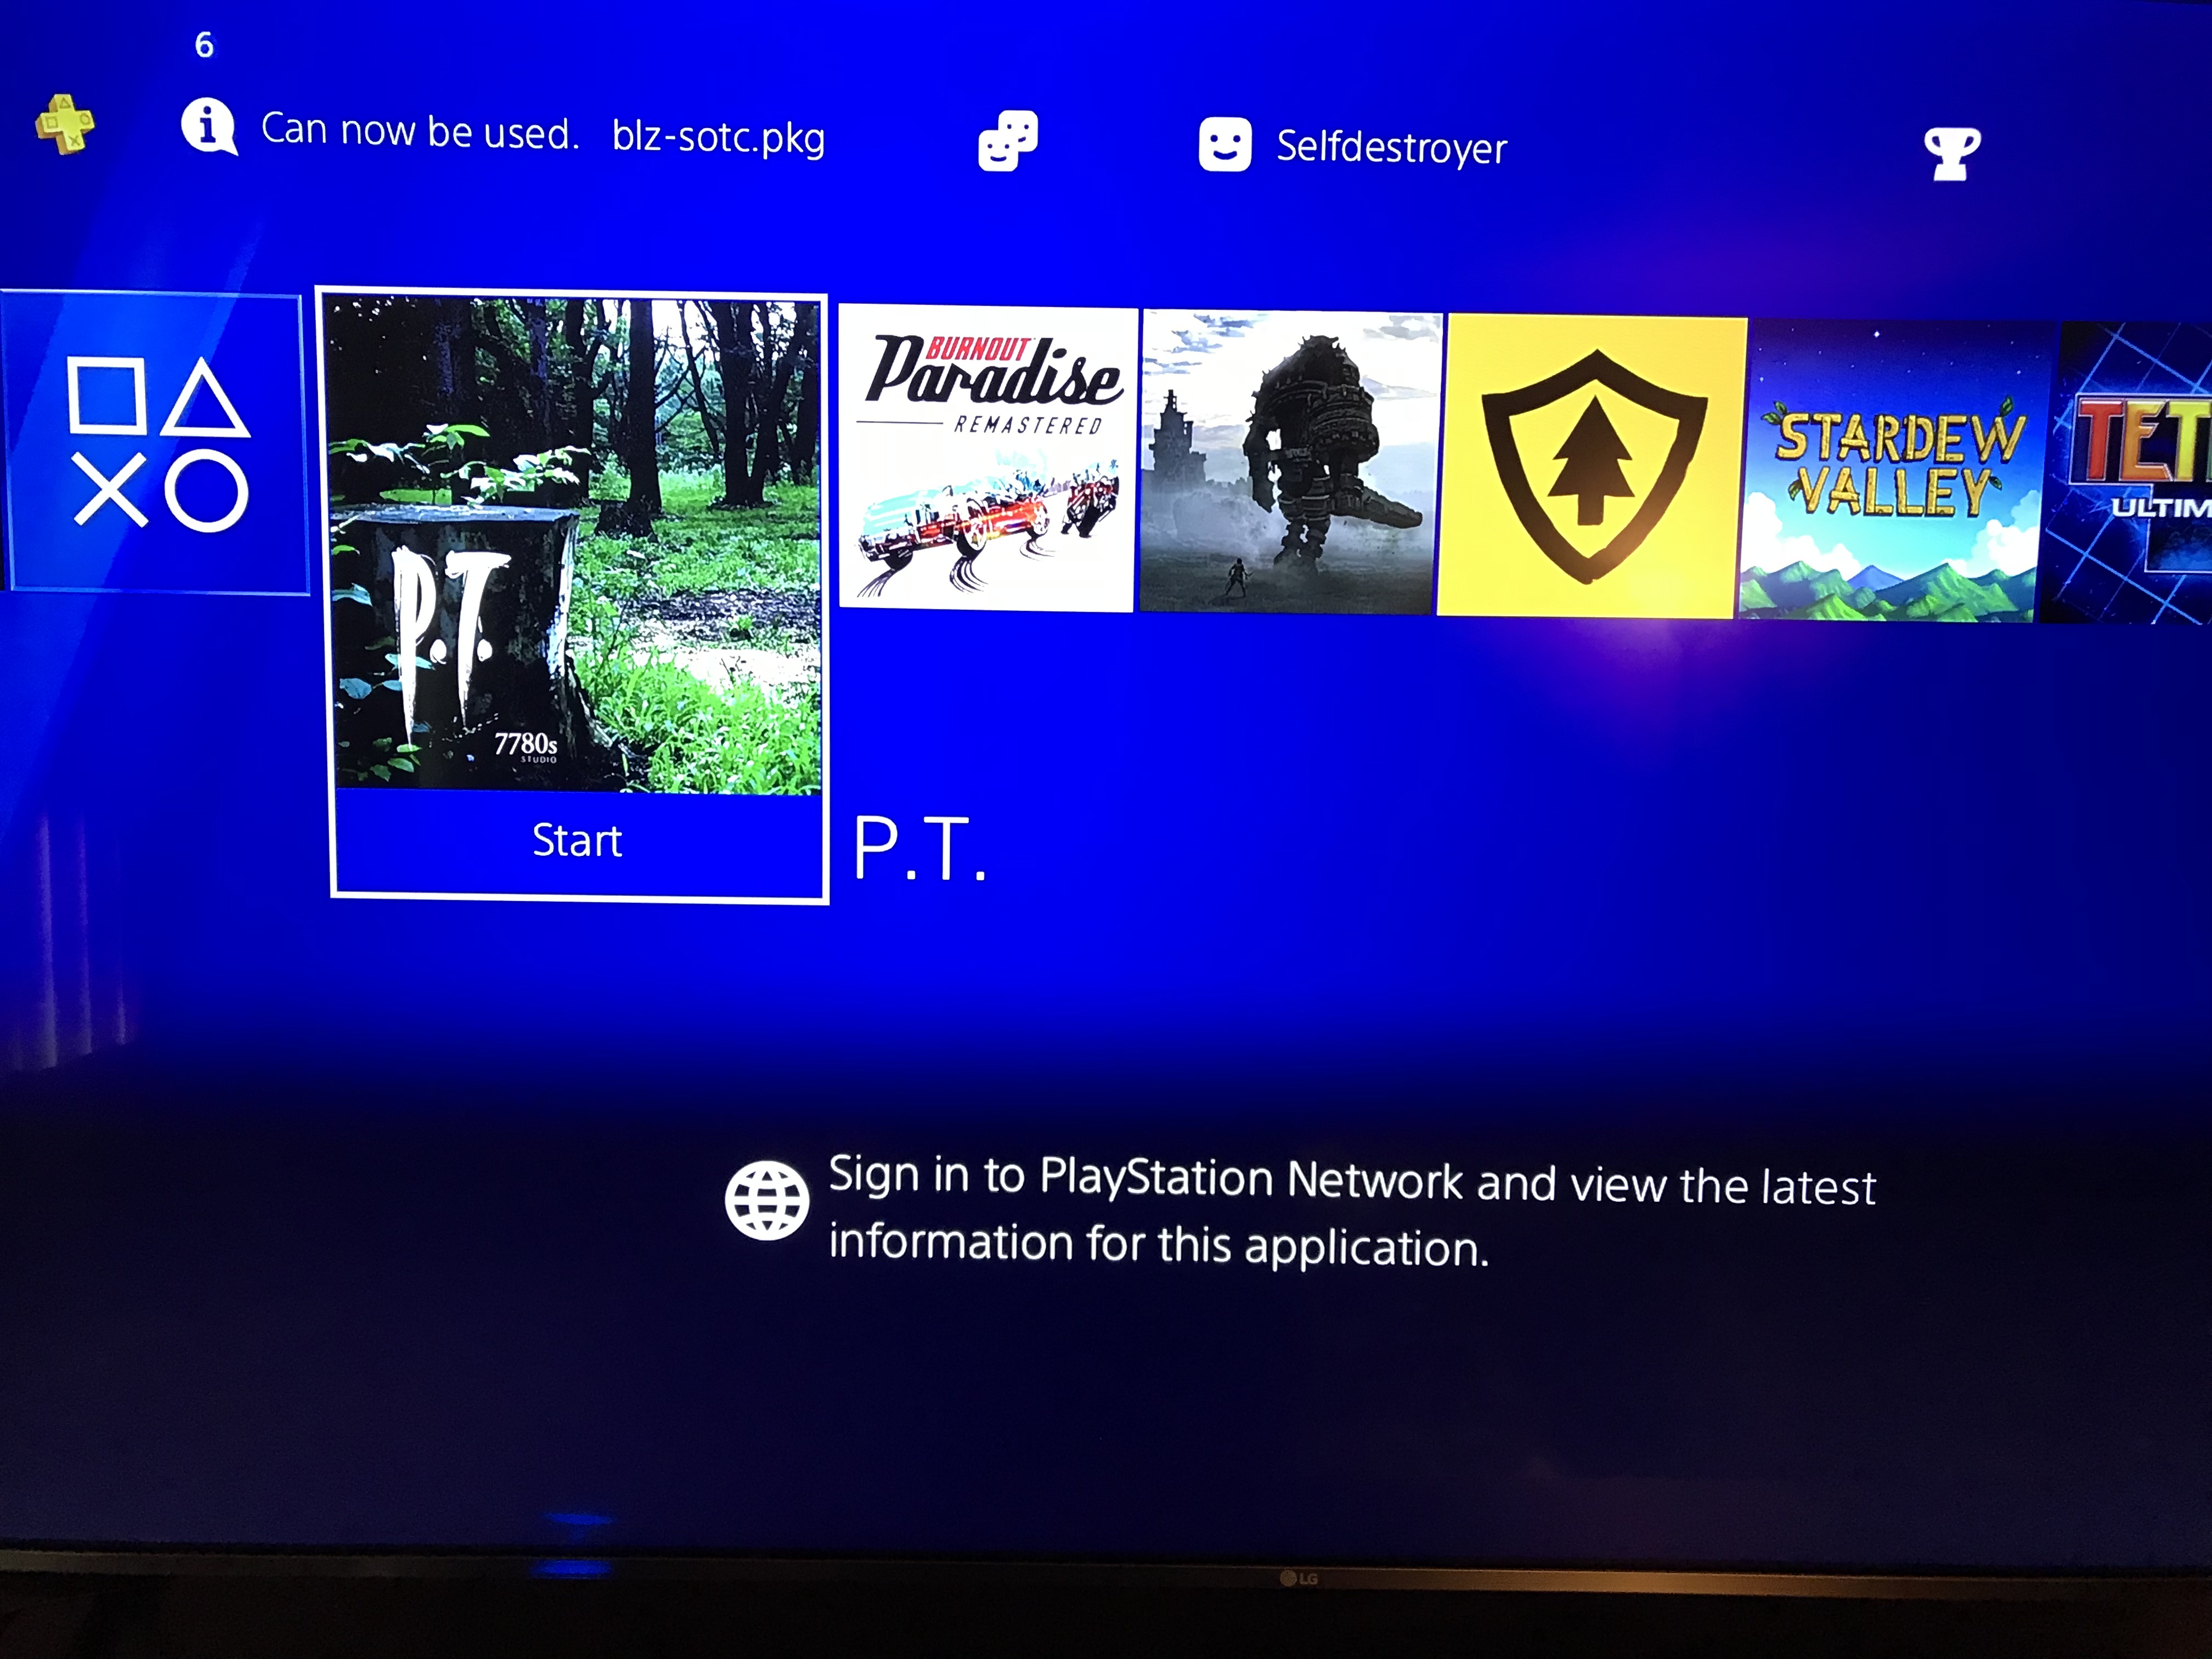
I am now FINALLY able to play PT. All the packages I installed worked without issues except Burnout Paradise Remastered since its needs firmware 5.05 to run.
Side note: I own all the retail games I installed/tested from PKG’s, just thought I should add that. PT is only a demo obviously.
ESP8266 & The PS4
There has been a bunch of development with the PS4 homebrew scene the last 2 weeks. The PS4’s Homebrew Enabler (HEN) is removed every time the PS4 is restarted and needs to be reapplied. There is was to do it from internet, local PC, smartphones and from a ESP8266 device. I found the ESP8266 to be the most consistent way of applying the HEN to the PS4.
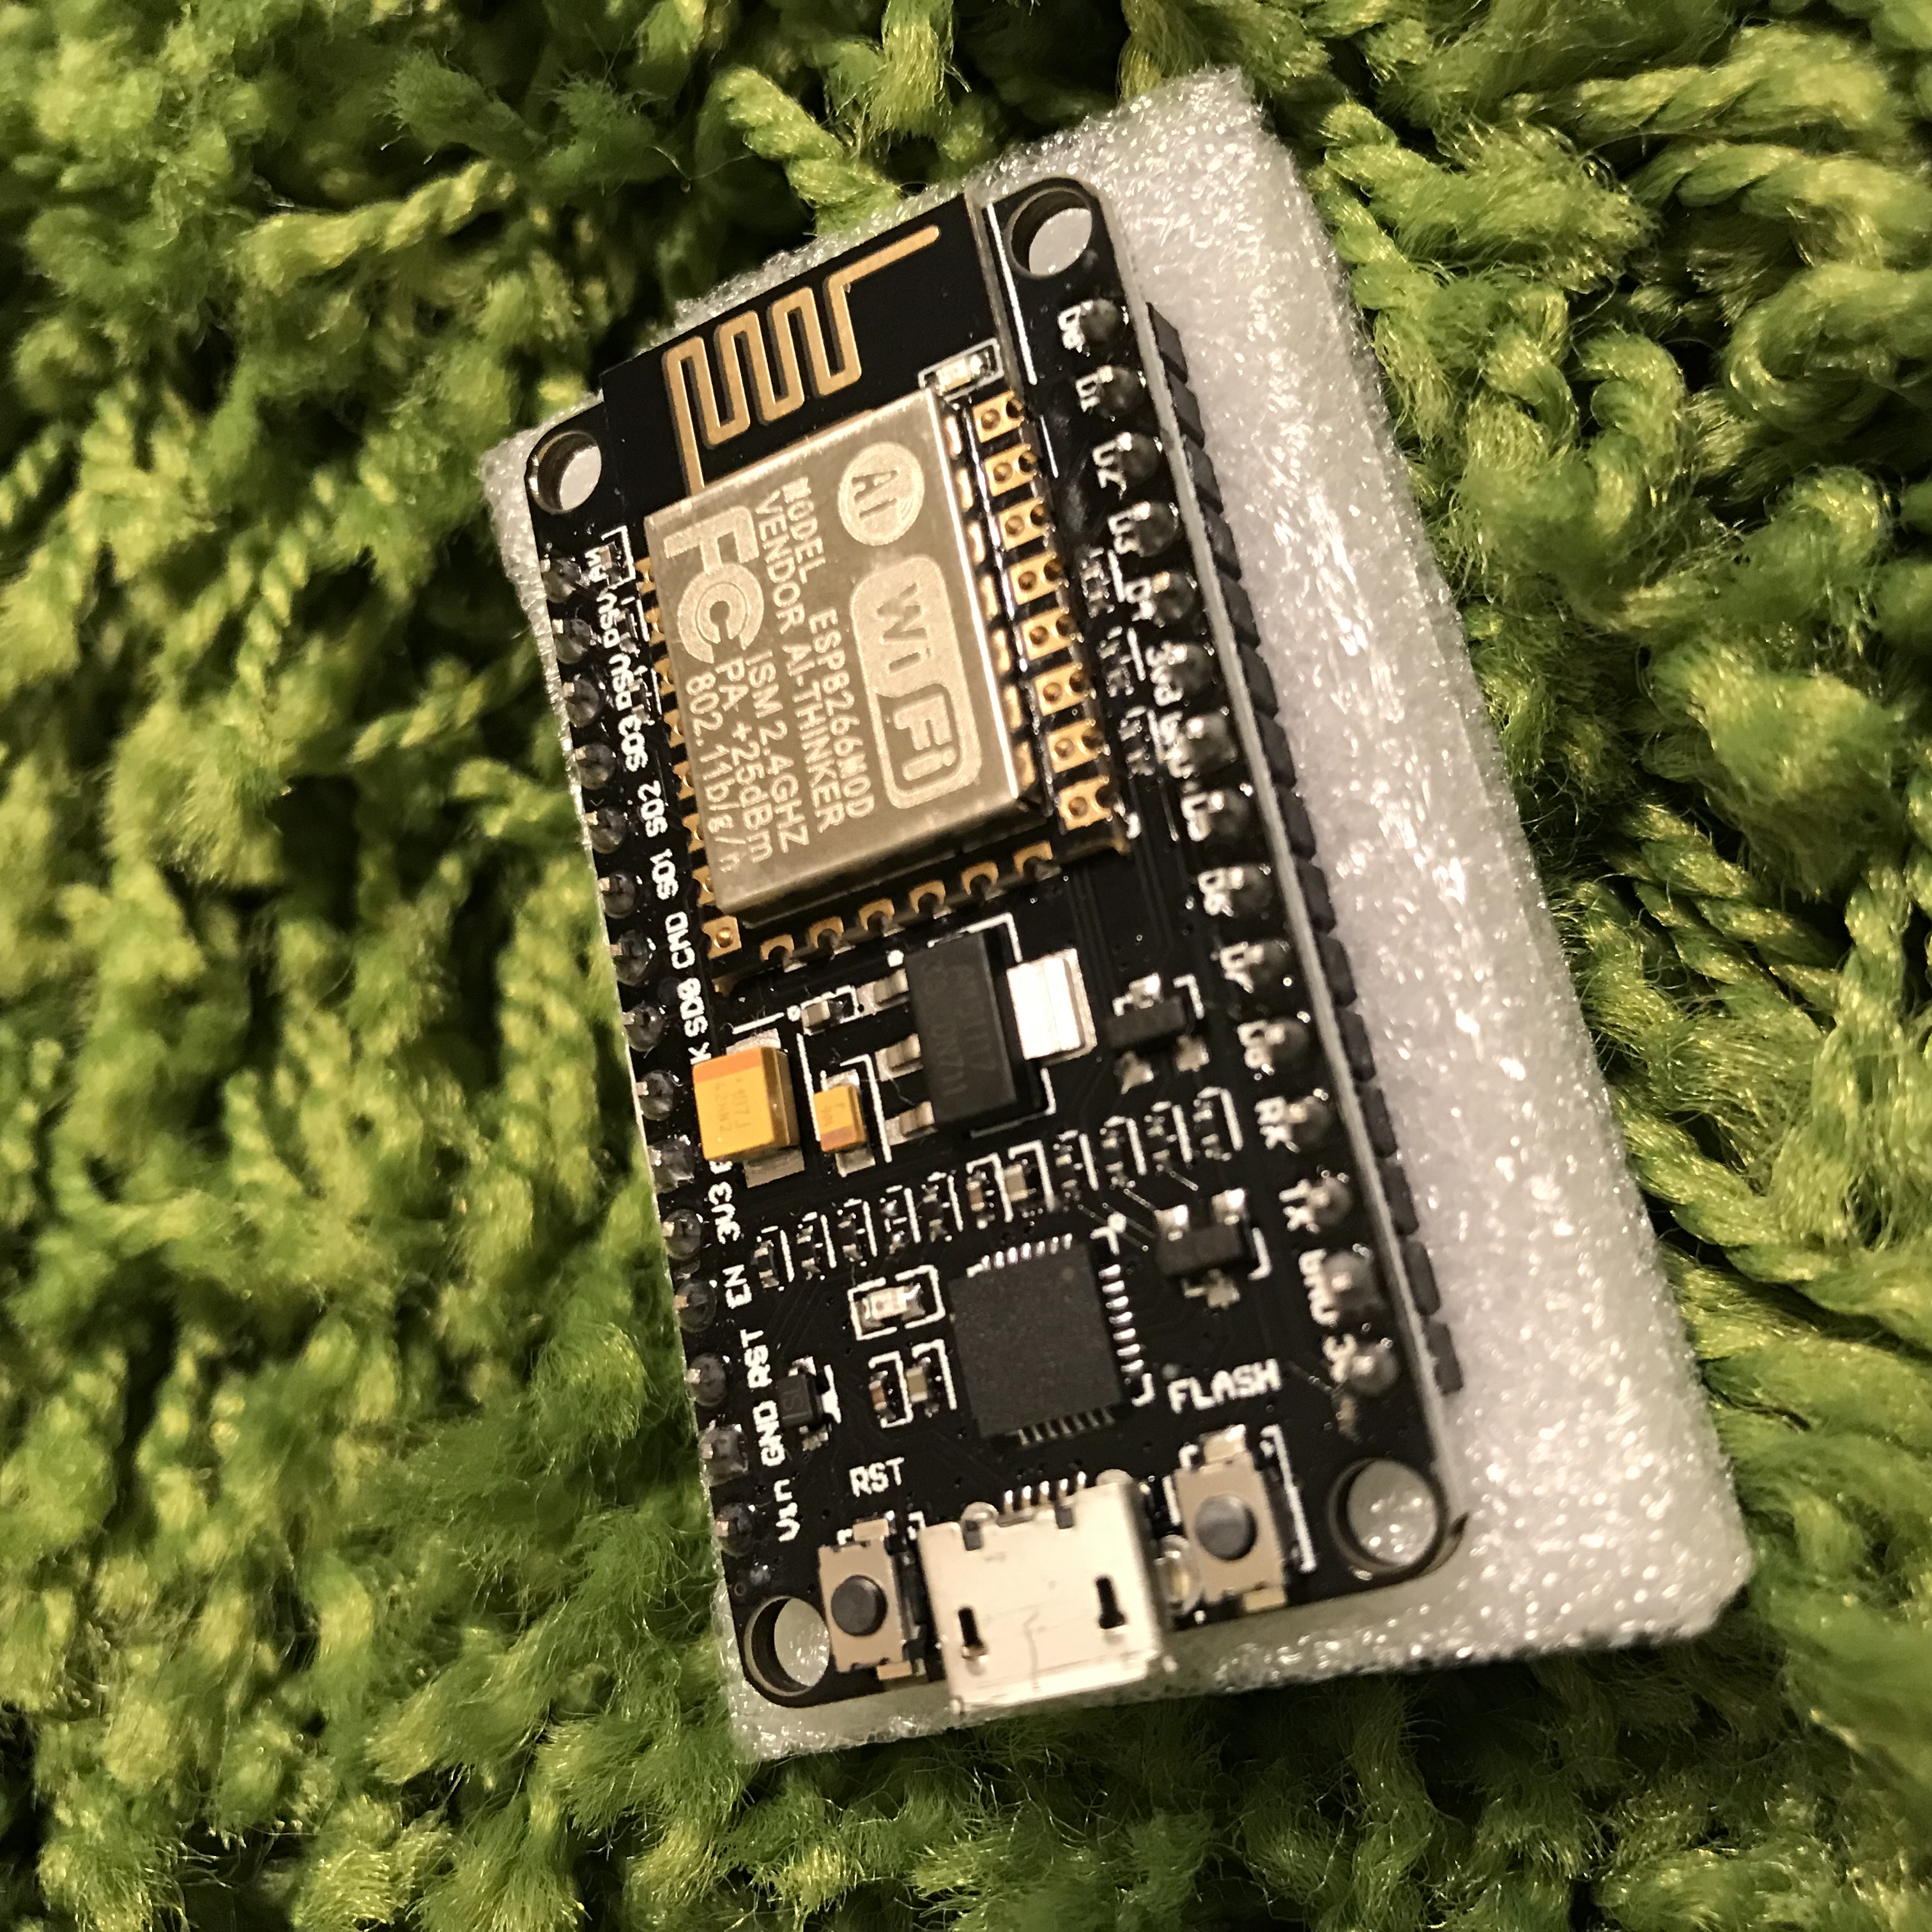
I picked up the ESP8266 from Amazon for just under $9.
What you will need:
PS4 on firmware 5.05 or lower. (I am curently on 4.55 myself. I am waiting for 5.05 HEN/MIRA to be more stable before it update)
ESP8266 with 4mb flash, linked above
MicroUSB cable
ESP-Host found at Github
ESPTool
Here was my install process on a Windows 10 machine:
- Install Python 2.7 Get it here
- Put Python and scripts in your PATH (c:\Python27;c:\Python27\Scripts) Google it if you are unsure how to do this
- Download get-pip.py and run “python get-pip.py” from a CMD promt
- Once Python and PIP are installed, open a CMD window and run “pip install esptool”
- Download ESP-host BIN file that matches your PS4 firmware (esphostmulti455.bin in my case)
- Plug in your ESP8266 to your computer VIA the MicroUSB cable
- Open a CMD windows and run “python esptool.py –port COM3 write_flash 0x00000 esphostmulti455.bin” Use your full path to your esphostmulti455.bin file
Once flash is done, plug the ESP8266 into a USB port on your PS4 and go to Settings>Network>Setup Internet Connection>Use Wifi>Easy
Connect to the SSID PS4-WIFI (If you do not see the PS4-WIFI network then your ESP8266 is not working properly.
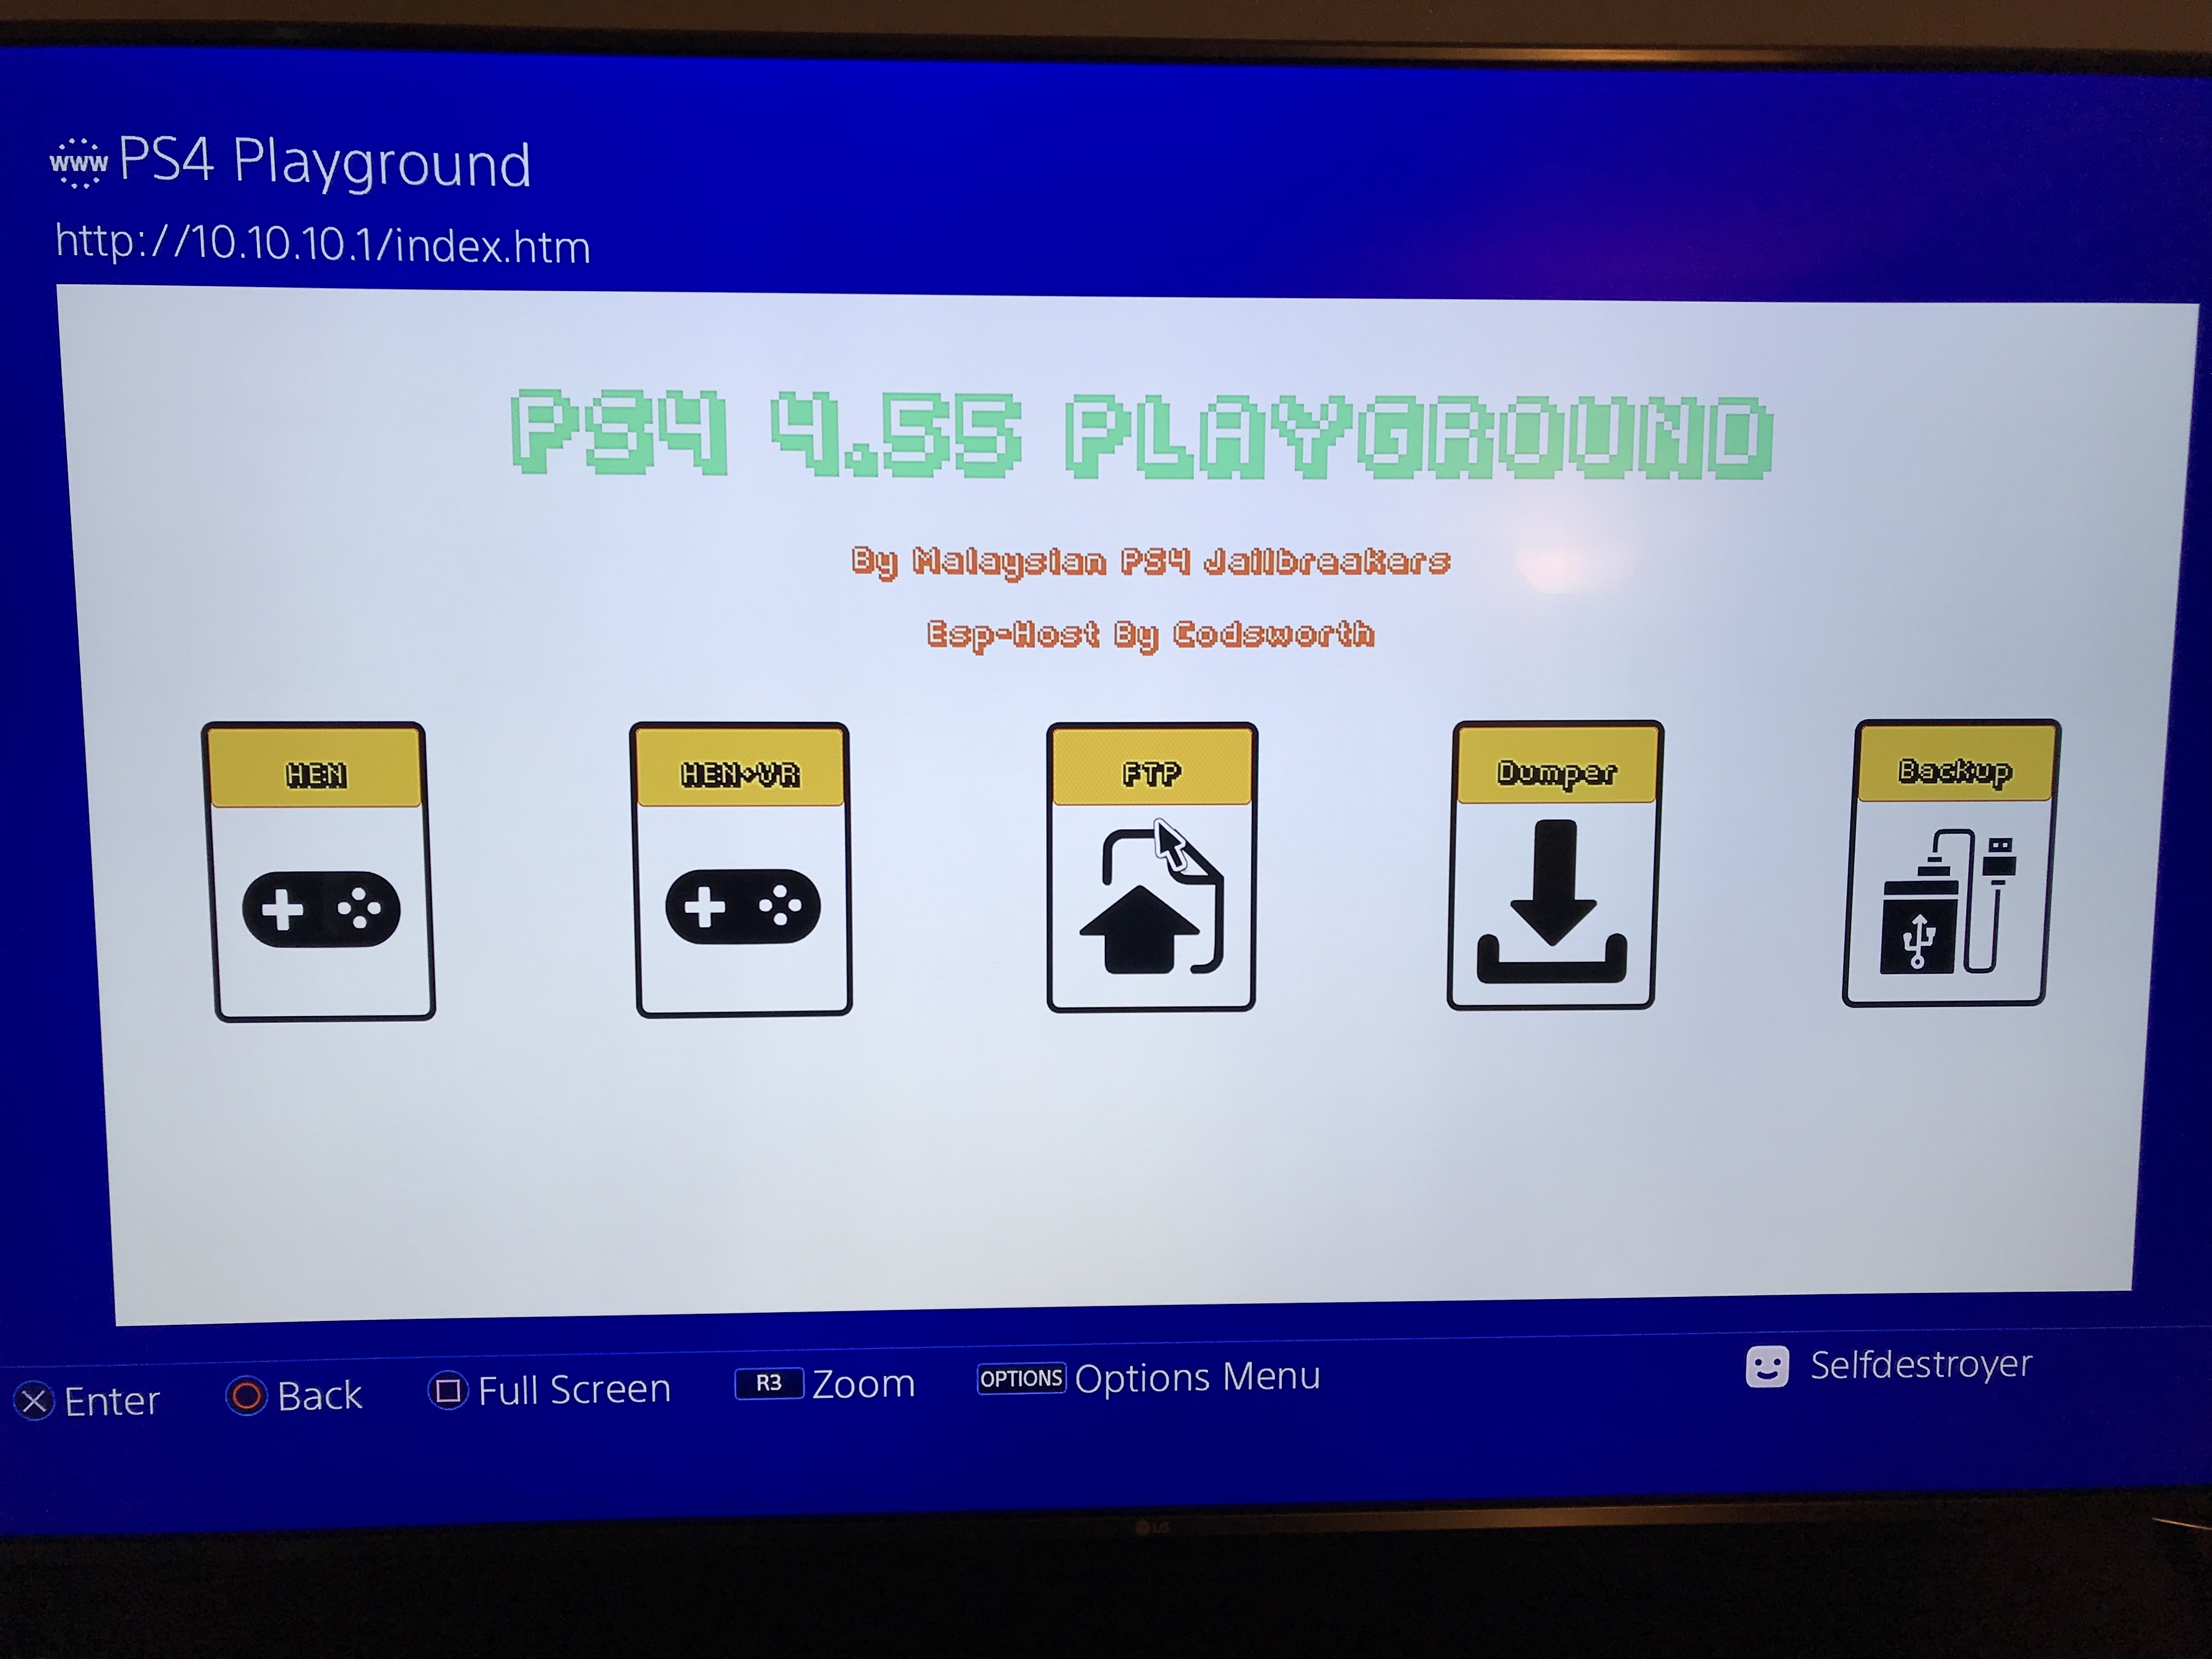
To run the exploit go to Settings>User’s Guide
Select HEN or HEN+VR and you will be notified when the script is complete.
Update: nodemcu-pyflasher – This tool might be better for flashing since python & PIP are not needed.
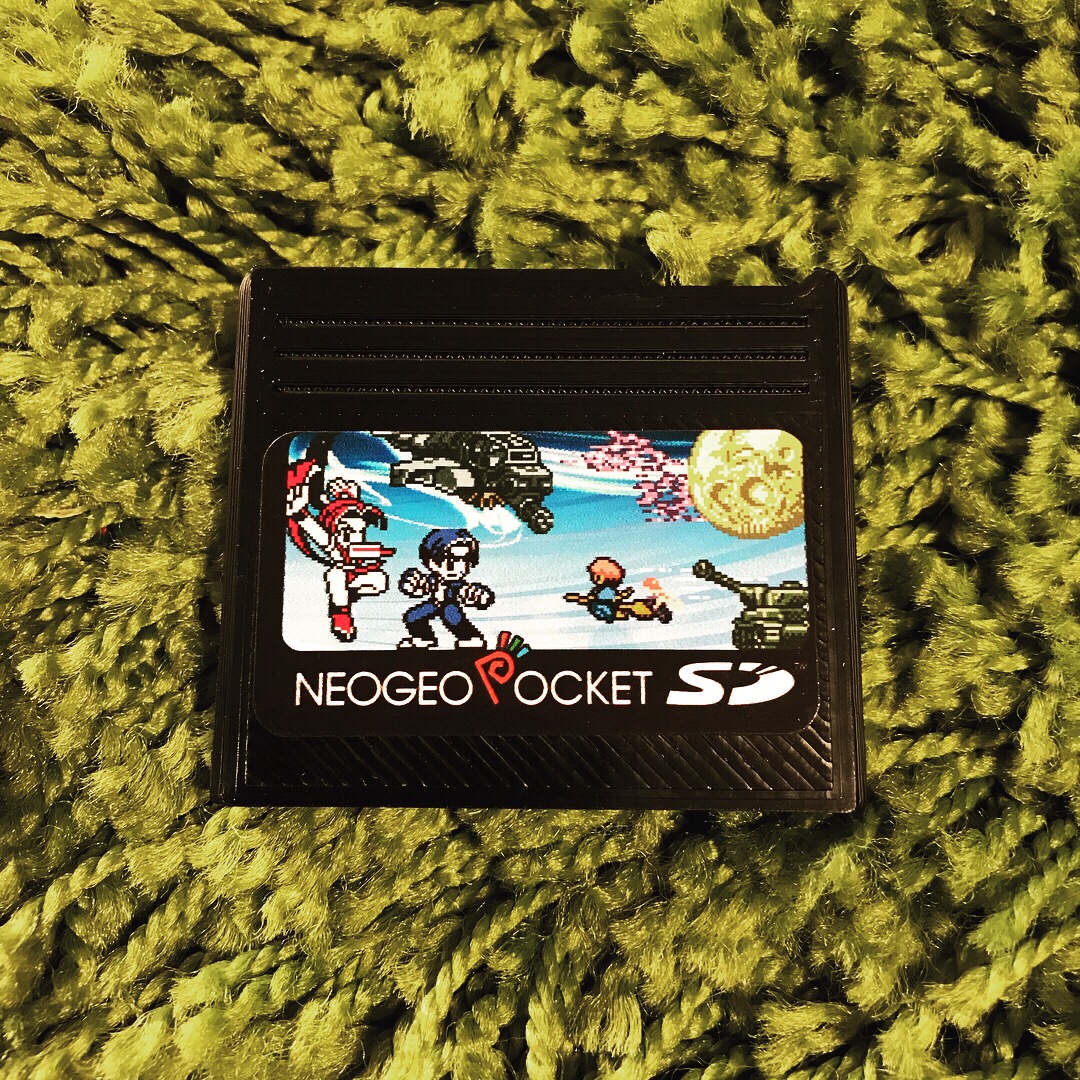
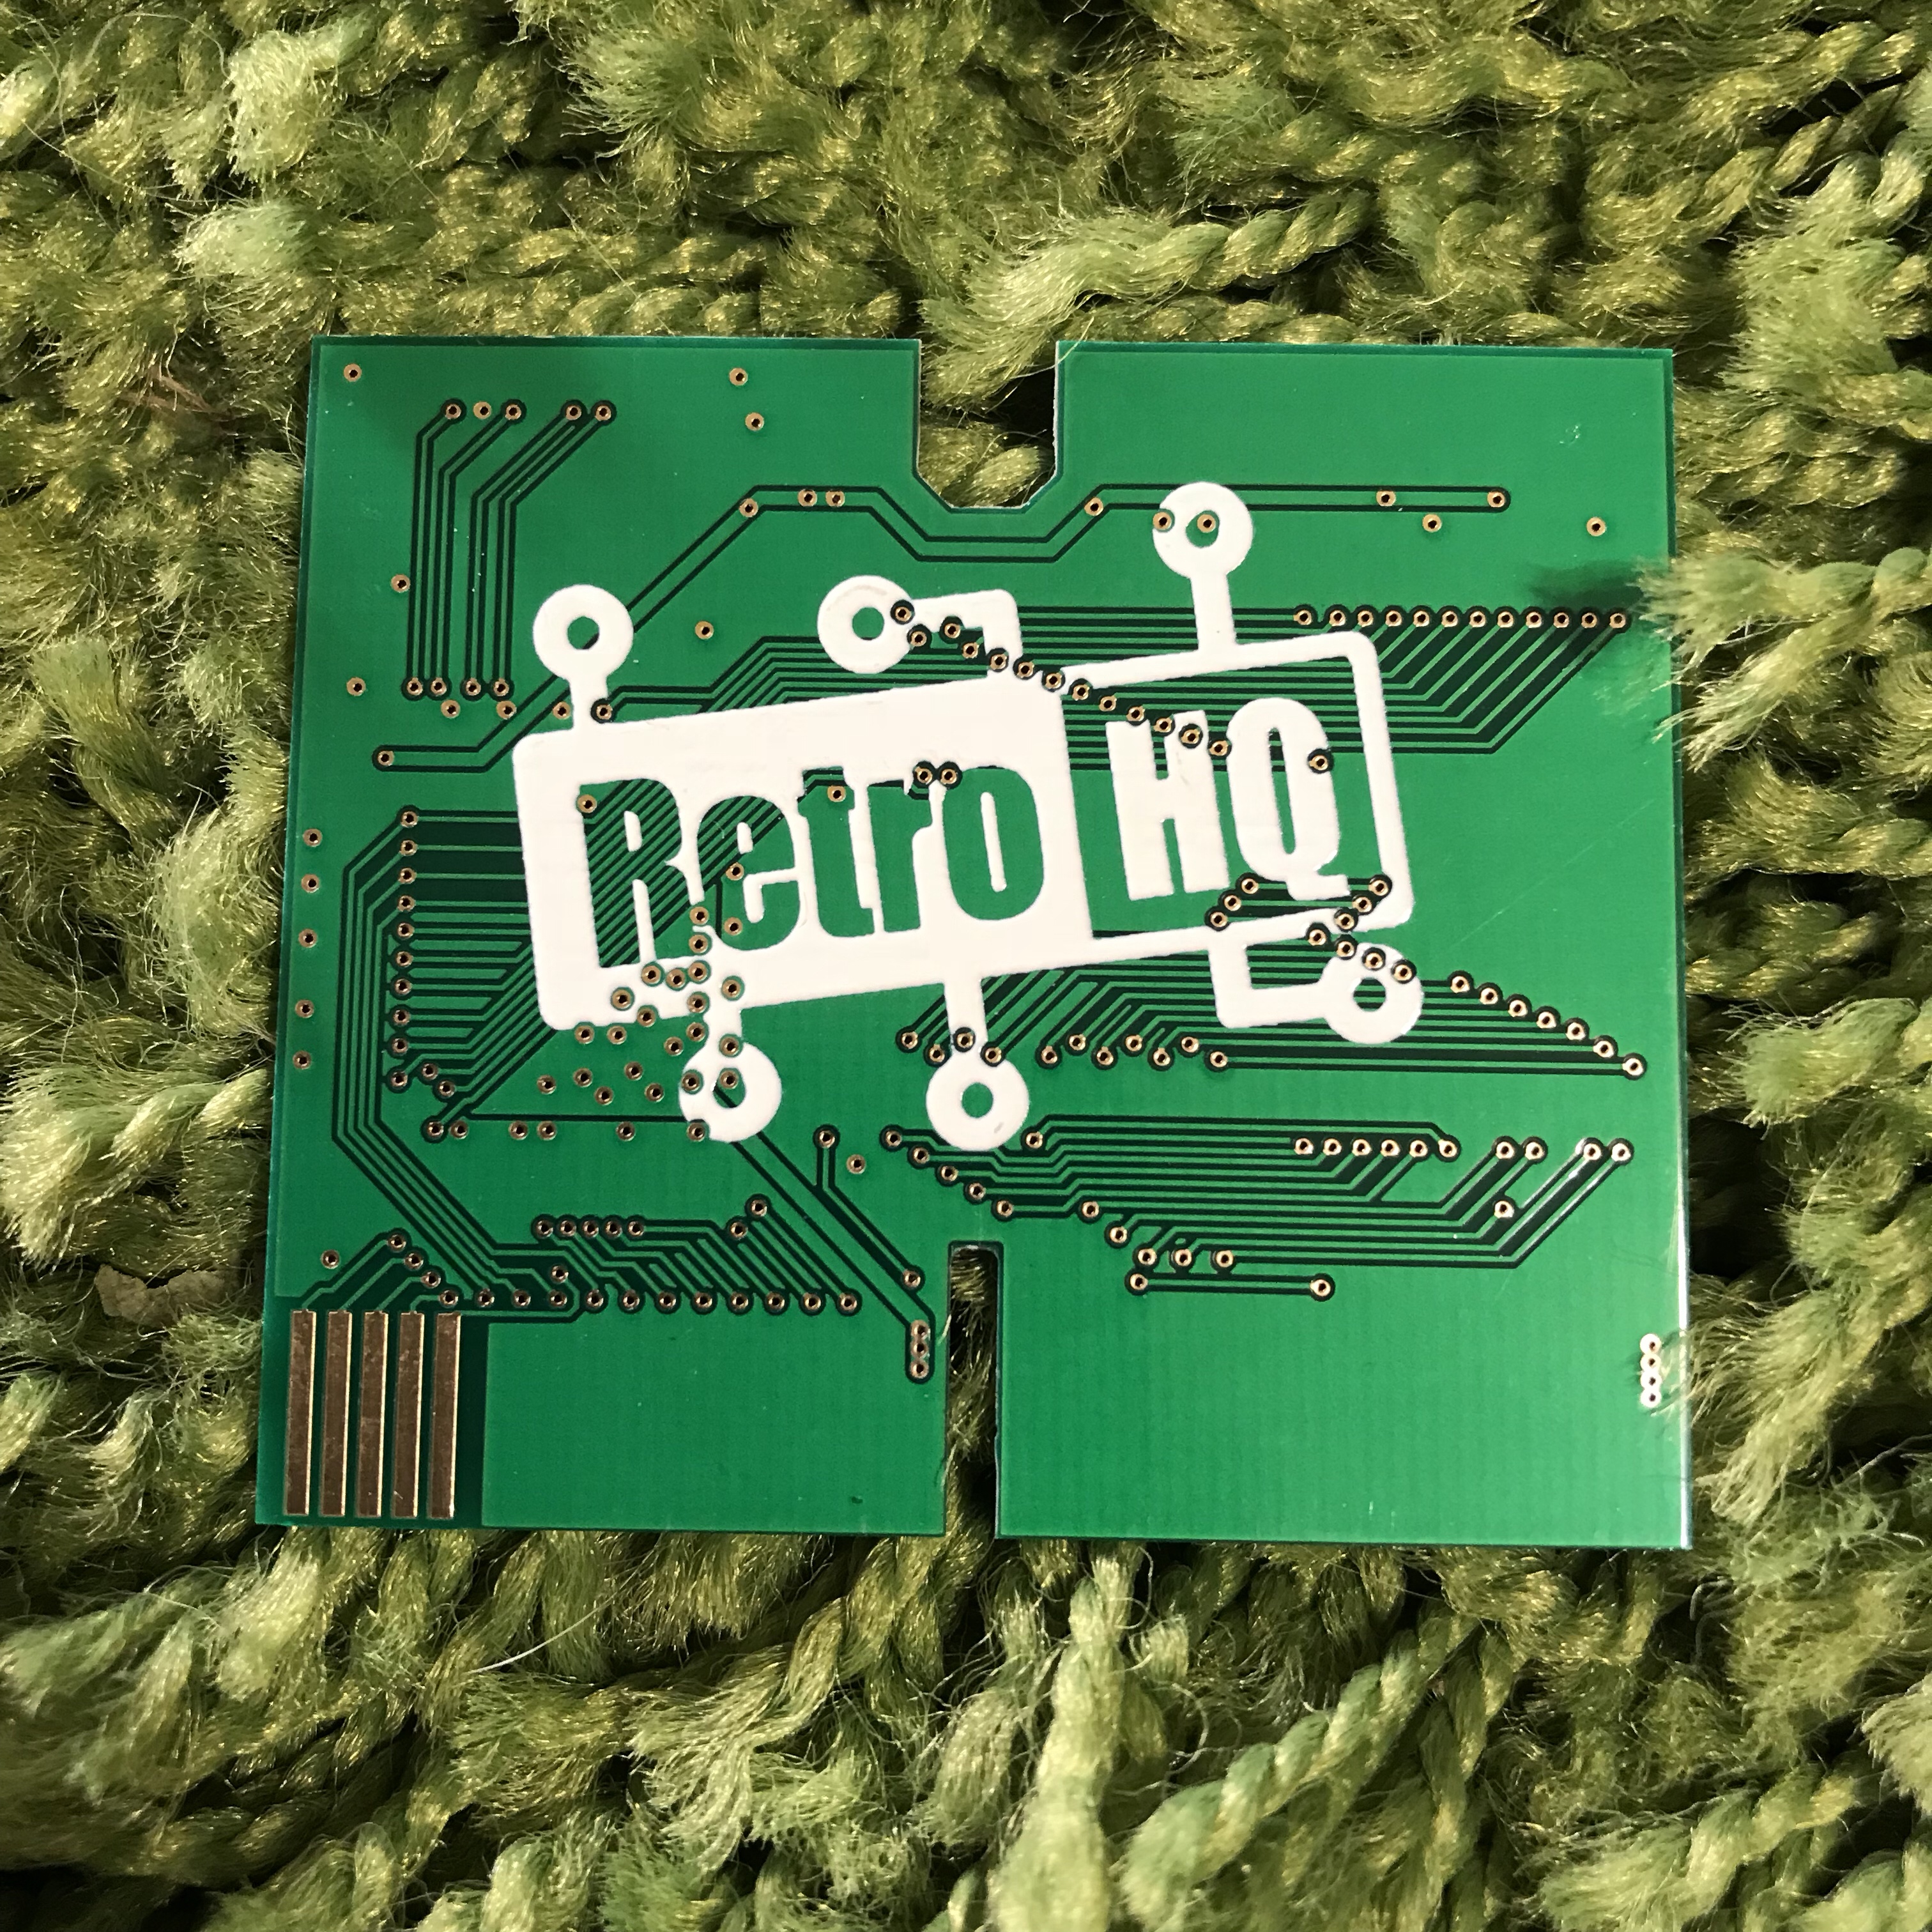
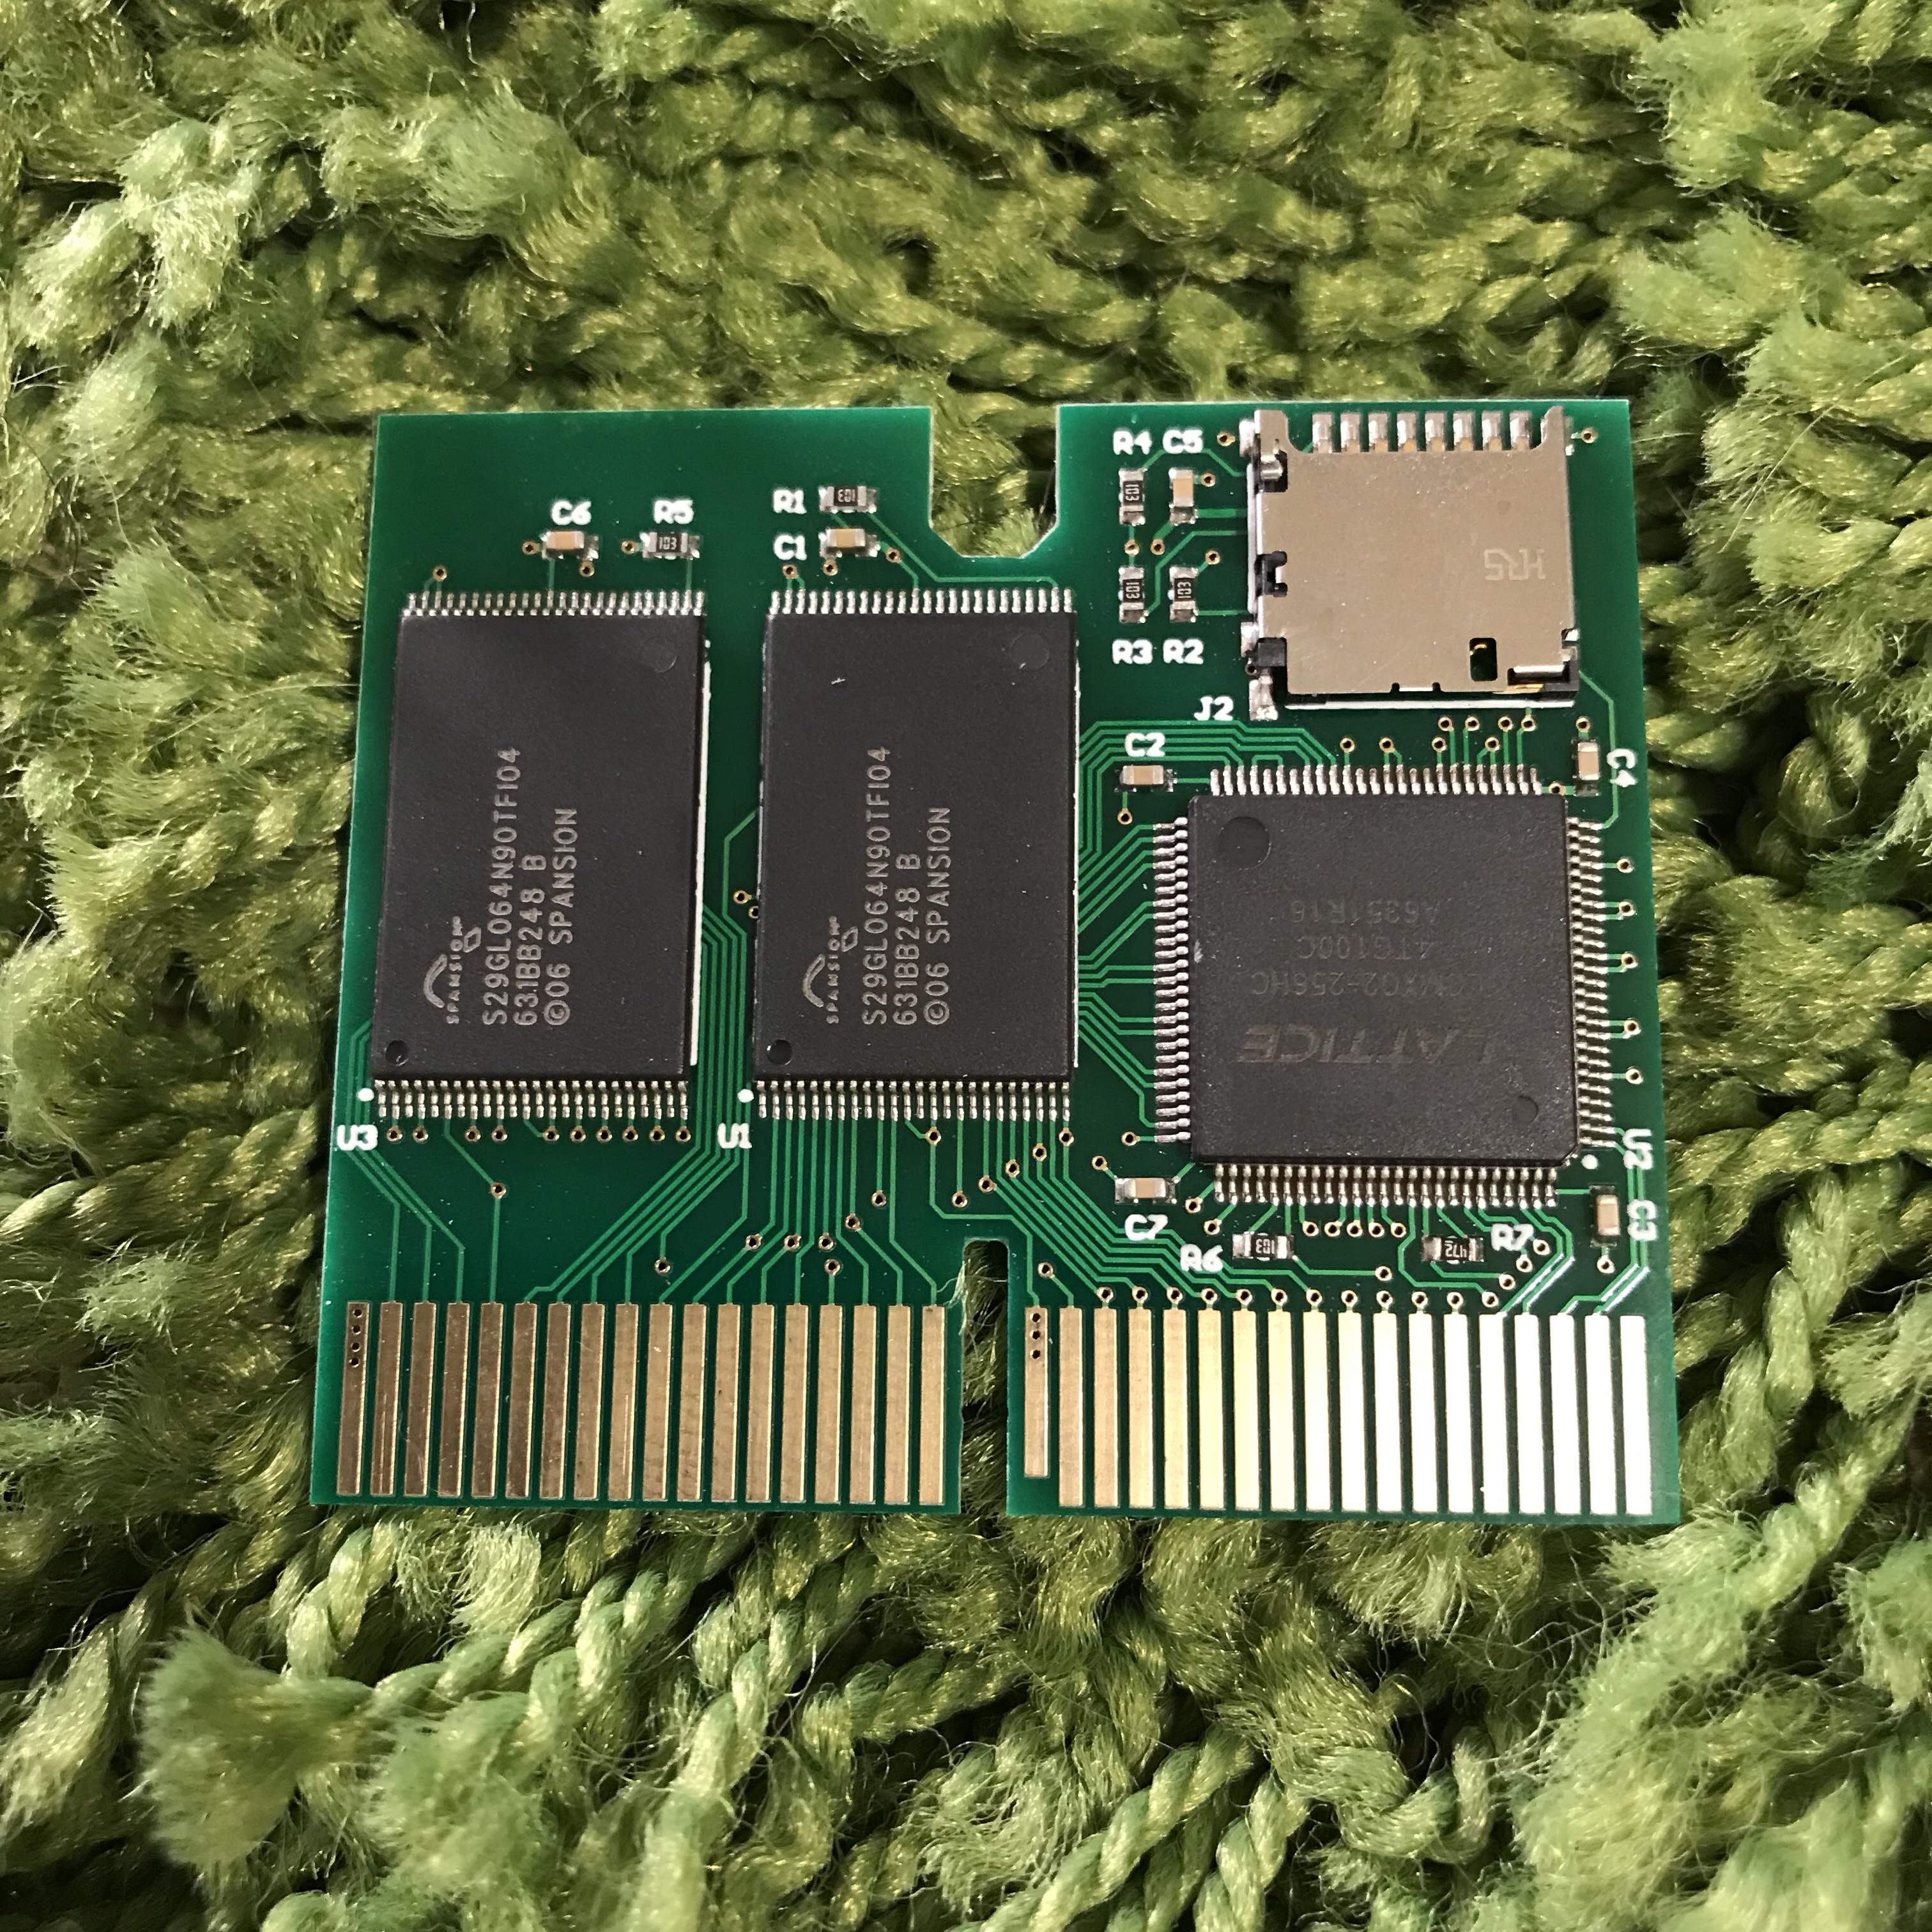
NeoGeo Pocket SD
I have been following SainT’s projects over at AtariAge forums and here is another perfect solution for playing your NeoGeo Pocket roms on original hardware.
Here is his forum post on it over at AtariAge
Great build quality and glad to have it in my collection. I look forward to SainT’s other flash carts in the near future.
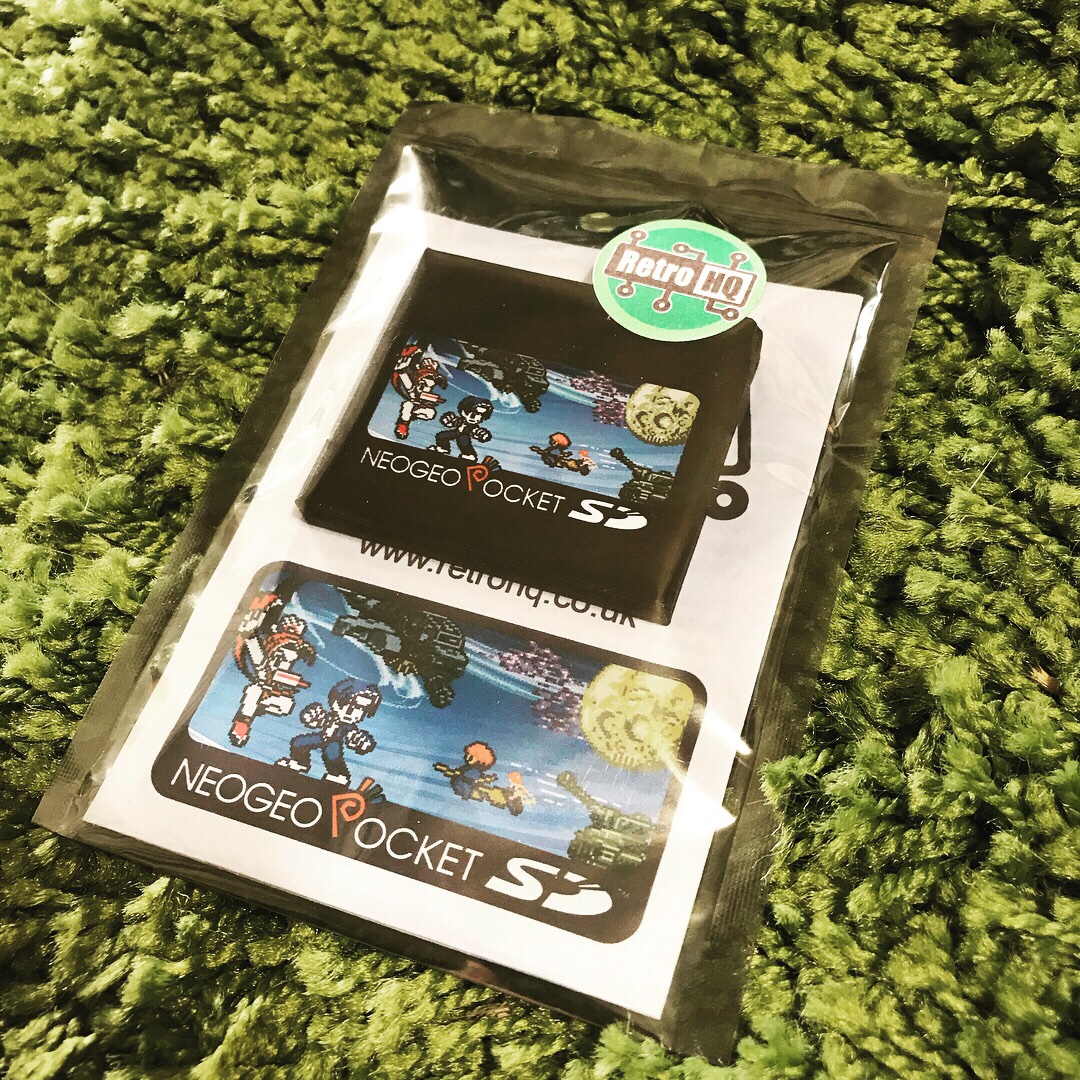
Firmware updates are posted at http://www.retrohq.co.uk/